29.9.18

Clarissa the Cow - from 'Make Your Own Farm Animals'


I haven't shared many projects from 'Make Your Own Farm Animals' and thought it was about time I did! I'm really fond of this one, because the head shape is already there, in the shape of an egg carton, all you need to do is cut it out. 
The body is made the same way as many other animals you'll find in 'Make Your Own Farm Animals' and 'Make Your Own Zoo'. 

You will need:
Two toilet paper rolls
Egg carton
Sheet of newspaper
Scissors
Pencil
Ruler
Craft glue
Paint
Nail scissors or similar (with adult supervision)
Black pen

1. To make the legs, flatten one of the toilet paper rolls with your hand, press down firmly, then cut along the creases so you end up with two pieces of card. Keep one piece for later.


2. Take the other piece and fold it in half lengthways, again pressing down firmly, before cutting along the crease.


3. Fold each of these card strips in half lengthways again, pressing firmly along the fold. You will now have two folded strips for the legs.


4. Shorten the other toilet paper tube to about 8cm/3in. for the body (either estimate roughly or use the ruler the measure and mark 8cm on the tube, squeeze the sides together near the mark and then cut across the tube on the mark).


5. Hold a ruler along the length of the body tube and draw two lines about 1cm (1/4in.) in from each end. Make each line about 2cm (3/4in.) long.

6. Repeat this about 3cm (1in.) further round the tube, so you have four marks for the leg slots.
Then make a hole in one of the pencil lines with the nail scissors* (keep them closed, press down firmly, twisting from side to side). Once the scissor have pierced through, cut along the line. Repeat for the others.

*This should be done by an adult, or under careful supervision)


7. Wiggle the closed scissors in the slots to open them up a bit, before threading a leg strip in a slot and out the opposite one. Repeat with the second leg piece. Once they look level, hold the tube tightly near a slot and firmly fold the the legs down.  


8. Trim the legs so they're not too long and your cow body doesn't wobble!


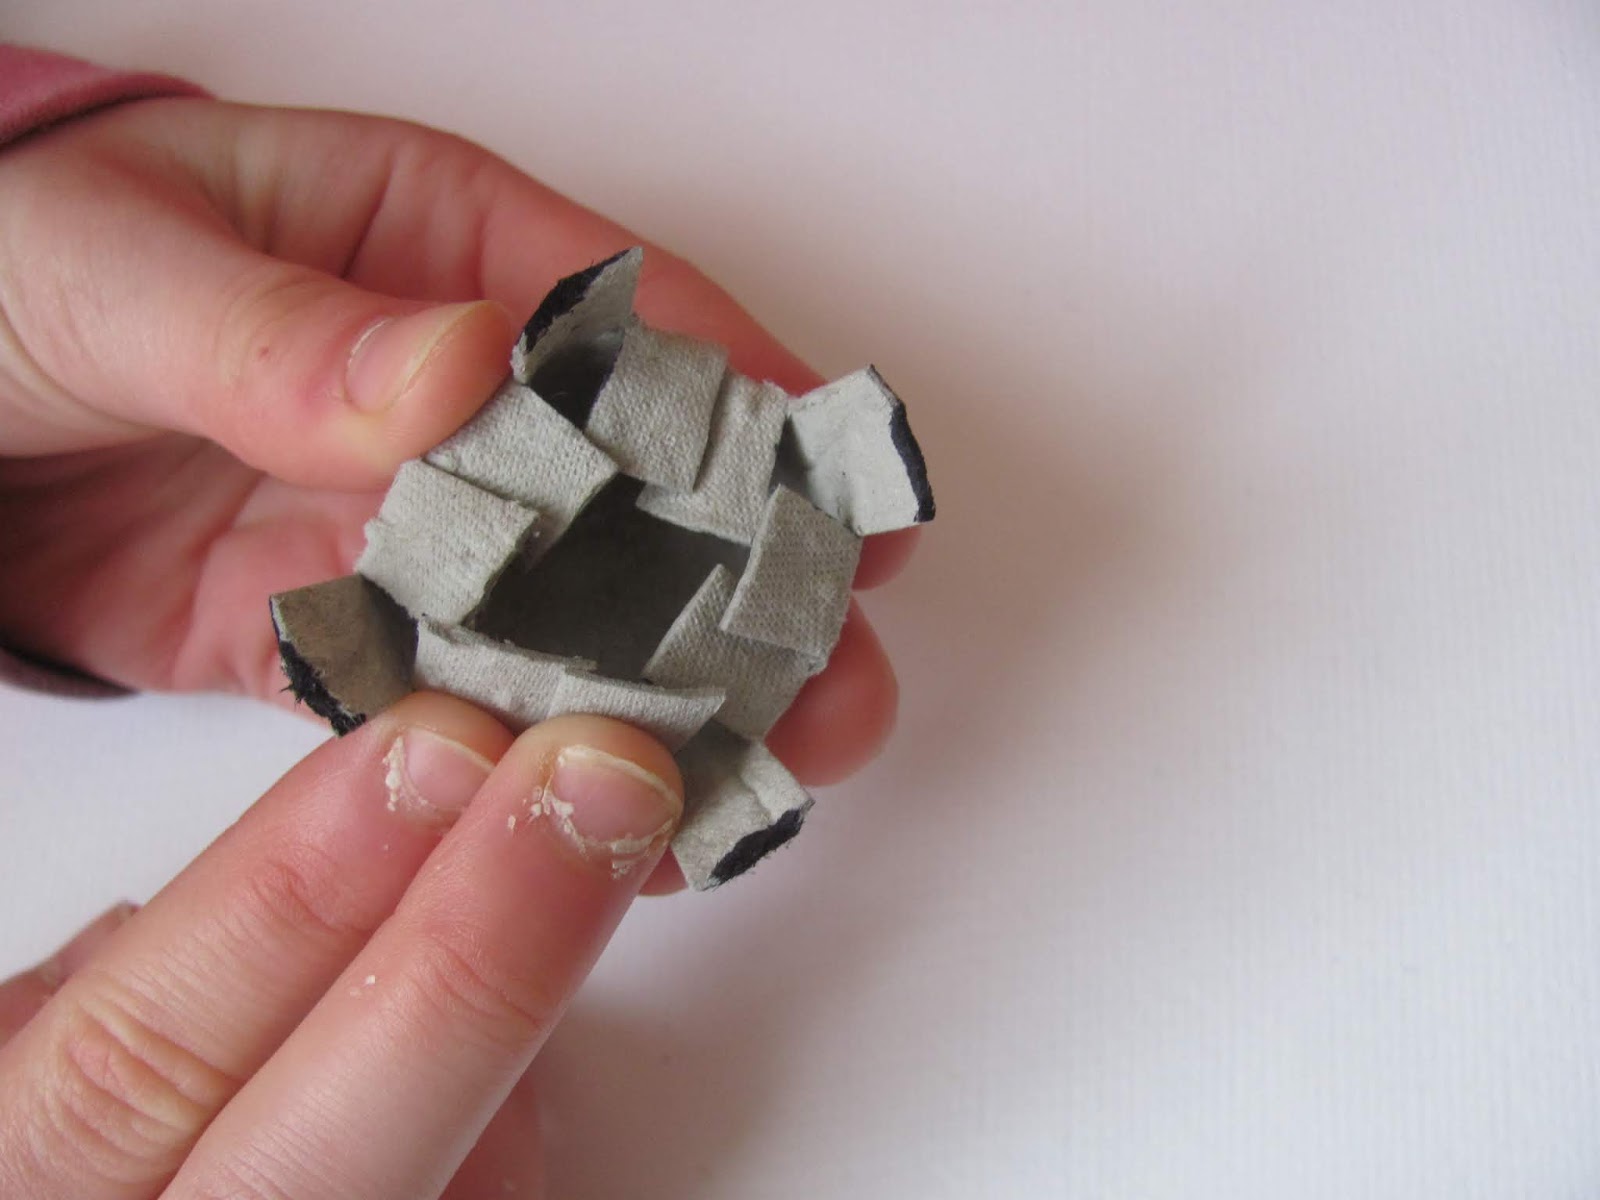
9. The head is simply cut out of the end of an egg carton - the moulded cardboard shape is perfect for a cow's muzzle. Use the picture below as a guide and draw either side of the moulded part that separates the eggs, draw ears in the egg cup sections either side of the muzzle and take the top of the head up as far as you can go, so it's right on the join with a middle cone.


10. Roughly cut out the head shape first and then cut carefully along the line - keep some of the cardboard join at the top of the head if you can, as it makes a good fluffy forelock of hair. (Apologies for carton colour change!)

11. Cut a piece of newspaper (roughly 20x20cm/8x8in.) and scrunch it up so it just fits in the end of the tube. Take it out and brush glue inside the end of the tube, before pressing the ball of newspaper back in, making sure it protrudes slightly. Glue the head onto the newspaper.


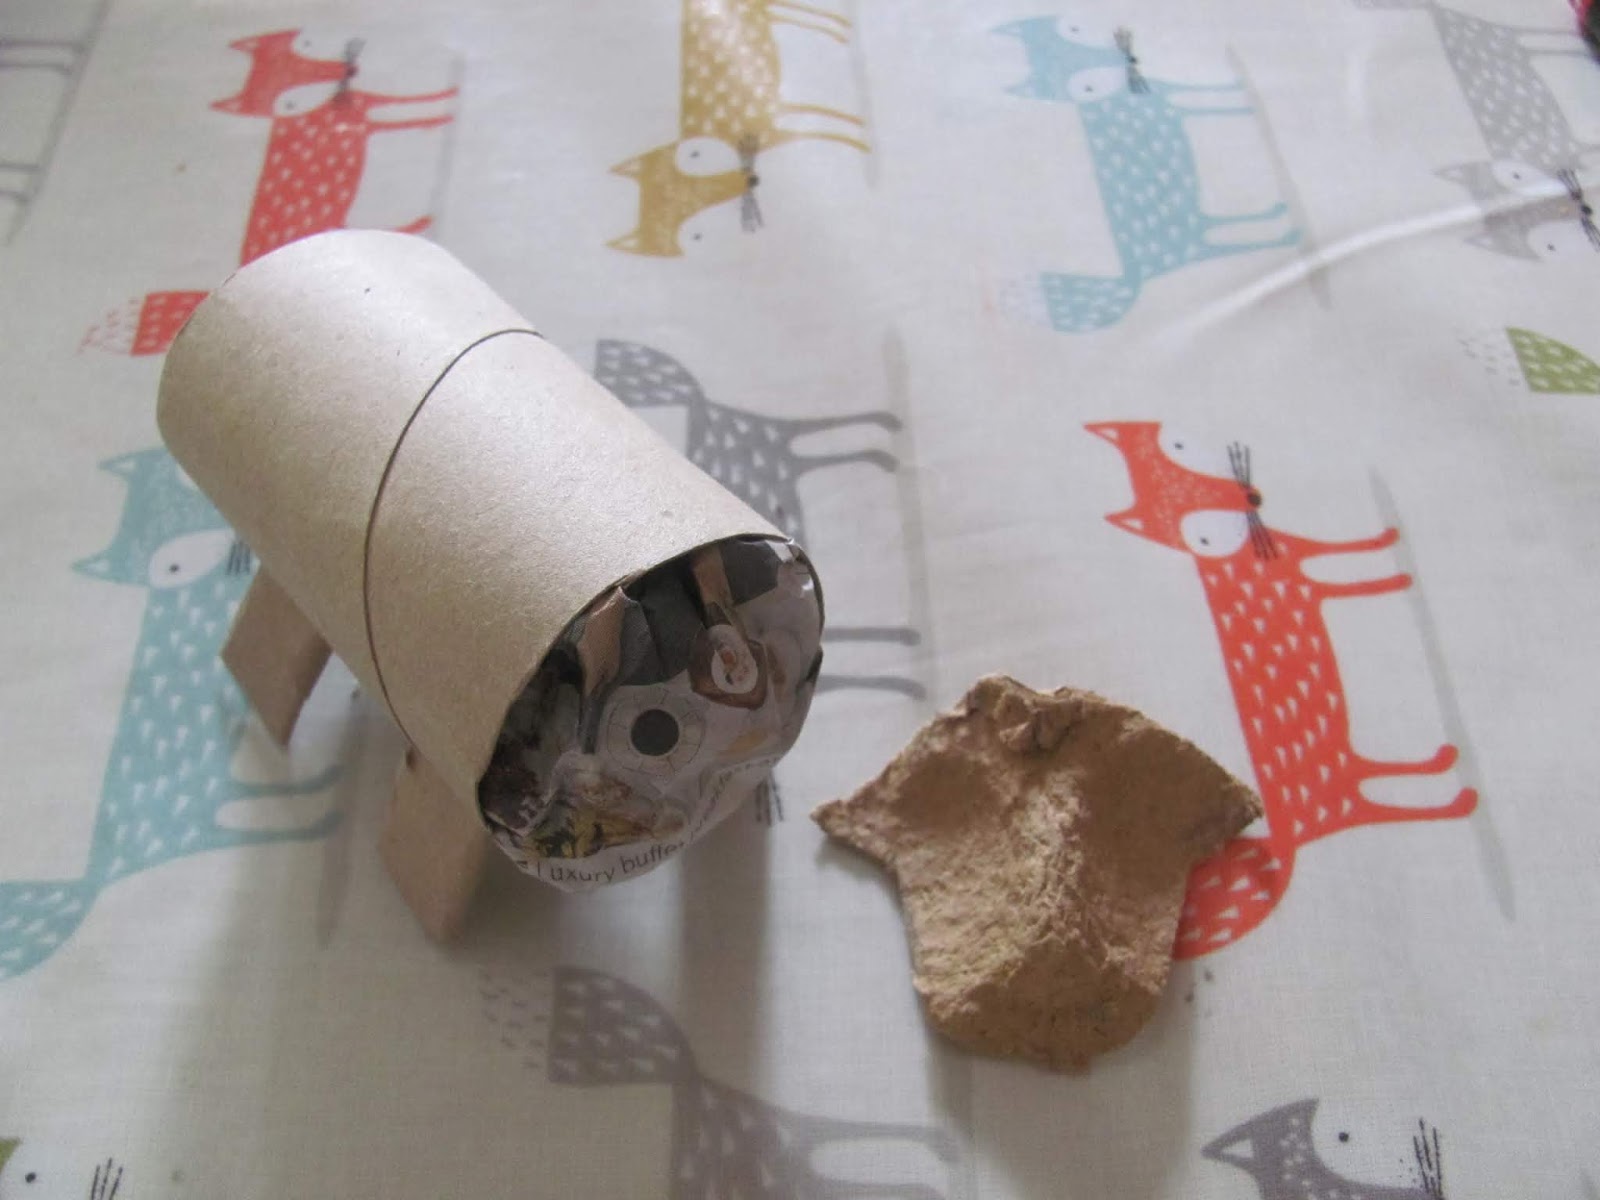
12. Cut a strip of card for the tail, from the spare piece of toilet paper roll from earlier, and glue it under the top end of your cow. Leave to dry.


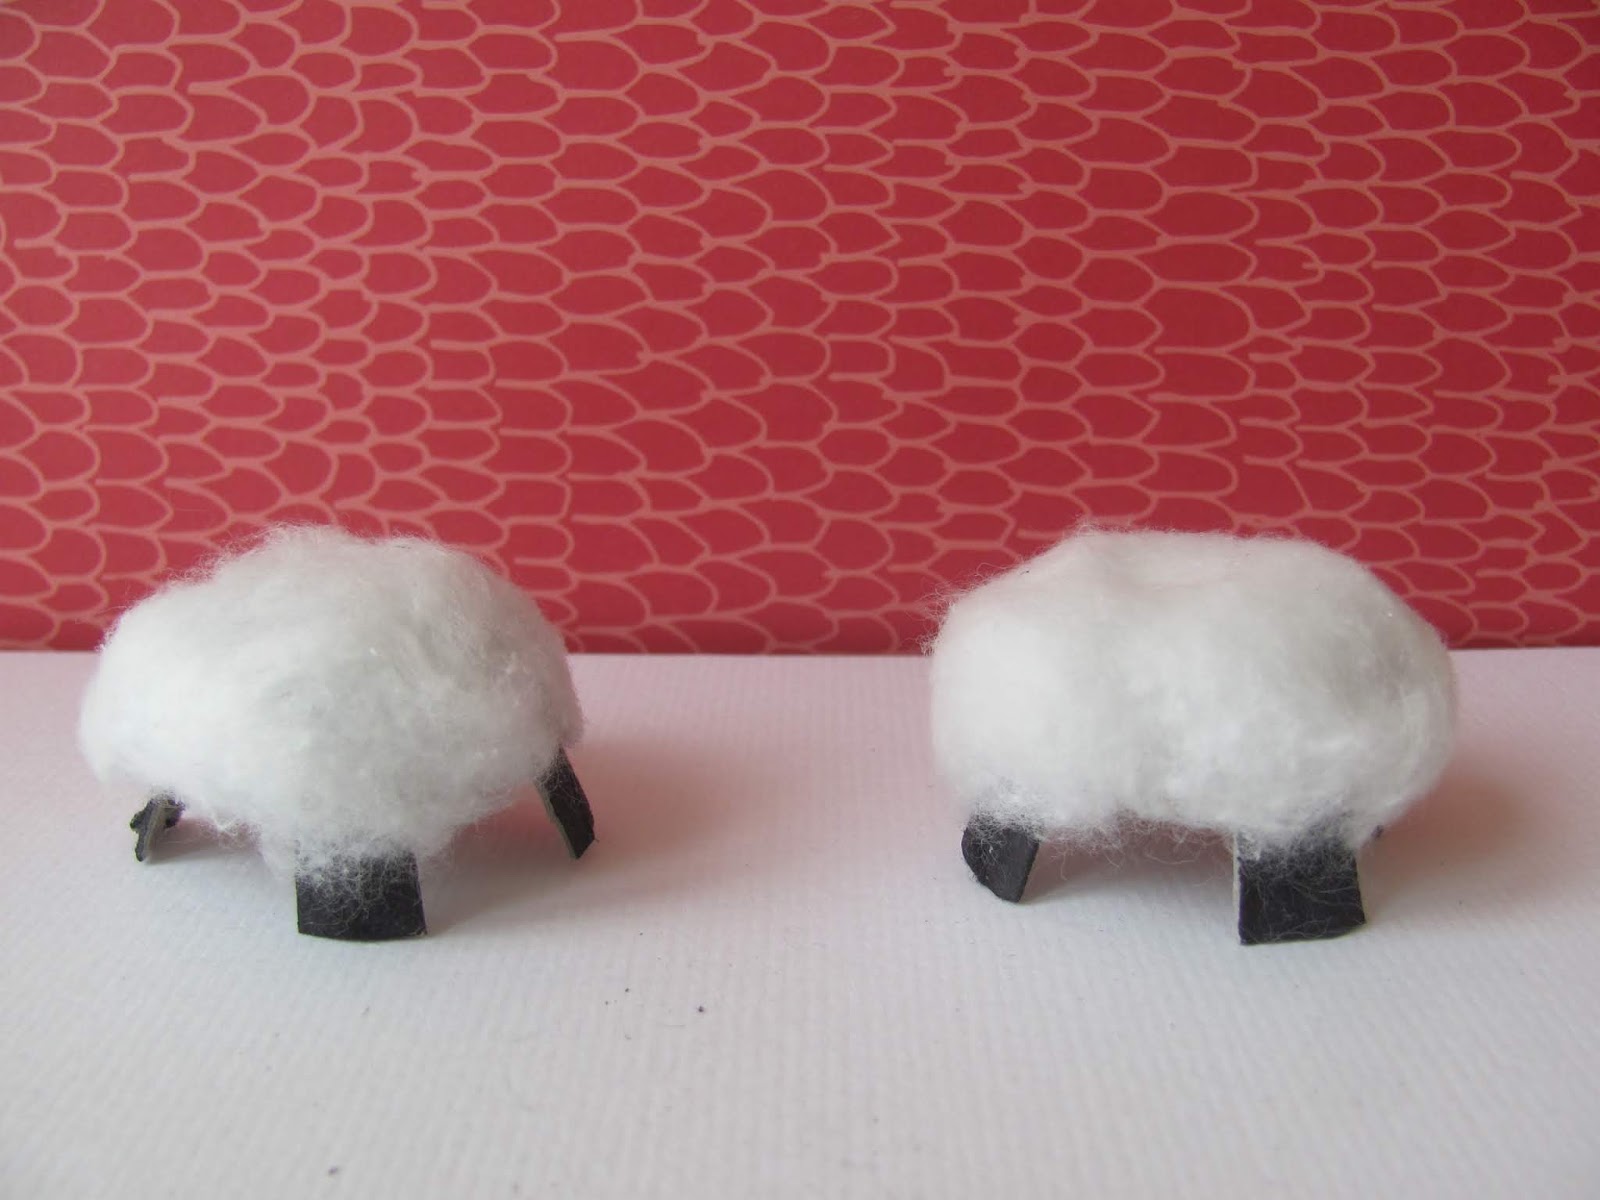
13. Once dry, paint your cow. If you would like to do a black and white one, like ours, then paint the whole thing white first, before adding the black markings. 
(The wet paint will make the legs go floppy - don't worry, when dry just bend them back into place.)


14. For the head, you could draw circles where you want the eyes to be and then paint around them. Paint the snout pink and when dry use a black pen to add nostrils. Bend the tail down, into place. 
(if your cow is a little head heavy and tipping forward, scrunch up another piece of newspaper and stick it in the tail end).


If you enjoyed this project, there are many, many more in 'Make Your Own Farm Animals'


8.9.18

Scamp! - the paper roll dog


paper tube dog


We called him Scamp because he sort of looks like he’s scampering.. think he’d be one of those dogs that never sat still! Scamp is made from cutting and folding a single toilet paper roll. Just one dab of glue at the end to stick the sides of his head together.

A narrower toilet paper tube is best - the one we used was quite narrow and about 10cm long.

It's probably easier to paint the tube first, though fine to do it after the making too. Make sure you paint inside each end of the tube before leaving to dry.

1. Press the tube flat, but concentrate only on one of the creases, pressing along it firmly with your fingers. Leave the other as a light crease.


2. Line up the two creases you've just made and press the tube flat again, and again, concentrate on pressing firmly along one of the creases, leaving the other. You should end up with tube with a flat bottom, like this.


3. On the flat side, measure and mark about 2cm in from each end. Then from each mark, roughly draw around the tube until you get back to the mark. Don’t worry if the line is a bit wobbly, it’s only a guide for cutting.


4.  At one end on the flat side, cut along the creases to the pencil line - these will be Scamp’s back legs. Halfway between these cuts, snip out a long, thin triangle, up to the line.


Repeat at the other end for the front legs, but this time snip a little bit over the pencil line, so the front legs are slightly longer.


5. At this front end, on the top of the tube, cut along the light creases to the pencil line. Fold the middle flap back and cut a ‘V’ from each corner to the middle of the line, for Scamp’s ears.


6. At the other end of the top part of the tube, inbetween the light creases, make two cuts up to the pencil line, quite close together, for the tail. (You could use the position of the ears to help position the tail). Cut away two long thin triangles either side of the tail (see below). 


7. Press the two flaps either side of the tail into the body.


8. At the head end, glue the end of the two flaps together and use a paper clip or clothes peg to hold it in place.


9. Once dry, trim if you need to, then use a black pen to draw his nose on the top corner and draw on eyes. Keep them high up, near the ears. 


10, Bend the legs down and shorten if you want to, and he's ready for a scamp!

toilet paper tube dogs

  
Walkies!!


25.8.18

Pots and pans - shoebox kitchen


This is probably the last kitchen project before we move onto another room (though there might be a bit of an animal interlude before we get going again.. ) So these are just a few accessories - plates, saucepans and a bowl of salad. 
Bottle top lids are really useful for kitchen extras! 

Plates

We cut these out of some spare cereal box card. You will need something small and circular to draw around like a bottle top lid or a coin. We used a smaller coin for the centre of the plate (5p). 


Before cutting them out, have fun with felt-tips! If you want to space your pattern evenly around the plate, start by drawing marks opposite each other, then keep making marks halfway between the previous ones until you’re happy (see pics below)


When you’re cutting out the plates, cut them out roughly first, then cut as carefully as you can around the circle, turning the card towards you, rather than trying to turn the scissors.


We then glued our favourite plates to the shelves on the wall in our kitchen.


Draw food on some plain plates to put on the table.


Saucepan

Choose a bottle top lid for the base of your pan and draw around it on some spare card (for the lid). Cut a strip of card for the handle too. 


Use a strong glue, like UHU to stick the cardboard lid onto the plastic bottle top and the handle on the side (let the glue dry before you bend the handle down, into place).

We glued a small bead on top of the lid and when the glue had set, sprayed the whole thing silver (best done by an adult or under supervision). It’s tempting, but don’t over-spray! Best to do one quick coat, let it dry, then apply another one.


Salad bowl 

Another bottle top lid, brush glue inside - cut a piece of green tissue paper and lightly scrunch it up before putting it into the lid. When you’re happy with your lettuce, use a hole puncher to punch a few small round tomatoes out of some red paper (or plain paper coloured in) and glue them on. 


Add more if you want, or put something else in the bowl. You could make some fruit out of modelling clay and have a fruit bowl. 
And if you have any little stickers why not use them to decorate a bowl.