31.3.17

Cork crafts with a twist for Easter

cork cat

cork chick

I'm not sure where this idea came from... but hey, why not a chick on an Easter bonnet or a cat on a hat?? Probably has something to do with the amount of time I've spent looking at corks! I wanted to come up with a quick project that involved simple painting and was possibly a bit quirky? The bottom part of the cork below the rounded top just made me think HAT.

You'll need:
Cork (from something fizzy)
Paint
Coloured paper
Craft glue
Glue stick
Pencil
Spice jar to draw around
3 feathers (for the chick)
Small stickers/sequins (optional)
Spare card (for the cat)
Black felt-tip or gel pen


1. First, paint the rounded top part of the cork yellow for the chick, then decide what colour hat you want, and paint the bottom part. You could paint it the same colour as the paper for the hat rim (like we did) or make it completely different.

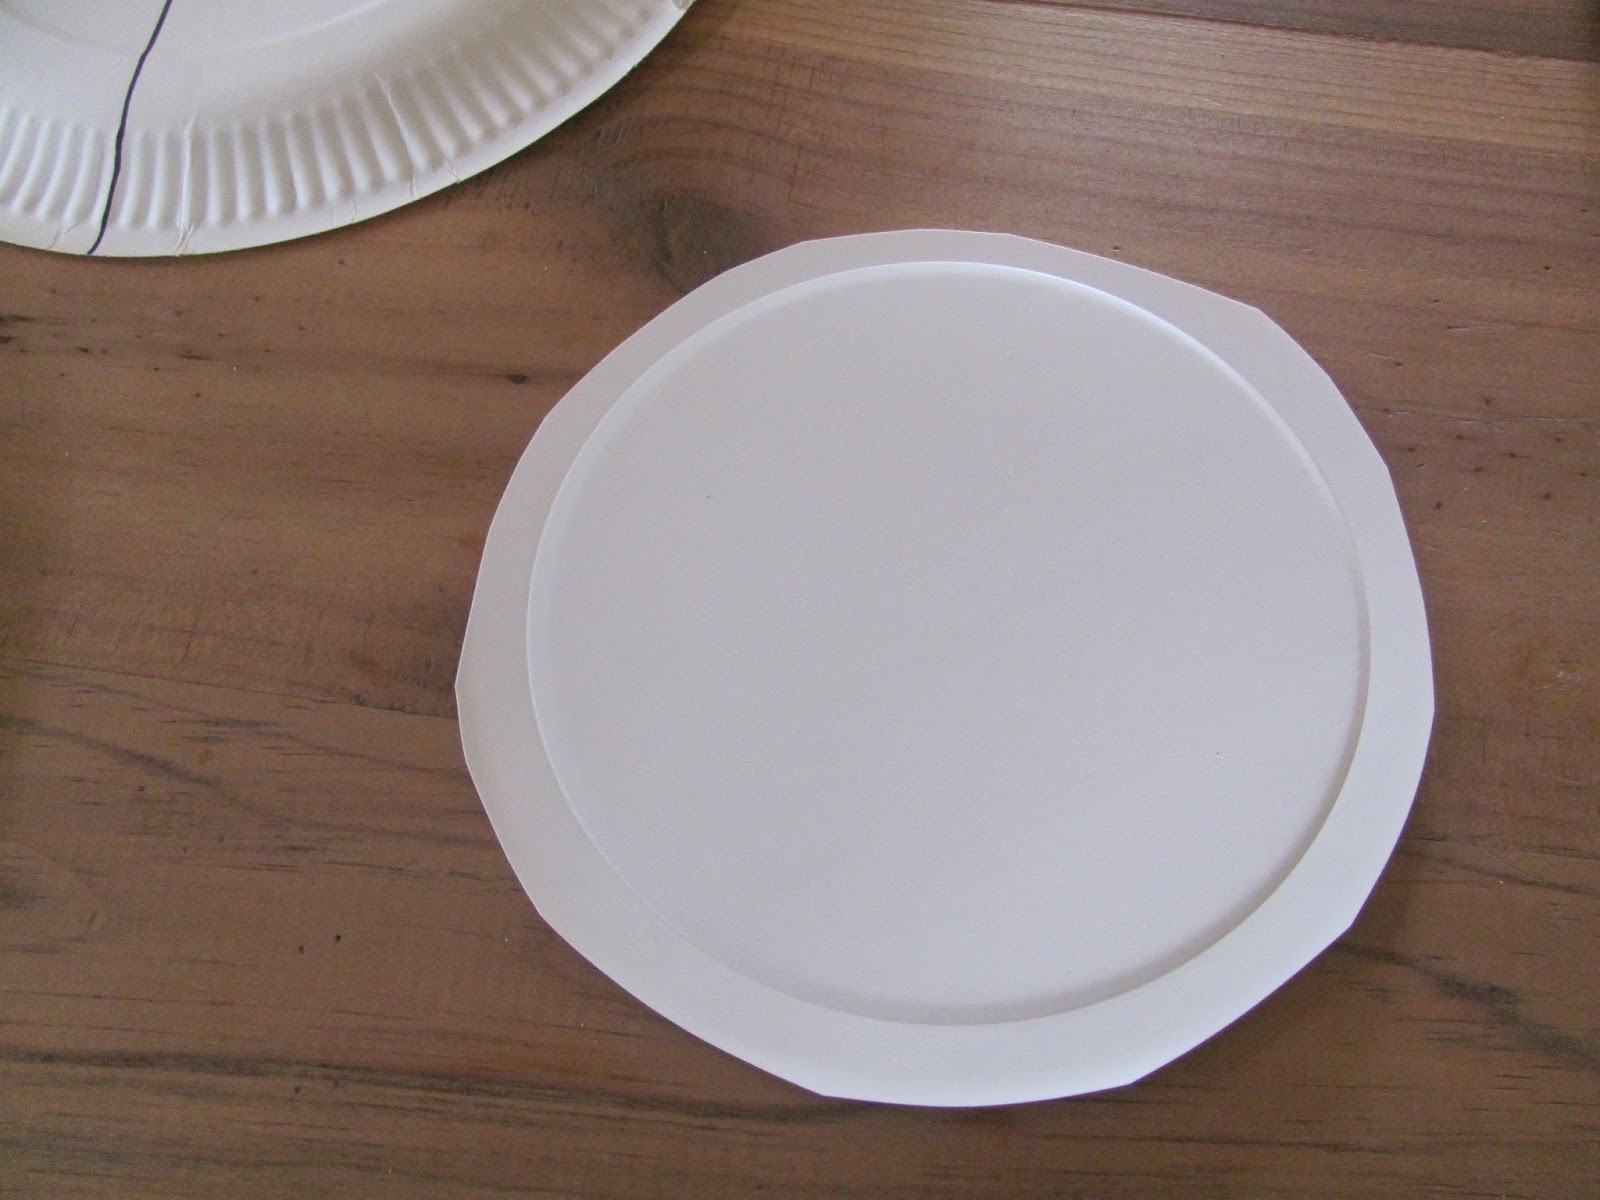
2. For the rim of the hat, find a circle shape that's bigger than the bottom of the cork (we used a small spice jar), draw around it with a pencil and cut out. Cut a thin strip of paper for a hat band.


3. Put a thin layer of glue on the hat band strip (a glue stick is best for this) and wrap it around the bottom of the cork - don't worry if it doesn't go all the way around (like ours) - the gap can be covered by the rim of the hat. Glue the bottom of the cork to the paper circle - place it a little off centre, and then glue the wider part of the rim to the side of the cork to make a turn up. If you need to, lean a book on the hat turn up while it dries.


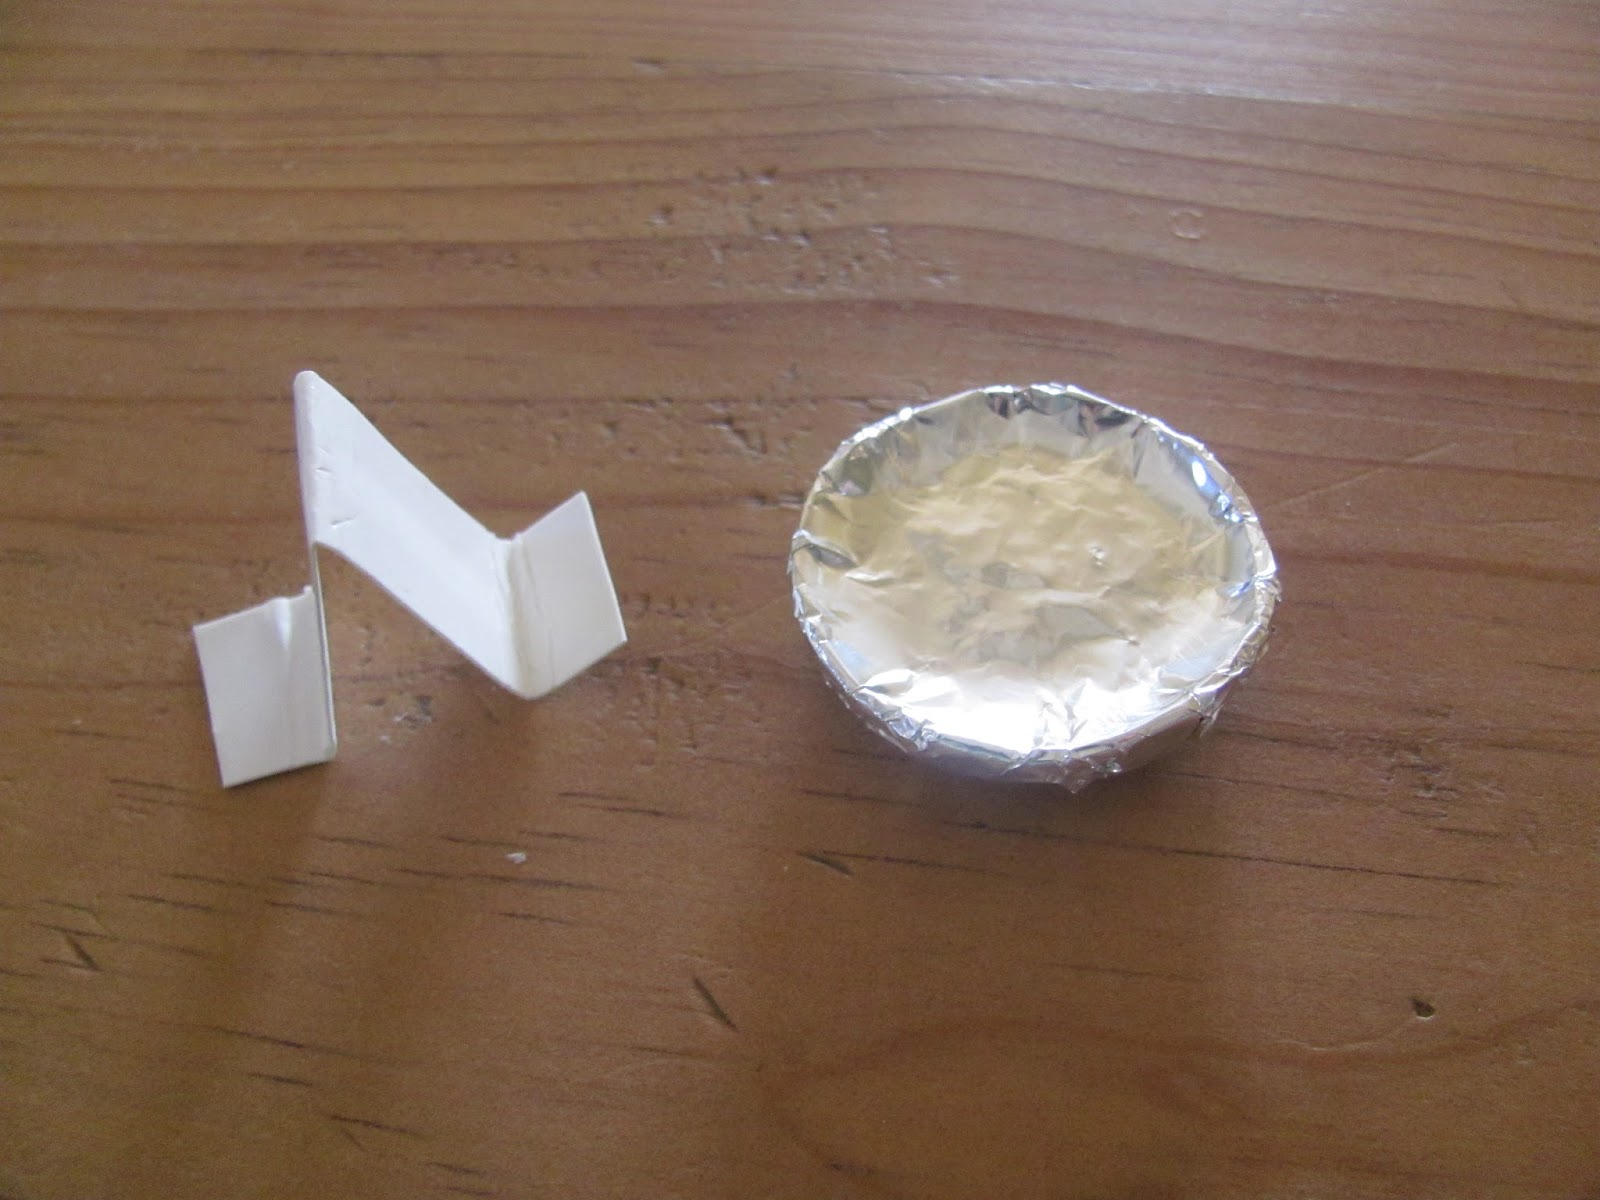
4. To decorate, we made little paper flowers, but if you have some pretty small stickers or shiny sequins these would be an easier option and would look so lovely too.

(To make the paper flowers, cut a very small square of paper, fold it in half then half again. It helps if you draw a petal shape on top, starting from the corner that's the middle of the square (centre of your flower). Do a few practice ones - sometimes they can end up looking more like butterflies, which is good too! Cut out a circle for the middle, or use a hole punch to make circles, or paint the centre)


5. Use a black felt tip or gel pen to draw eyes on your chick, near the top, and straight above the hat turn-up.

6. Cut a small orange triangle for the beak (if you don't have orange paper, colour in some plain paper or draw a beak straight onto your chick with an orange felt-tip). Dab the tiniest bit of glue just below the eyes (or use a glue stick), wet your finger to pick up the tiny beak and stick it in place.

7. Glue feathers either side, for the wings.


- and, if you want, add a head plume. Make a hole on top, near the front, just above the eyes, using a small screw (screw it in until the hole is deep enough) - put some glue on the bottom of the feather and push it into the hole.


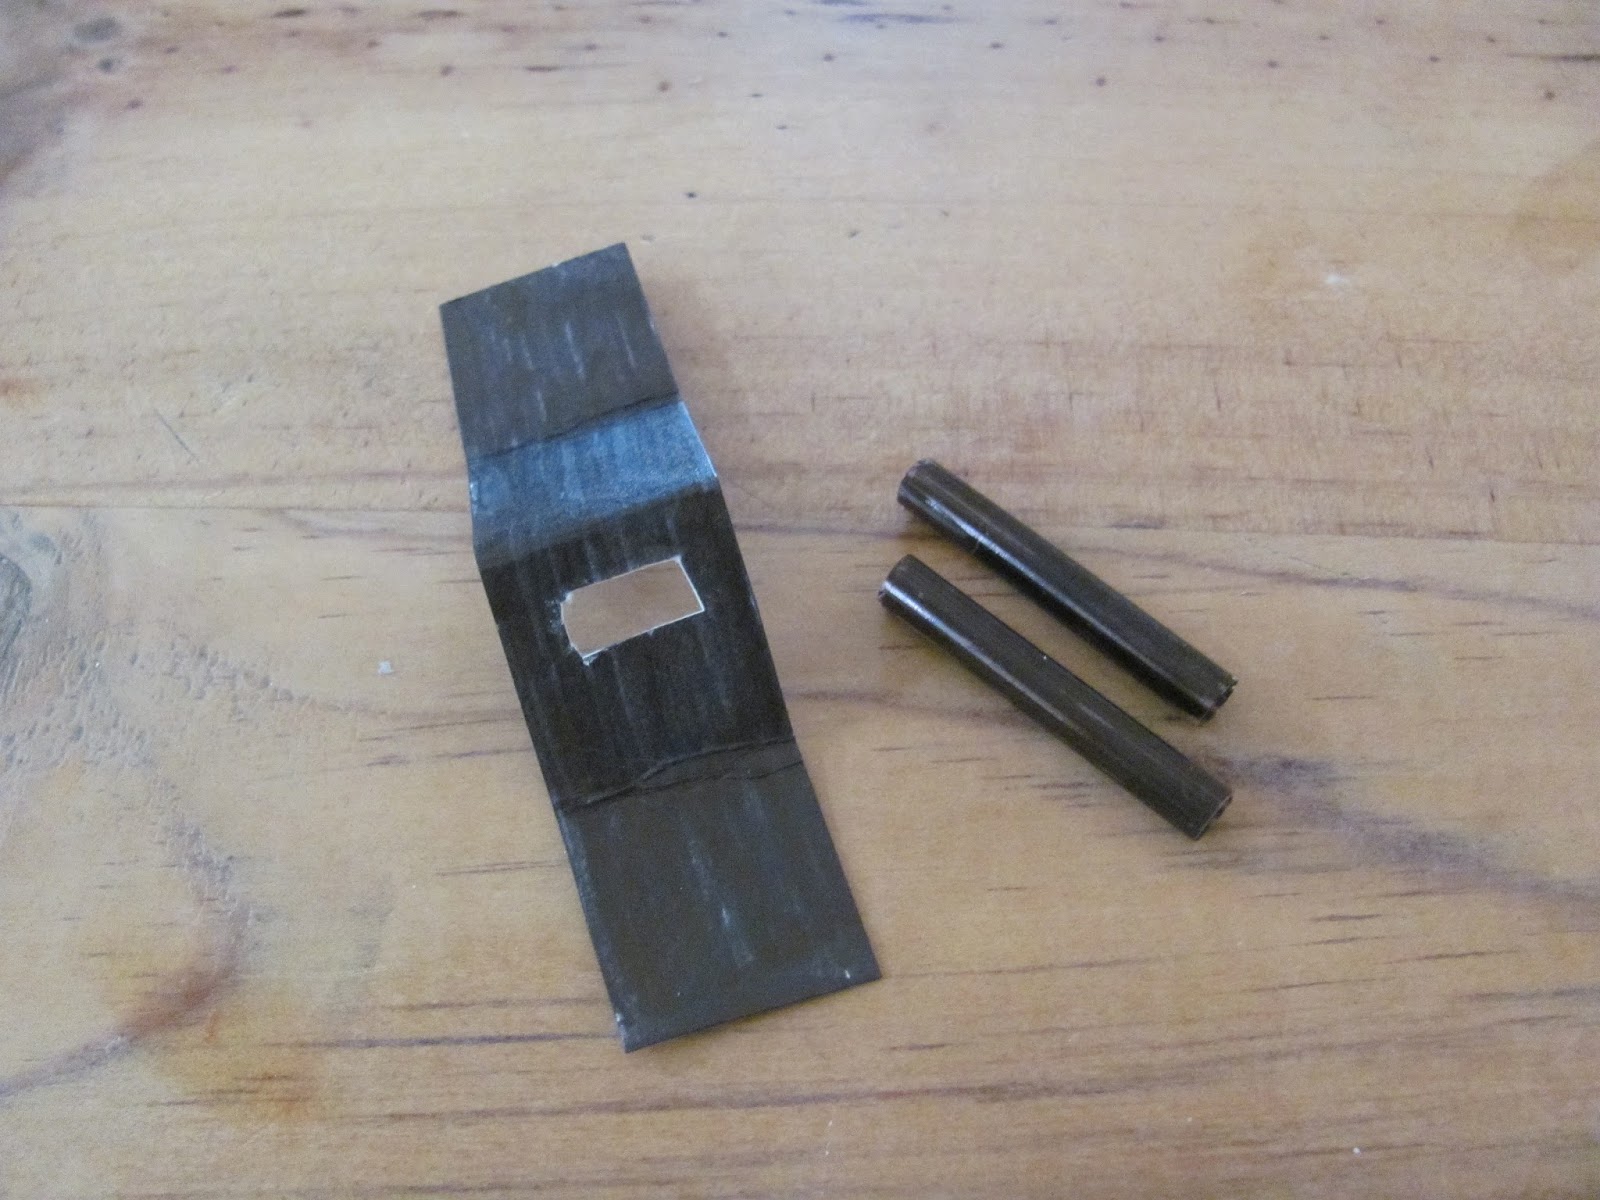
8. For the Cat, follow the instructions above to Step 4, making sure you also paint a small piece of spare card (or paper) the same colour as your cat's body (for the tail and ears).


9. When the paint's dry, draw and cut out a tail and a small square (that will be the ears) - make sure it's no wider than the top of the cork.

10. Fold the small square in half and on one side of the fold line, draw pointy ears. Carefully cut around them, bending the piece between the ears back so it's easier to snip off.


11. Glue the bottom part of the folded ear piece to the top of the cork, straight above the hat turn-up.


12. Use a black felt-tip or gel pen to add the face detail and then paint a lighter shade on the cat's tummy.


Now's the time to paint on pen on more detail if you like. We added some stripes (don't forget to paint them on the tail too!), but leave your cat plain if you prefer.

13. Glue the tail in place so it wraps around the front.


Let me know if you have any other thoughts about what to put on the hat!!


17.3.17

Millennium Falcon - Star Wars Craft

Millennium Falcon craft

We've made a fair number of Star Wars figures so far - time for a spaceship, don't you think!
This Millennium Falcon is made from paper plates and can be decorated any way you like.

You'll need:
4 to 5 paper plates (ours were 23cm/9in. diameter)
Egg carton
Craft glue
Black and red fine tipped marker pens (like Sharpies)
Ruler
Pencil
Craft scissors
Small scissors (straight-edged nail scissors - adult supervision required)
Ball of plasticine (modelling clay)
Straw
Tin foil
Metallic silver marker pen
Newspaper
Cereal box card
Paper clips

1. On the back of a paper plate, flatten it down a bit, and use the ruler and marker pen to draw a line across the middle of the plate, and then another across that, to divide the plate roughly into equal quarters. Try to get the lines to cross as close to the centre of the circle as possible, but it really doesn't need to be perfect.


2. Take another plate and cut out two similar-sized long, thin triangle segments, cutting up as far as the centre of the plate. Glue these on the top of your spaceship - in the middle of two, opposite sections. Cut small pieces from the spare plate's bumpy rim, to stick on the triangles, to add a bit of detail.


3. For the front part of your Millennium Falcon, take another paper plate and cut the rim off carefully, so you're left with a flattish circle.


Fold it in half and cut a little off the bottom to make a straight edge. I've drawn a pencil line where the cut needs to be.


4. Then cut a piece off the side at an angle - don't make the angle too sharp (see the picture).
Open up the circle and slip it under the top of your spaceship (between the sections with triangles), until the sides roughly line up with the black lines, and part of it is still sticking out.


 Either side of the fold, draw a pencil line up to the plate and cut this piece out. Glue the front section to the rim.


5. Cut a strip of card from a spare plate ( like the one you used to cut the triangles from). Make it roughly as long as half the width of the plate. Glue it from near where the black lines cross, down the middle of the front section of your spaceship, so it just hangs over the edge of the plate.
Again, add a few small pieces of the rim for some detail.

6. Cover the messy joins in the middle with a circle cut out of any spare card. Use the bottom of a small spice jar or something similar to draw around. Glue in place.


7. For the cockpit that sticks out at the side, we found the easiest way to get the right shape was to draw a rectangle that's 4cm by 15cm (11/2in.x6in.) on some spare paper plate card (make the rectangle shorter if you're using a smaller plate).
NOTE: We've used extra paper plates for all the extra bits to keep our Millennium Falcon looking the same colour, but if you don't want to use so many plates, cereal box card would be absolutely fine too.


8. Mark 3cm (1in.) from the bottom of the rectangle and draw lines sloping in on either side. Use the ruler to draw a line from the top right-hand corner to the bottom lefthand one, just above the end of the cockpit (see pic).


9. Cut along the sloping lines and make sure to leave an extra section of card on the right-hand side, so it's easier to glue the cockpit inside your starship.


10. Either simply colour in the bottom of the cockpit with a silver metallic pen if you've got one, or for a more 3D effect, draw around the bottom part only on some spare card, cut out this matching piece, and colour in.
Make a cut in the middle of each piece, about half way down, and snip out an extra sliver to widen the slot if you need to. Check they fit together but don't attach yet. Glue the whole cockpit piece under the rim of the top part of your spaceship.


11. Time to decorate, and we didn't add too much detail to our Millennium Falcon, but it's absolutely up to you! Have a look at some pictures online, or come up with your own design. Stick on more pieces of the plate rim if you want - drawing in the grooves looks pretty good I think.


12.  If you'd like to make guns to put on top, cut out a strip of card, 8cmx2cm (3in.x3/4in.). Colour one side of it with the black marker pen and also colour in a length of straw (with the marker pen), so you can cut two 3cm (1in.) pieces from it.


13. Fold the strip in half, then in half again. Open it up and make a hole with nail scissors in a section above the middle fold. Put a ball of plasticine behind the card, keep the nail scissors closed, press down and twist from side to side. When the scissors pierce through, cut out a wide slot that's big enough to fit both straw pieces, side by side. Check they fit then take them out.


14. Brush glue on one end of the strip and fold and glue it to the other end, to make a triangle shape like this one. Use a paper clip to hold it together while drying if you need to. Glue the straw guns in place.


15 For the sensor dish (again, optional) - take an egg carton and cut the bottom out of an egg cup. Make it as shallow as you can and cover with a piece of tin foil. Cut another strip from some spare card (about 1cmx6cm - 1/2in.x21/2in.), fold it in half, then fold the bottom ends. Glue the middle part together to make an upside down 'T' shape. Glue the dish to this support and glue the bottom tabs of the support to your ship, along with the guns.
If you've made one, glue the extra part of the cockpit on too.


16. While that's drying, you could add a bit of card to hold onto, to the bottom part of your Millennium Falcon. This is optional.

Cut out a strip of cereal box card that's a good width to hold onto and is about 20cm (8in.) long. Take another paper plate and make a slot in the middle (using the nail scissors again). Make it wide enough for the cardboard strip, slot this in and glue the top part to the plate. You could put something heavy on top of it, like a book, to hold it in place while the glue dries.


17. Scrunch up small pieces of newspaper and put them in the middle of the plate. This should help stop the ship losing its shape when it's stuck together, but don't over fill it!


18. Brush glue along the edge of the bottom plate, and glue the top part on. Use paper clips to hold together while it dries.


6.3.17

Ted with a heart - cork craft for Mother's Day


Following almost hot on the heels of the bunny cork with a heart, comes Ted, and he's even easier to make! Again you could write a personal message on the heart, or even use a photo. Plenty of ways to make it a lovely little Mother's day gift.

1.3.17

Obi Wan Kenobi - Star Wars craft

Star Wars craft

Obi Wan Kenobi craft

Obi Wan Kenobi joins the Star Wars gang! He's made in a very similar way to the other two.

You'll need:
Egg carton
Brown paper
Pencil
Ruler
Craft scissors
Nail scissors or similar (optional) Adult supervision required
Paint
Craft glue
Black felt-tip or gel pen
Blue straw
Black marker pen (like a Sharpie)


1. Roughly cut out two middle cones from the egg box so they're easier to work with. On one, draw a pencil line around the cone, just above the bumpy joins at the bottom and cut out. This will be the body. Follow the step-by-step for Luke Skywalker and Han Solo to make the body, legs and arms.


2. For Obi Wan's head, take the other cone, and use a ruler and pencil to measure and mark about 2cm from the top of the cone on each side. Join the marks and cut out. (A handy way to do this is to cut up two adjacent corners to the pencil line, bend the card back and cut off the flap - it should be easier now to cut along the rest of the line.)

3. Lightly draw a line around this cone piece, about halfway up. It doesn't matter if it's a bit wobbly, it's only for guidance.


4. Cut up all four corners to the line, bend 3 of the small card flaps back and cut them off, leaving one remaining for a beard. Round off the bottom of the beard.


5. Make his cloak next. Place the body (without the arms) on it's SIDE on some brown paper. Use a pencil to draw a line where the side touches the paper and mark the top and bottom of the figure too. Roll onto its back and mark the bottom again, then roll carefully one more time onto the other side and mark where this touches the paper. Join the marks and gently round the top of the cloak before cutting it out.


6. Painting time. Keep the arms out and paint them a similar brown to the cloak (mix yellow and red then add a dab of blue until you're happy with the shade) - use this for his boots too. We mixed yellow and white to make a creamy colour for the body and legs, and made a flesh colour for the face and hands by mixing lots of white with a little yellow, red and tiny spot of blue. Paint his hair and beard grey.

TIP: Put the head on a spare egg carton cone while you're decorating it.


7. Push the arm strip in the slot (or if you're not doing slots, cut the strip in half and glue the arms either side), and glue on the head. Brush glue on the top part of the back of the body, including the back of the arms and stick the cloak in place (trim first if it looks a bit on the big side) Use paper clips if you need to.


8. While the paint's drying, make a lightsaber from a blue straw. Cut off about 4cm (11/2in.) and colour the bottom end with the black marker pen. Cut small slits in this end so you can slot the lightsaber onto Obi Wan's hand. 


9. When the paint is dry, use the fine black pen to draw on a face and add detail to the clothes and hair.


TIP: If your egg cones have holes in the top, brush glue inside the cones and push a small piece of newspaper up to fill the hole.