Showing posts with label egg carton craft. Show all posts

26.4.20

Egg Carton phone stand hack! - #stayhomeandcraft

egg carton craft

Proof that not only are egg cartons brilliant for crafting with, they're also super useful too!

I've been trying to think of something easy to make that might come in handy in this strange new lockdown world we're living in, and this does the trick I think.

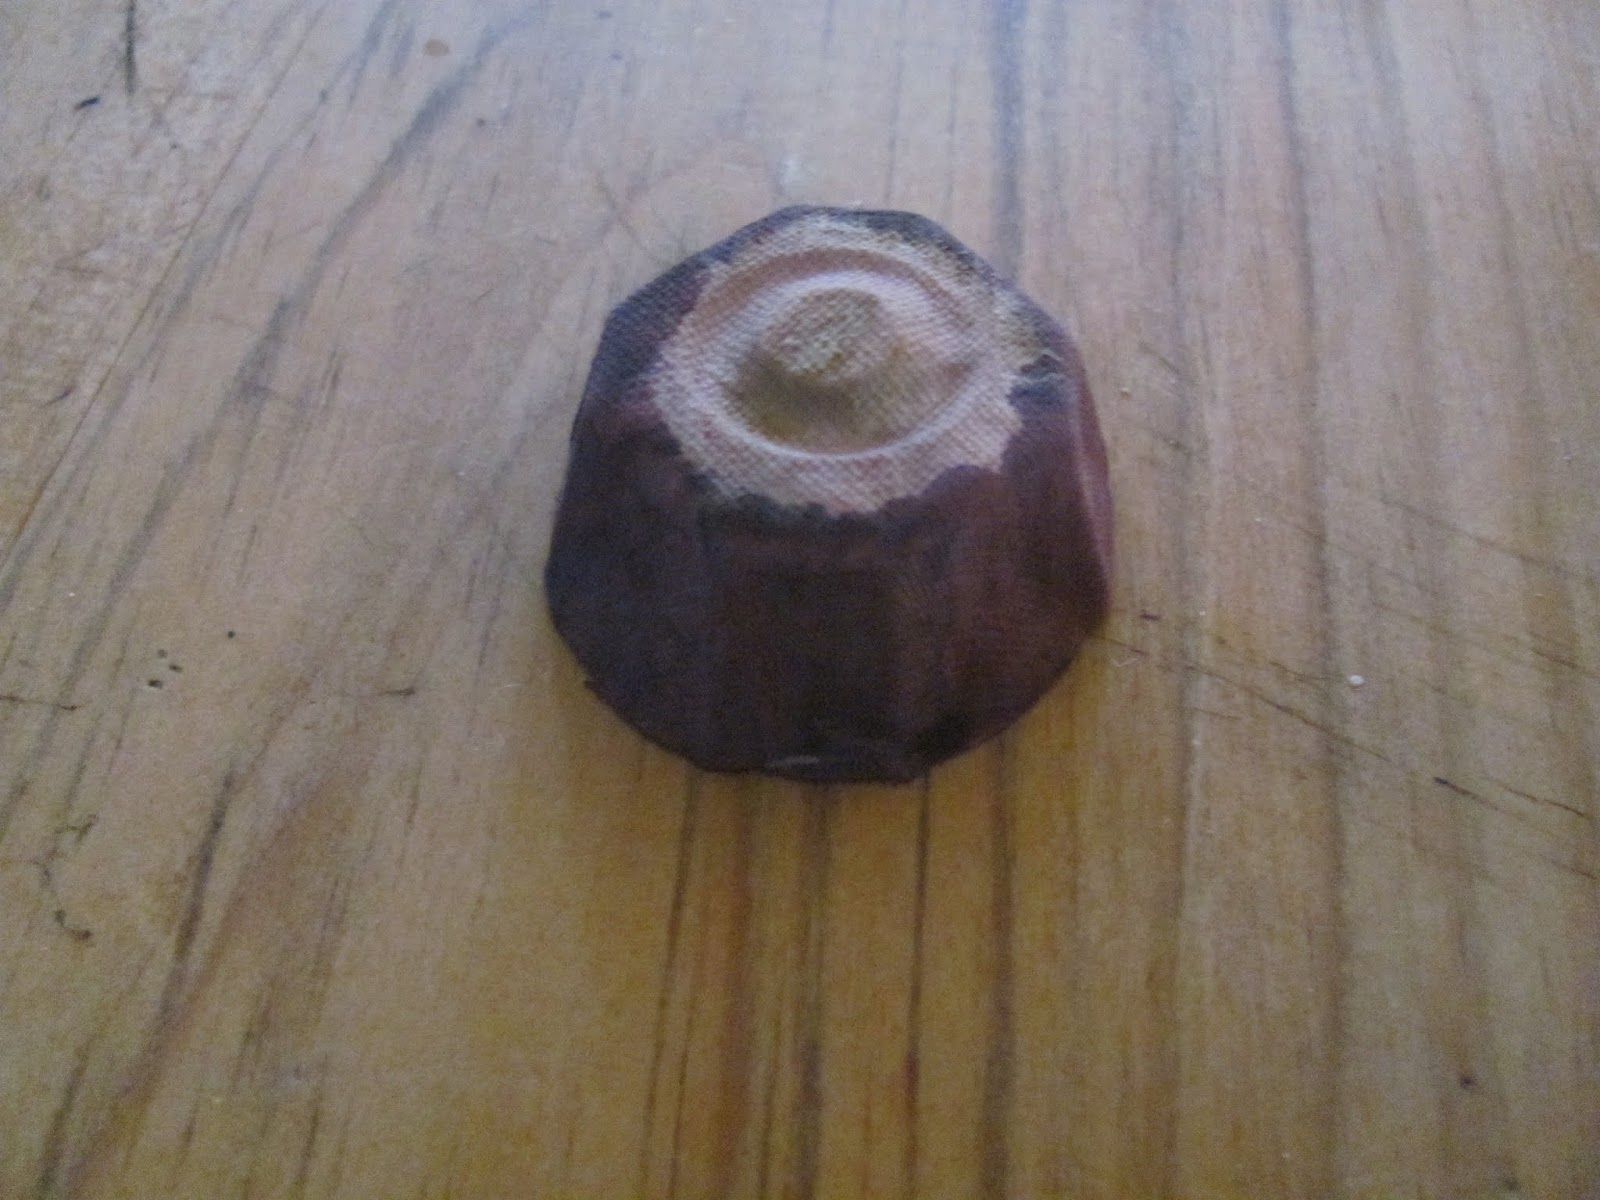
We've been making a lot more video calls to friends and family and often had problems propping my phone up, until I popped it into the base of an egg carton! The groove in front of the cones is a perfect fit for a phone, and leaning against the cones tilts the phone at just the right angle.

So there's no need to do anything apart from take the lid off, but where's the fun in that?? So you can have all kinds of fun decorating your phone stand/holder anyway you like.

And when it's not being a phone stand, it could be a useful little desk organiser.. or treat holder?

Here are a few decorating ideas we had.

Rainbows are popping up everywhere, so this seems like a good choice at the moment. Just paint the egg carton base blue - we mixed in some white to get a softer blue, then splodged on some white for clouds.


For the rainbow, find something with a round base that is wider than the distance between the two egg carton cones. Draw around it and cut out the circle, then cut the circle in half.


Draw, paint or colour your rainbow.

Make slots in the top of the cones for your rainbow. Nail scissors are good for this (best done by a grown up though)


You could turn your cones into penguins..

The best order for painting is probably the blue sea, then white tummy (or leave if your egg carton is white-ish already) and finally black.

Paint or stick on a beak and feet. Original penguin craft tutorial is HERE.


Or what about hens? For someone who loves their chooks?

I used an orangy yellow egg carton, so no need to paint the cones, just the base which we painted green.


Cut out a tail feather shape (see pic below) and wing shapes (like a teardrop or petal). Glue the wings either side and make a slot in the back of the cone, long enough for the tail feather. Nail scissors are good for making the slot (needs to be done by a grown up) Keep the scissors closed, pressed down firmly, twisting the scissors to make a hole, then cut the slot.


The hen's comb is a small scrunched up piece of red tissue paper, glued on top, the eyes are drawn on with a black pen. We made a sticky out beak (like the penguins), but the easiest way to do the beak is to paint or draw one, or glue on a small triangle. Paint or colour in a red wattle under the beak.


The cones could be bunnies..

We painted the base green, but you could use a green carton - and then painted the cones grey. We painted some of the lid grey too, for the ears.


Cut out two petal shapes for the ears from the painted egg carton lid, and then snip out the middle part, to separate each ear.


Paint the tummy part white, a line of pink in the ears (or colour this in) and use a black pen to draw a face, right on top of the cone. Glue on a little piece of cotton wool at the back, for the tail. There's a more detailed tutorial HERE.


20.2.20

The Big Blue Egg Carton Whale - #stayathomecrafts


This is a great craft because it's more than just a whale! It's somewhere to keep tiny treasures,  or pieces for simple games you can play with your little ones.

You will need:
An egg carton
Cereal box card
Craft glue
Scissors
Paint
Black marker pen
Plain paper
Nail scissors (*to be used by an adult)

1. The first thing you need to do is paint your egg carton. We used ordinary ready-mixed poster paints. Add some white paint to the blue as this helps cover up any print and pictures on the box.

Paint some spare cereal box card blue too, for the tail and fins. We painted the bottom half of the egg carton a lighter blue, but it doesn't look very different in the pictures!


2. You could cut the tail out freehand, but we decided to make a template - fold a piece of thin card or paper and draw half a tail on the fold, then open up. Make it long enough so there's plenty of card to glue inside the egg carton. We cut a triangle shape template for the fins.

3. For the mouth, carefully run a brush with some black paint along the bottom edge at the head end (see photo below) Take it around both corners of the carton so you get a nice wide smile. When the paint is dry use a black pen to finish off, lifting the corners of the mouth, so there's a happy grin. Add eyes too or use googly eyes if you prefer.


4. Glue one fin just under the front edge of the lid, near the eye, and at the back, snip along the cardboard hinge join, just enough so you can slot in the second fin.


5. For the water spray, take a piece of plain paper, about 8cm wide and 16cm long, and roll it into a tube. Don't make it too tight - you want to be able to get the arm of your scissors inside the tube. Dab a little glue on the end corner  or edge of the paper, to hold the tube together. Then cut about halfway down the tube, at roughly even spaced intervals, and all the way around.


6. Find a strand of paper right in the middle of the tube and give it a gentle tug, to pull it up a little. Don't pull too hard though, as you don't want the inside to pop out completely. (This part reminds me of making palm trees from newspaper tubes, do you ever remember doing that?) Splay out the paper strands a little by pressing down lightly with your hand. This makes it look a bit more splashy!


7. Use something like nail scissors* to make a hole for the spray on top of your whale. (Keep the scissors closed, press down and twist from side to side) Then cut a cross that's a little bigger than the width of your paper tube, and push through the card with your finger. Brush a little glue in the hole and push the spray into it.


8. If you'd like to make some waves, squirt some blue, green and white paint onto a plate or palette and use a big brush to mix and swirl the colours together - this is great fun and looks really effective.


Cut some wavy lines and fold each piece roughly in half to prop them up.


There are all kinds of things you could put inside your whale. We made some little pine cone fish and painted them lots of bright colours. You could use them to help your little ones learn colours, or help with counting.


10.12.19

Egg carton bunny burrow bank!


This little bank of burrows is great fun to play with and a handy place to keep your egg carton bunnies.

You'll find the bunny project HERE.

For the rabbit warren, snip the middle cones off inside the carton and use cotton wool or fold some kitchen roll to make it cosy inside. Paint the outside green.

While that's drying, cut an egg cup from another egg carton, and trim above any cardboard joins or gaps, so you end up with a short cup. This is going to be the tree stump.


Make up a brown colour (mix yellow and red, then add a dab or two of blue), add a little to some white to make light brown and paint the top of the stump. Use the brown to paint the around the side, plus a little around the top edge.


Cut a strip of green paper, about 2cm wide, long enough to wrap around about two thirds of the bottom of your stump.


Fold it in half longways, and snip zigzags along one side, up to the fold, for the grass.


On the other side of the fold make a few snips along the strip - this makes it easier to glue under the edge of the egg carton. Brush glue along the edge and inside the egg cup, and press the paper into it.


Make some burrows in your egg carton bunny bank (we used nail scissors to pierce a hole - keep them closed, press down and twist from side to side - then cut a burrow.

Glue the tree stump in place and add some bunnies!


17.10.19

Egg carton Mice

egg carton mice kids crafts easy crafts


WHO ate all the CHEESE??!

These little egg carton mice are having a lovely time, and when the kids have finished playing with them, they can be packed away inside the big cheese for next time.

You will need:
2 Egg cartons
Pencil
Scissors
Plain paper
Paint
Glue/glue stick
Black marker or gel pen
Yarn (for tail)

1. First, roughly cut out the middle cones from the carton, so they're easier to work with.


2. Use a pencil to lightly draw a line around the bottom of the cone, just above the bumpy cardboard join (for guidance, so doesn't matter if the line is a bit wobbly!) 
Cut up to the line at an angle, and then along it, so the edge is even and the cone sits flat.  Trim if you need to. Make some smaller mice bodies too.

3. Next, you want to make them sit forward a little. So, draw a pencil cline straight across one side, about 1cm up from the bottom.


4. Then draw a diagonal line from each end of the pencil line, down the sides to the corner. 


Cut along the pencil line. You will end up with a more mouselike body.


5. For the ears, simply use a paper heart! Fold a piece of plain paper over, and draw half a heart on the fold (keep in mind the size of your mouse, so you don't make the ears too big).


6. Cut the heart out, snipping the middle a little lower than you would normally, open up and glue on the back of the head near the top (the longest side of the cone)


7. You could paint the body and ears separately before sticking together, but we went for an all over body paint - just need to make sure not to overload the brush with paint, or the ears will get too soggy.


8. Once dry, paint on some pink..

... then use a black pen to draw eyes, a nose and whiskers. Try to draw the eyes up close to the base of the ears, on the flattish top part of the cone, and the nose and whiskers right underneath the eyes.


9. For the tail, snip a slot at the back of your mouse, cut a few cms of yarn and slot into place.


10. For the big cheese, remove the middle cones from inside the second carton by squeezing and cutting straight across each one. Snip them off as near to the base as you can - so there'll be more room inside for your mice!

Make holes in the carton lid with small sharp scissors, like nail scissors (keep closed, press down and twist from side to side) This needs to be done by an adult. Cut different sized holes, then let little ones loose with the yellow paint!

11. We folded a piece of kitchen paper inside our cheese, so they didn't fall through the holes.
And they've got something nice and soft to sleep on too... of course..