

Back to squishing toilet paper tubes flat to make these sweet little armchairs! They're to add to our shoebox sitting room, but you really don't need a shoebox house to make one.
You will need:
Toilet paper roll
Pencil
Scissors
Glue (optional)
Paint
Spare card and felt tips for cushions
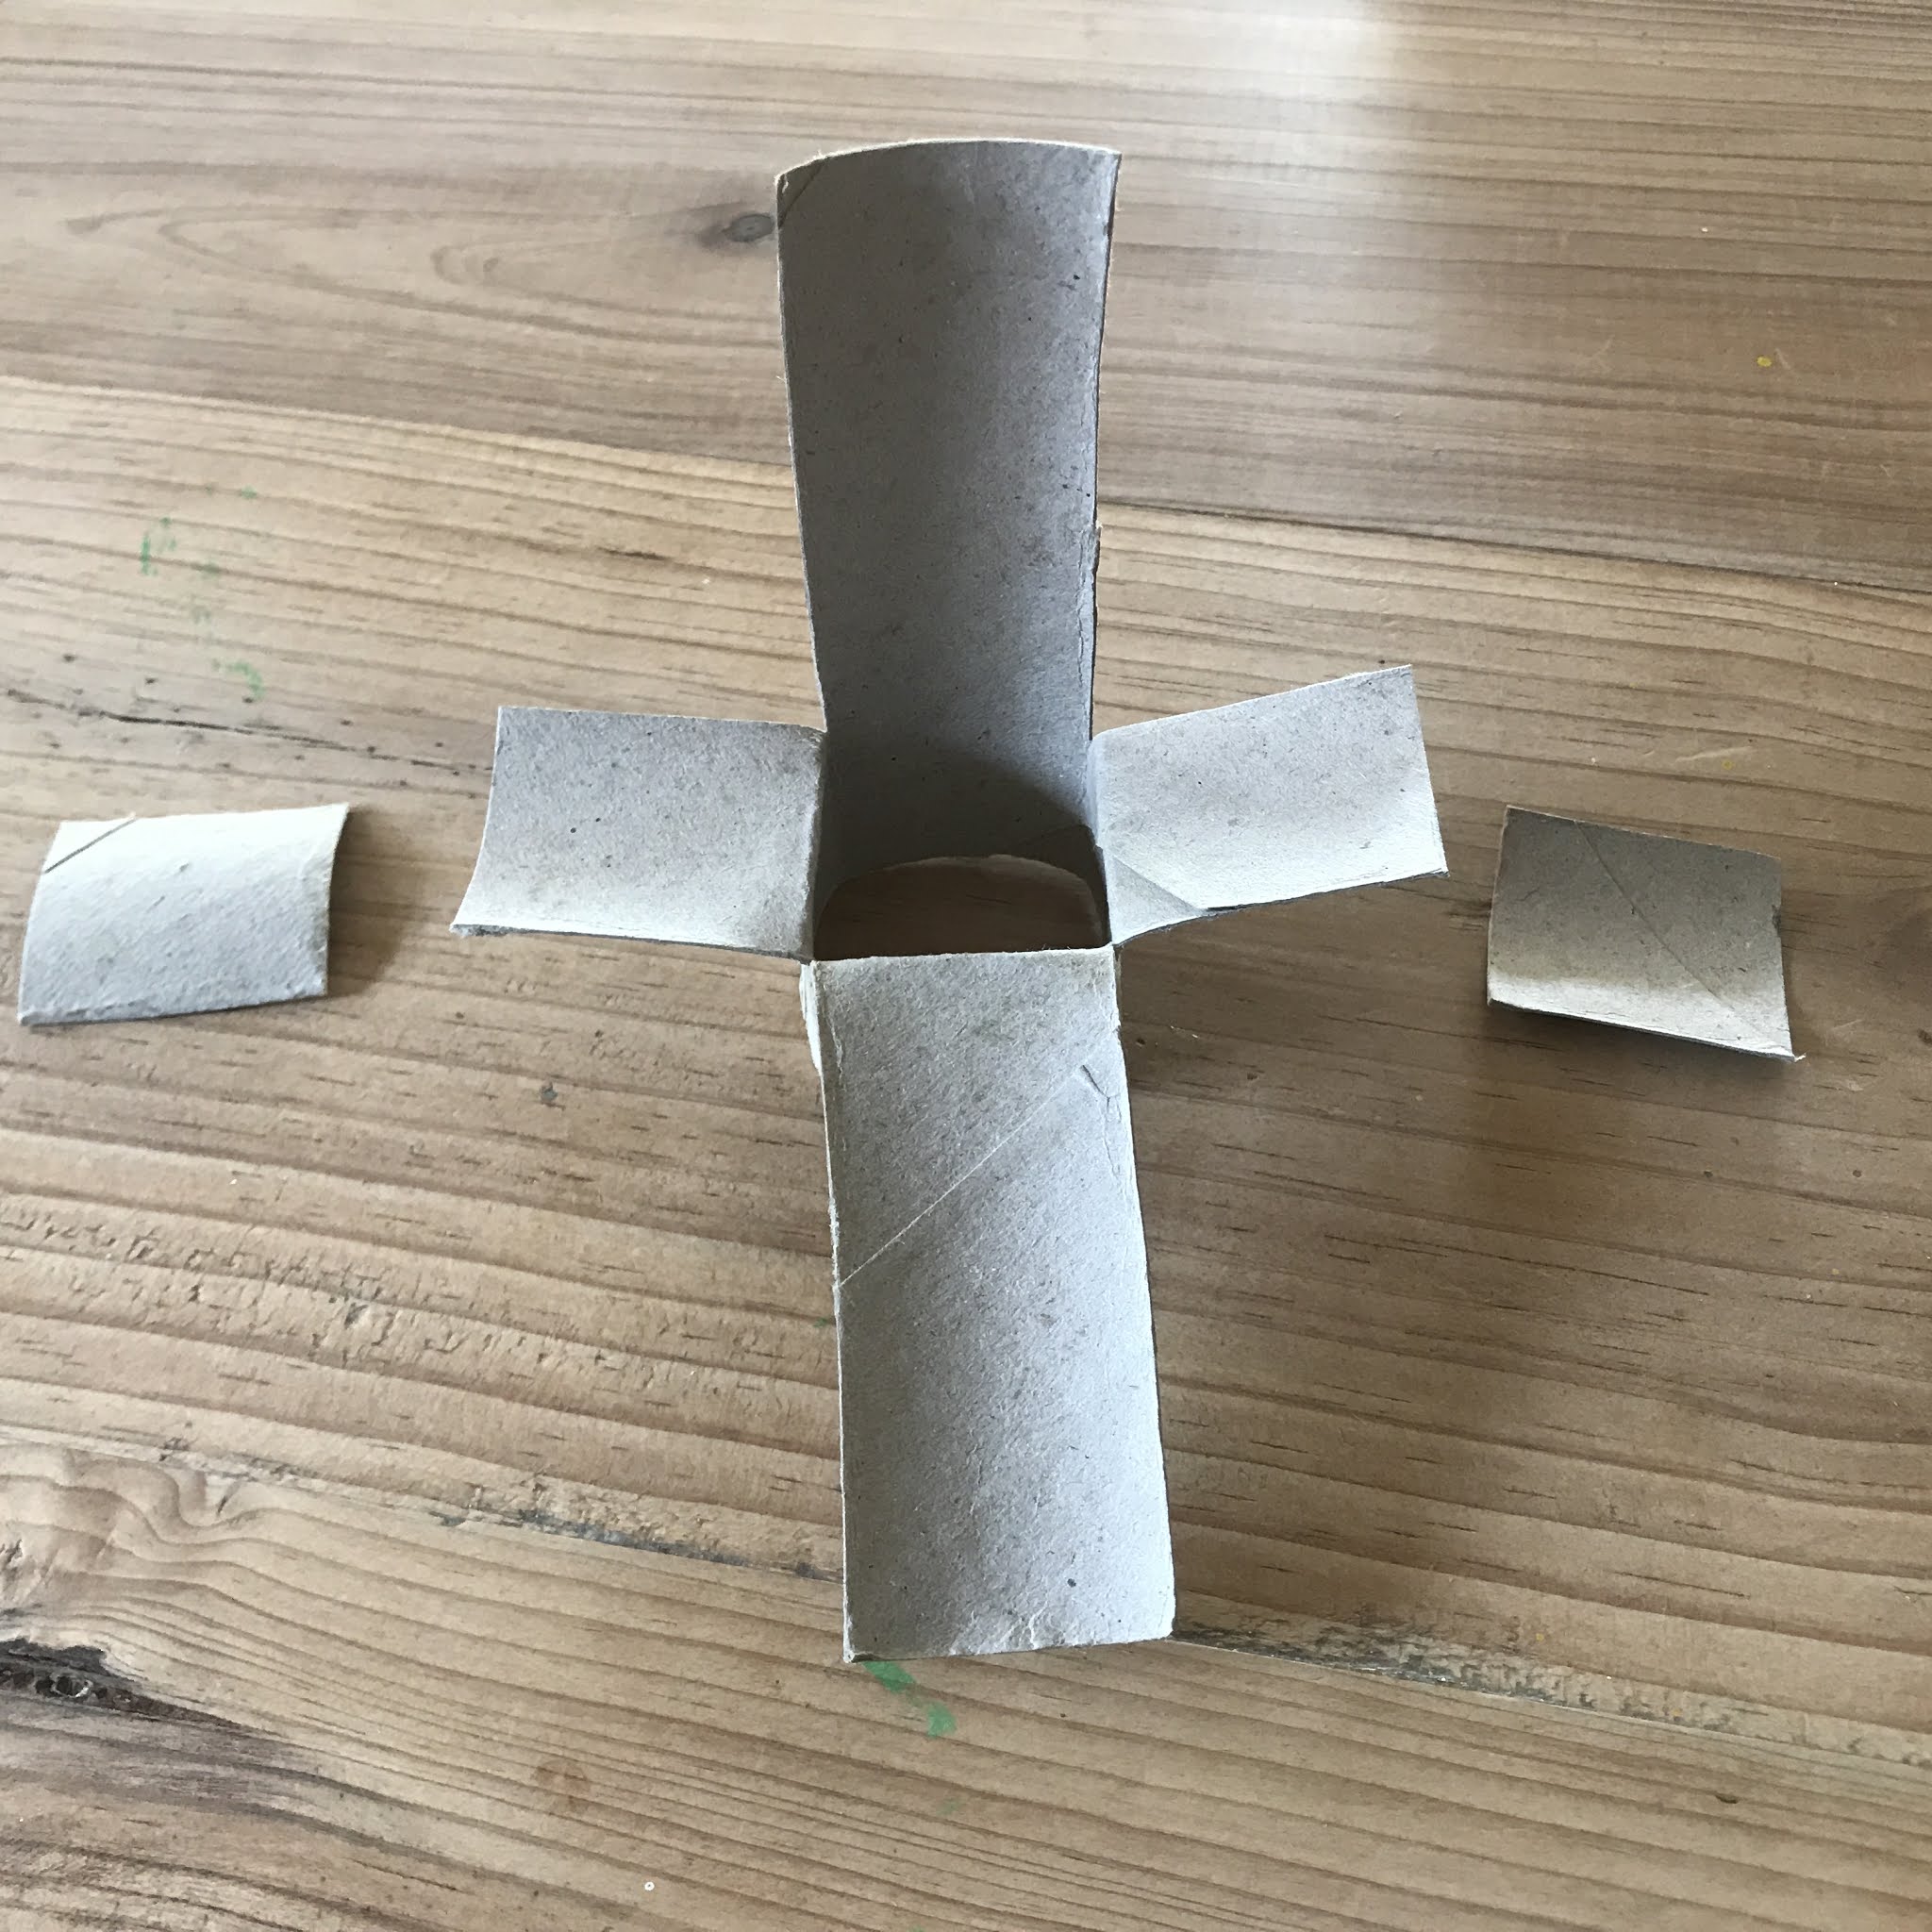
1. First, flatten your roll and press firmly along the two creases. Then draw a line across the flattened tube, about 3cm/1in. from one end. (this will be the final seat height of your chair, so make bigger or smaller if you want)

2. Next, line the two creases up, in the middle and flatten the tube again, pressing firmly along the two new creases. Use the pencil to carry the line around the rest of the tube.


3. Now, cut down the four creases to the pencil line, and fold out THREE of the flaps. The remaining one will be the back of the chair.


4. For the arms of the chair there are two options - the easiest one is to cut the two side flaps to the height you would like the arms to be, making sure they look the same (there's an example of this armchair in step 9)
OR, as we've done here, cut the flaps in half, so you have enough card to fold over, to make a more rounded arm rest (as in step 8)
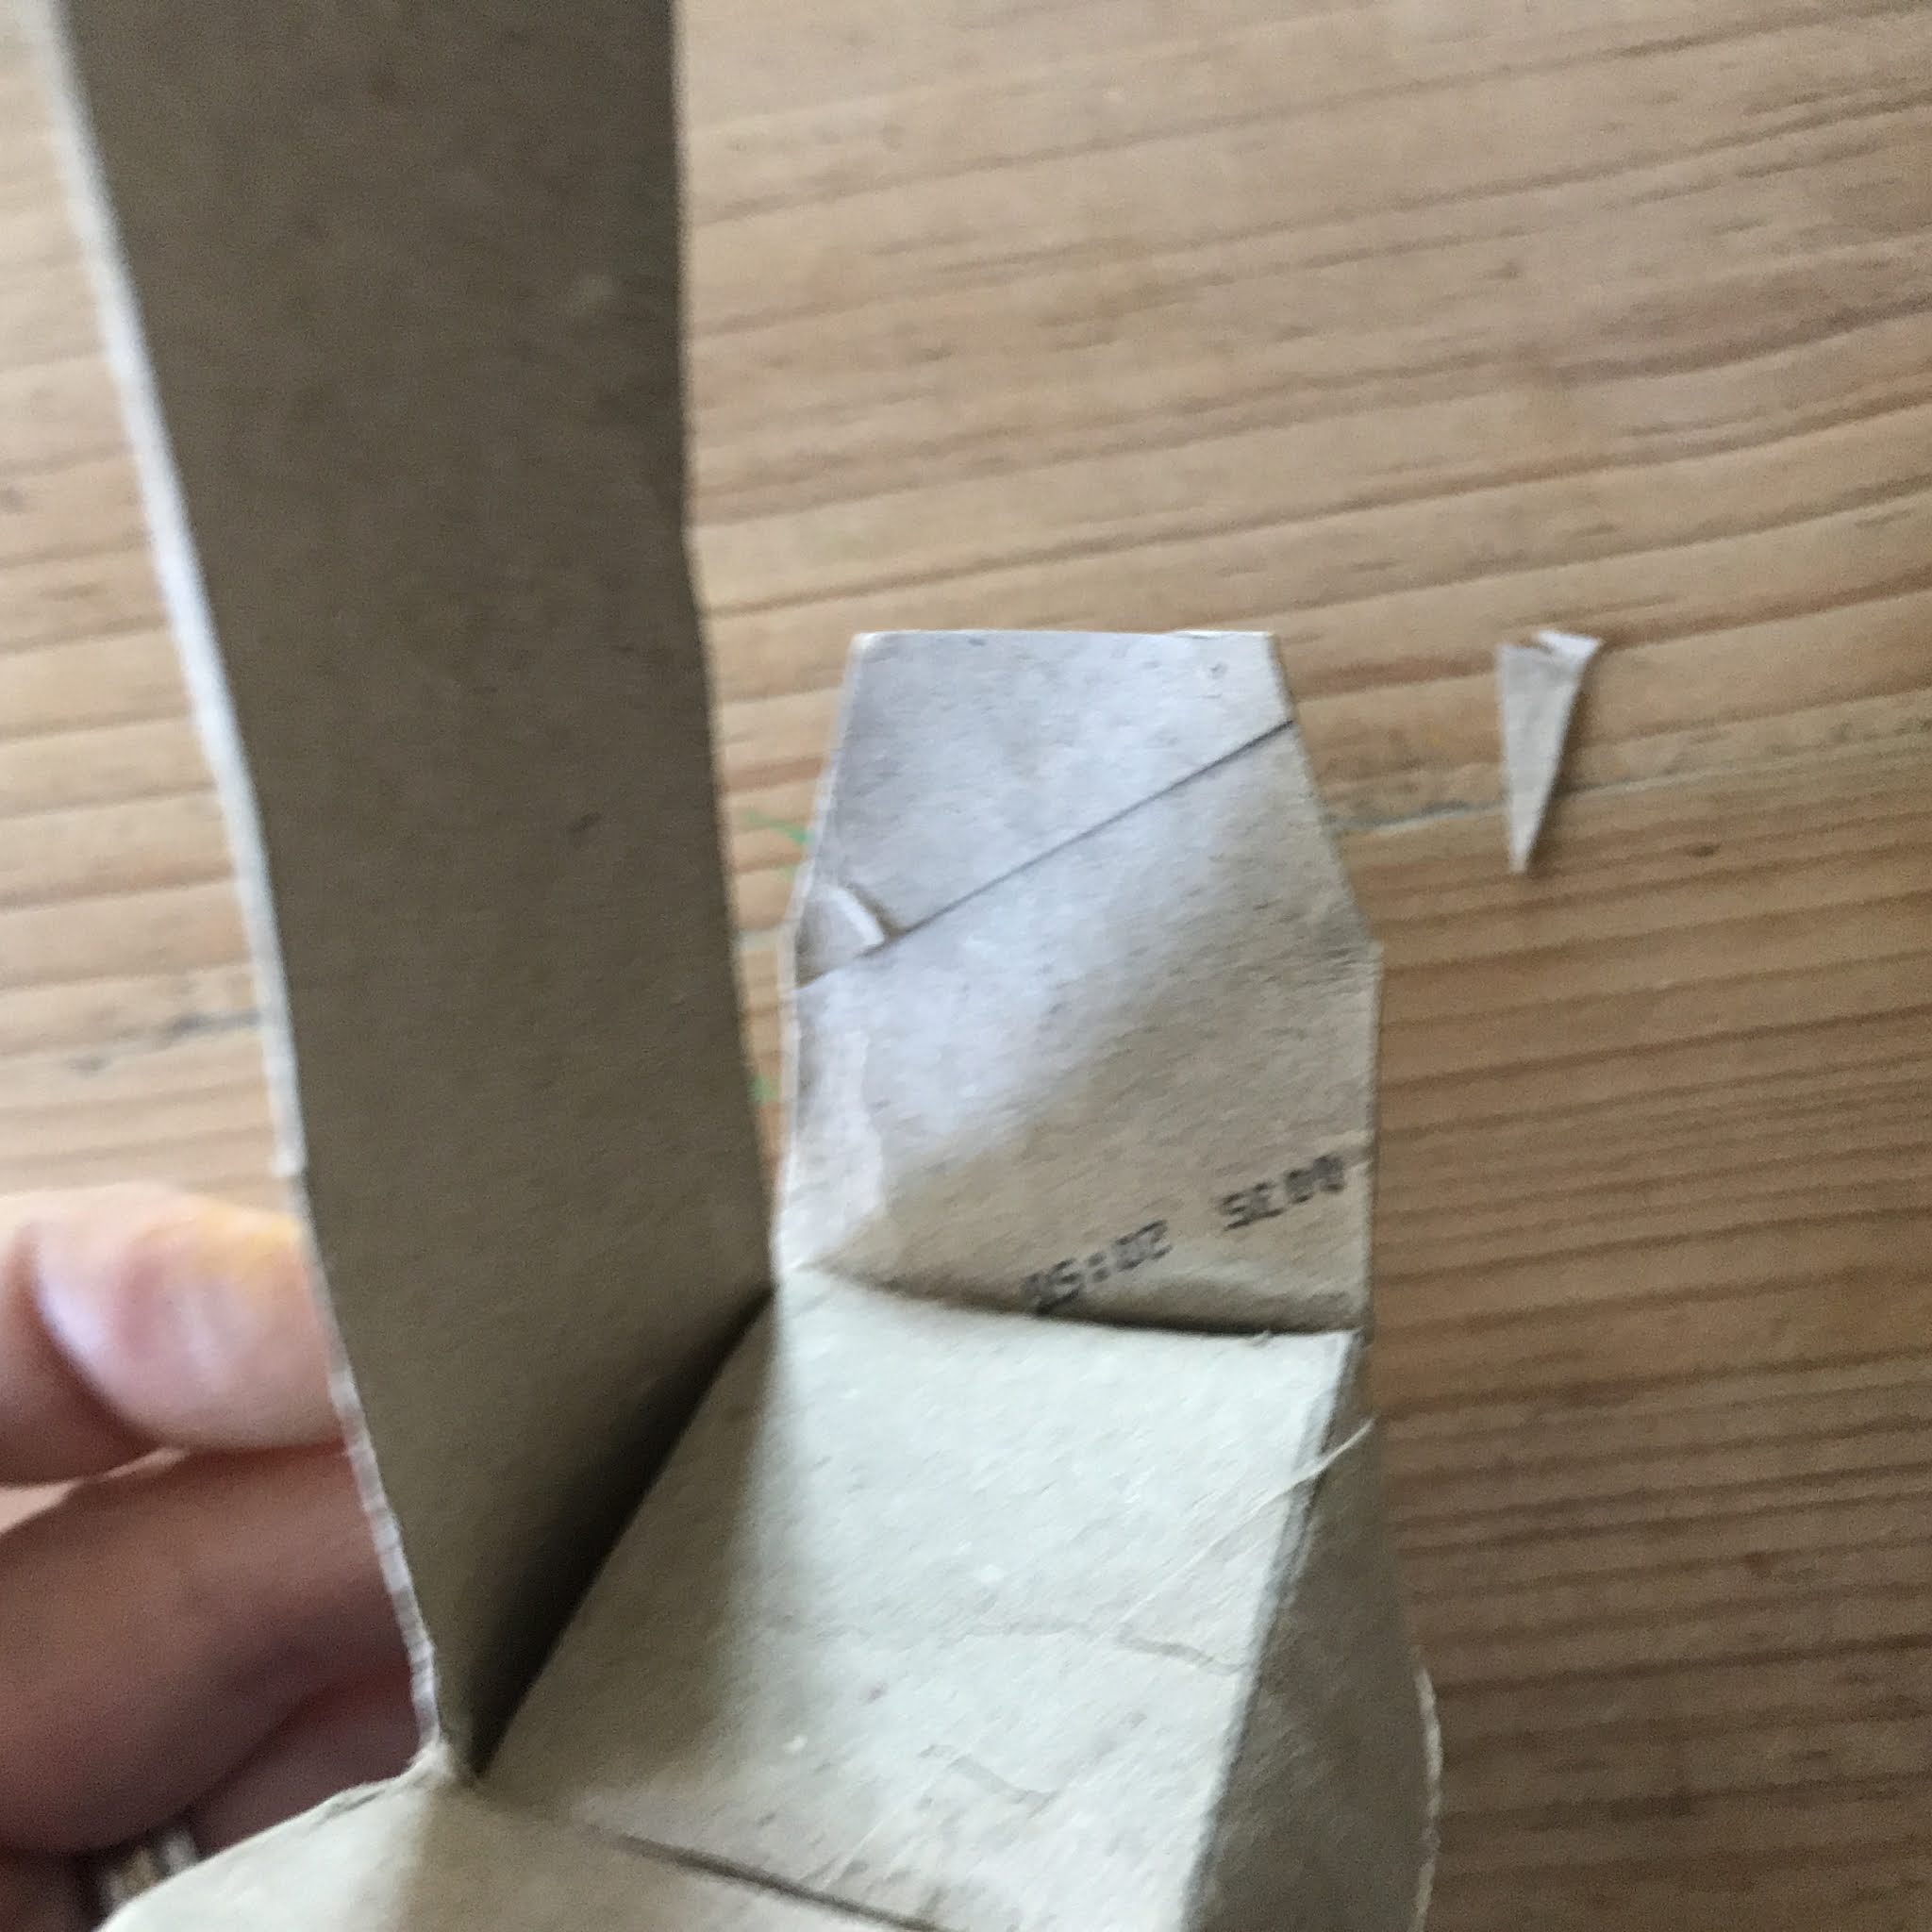
5. Next make the seat of the chair. You need to bring the front flap towards the back of the seat, and where it meets the back, fold the card. Check a few times until you're happy. Press firmly along this fold, cut away some of the extra card, so the tab that's left is roughly 2-3cm long.

6. Bend the fold the other way (so you can tuck it into the back of the chair), and snip the corners of the tab off at a slight angle, so it's easier to feed the tab into the slot (see below).
You shouldn't need glue, but for a more sturdy chair you could put some on the tab. Use something like a paper clip or clothes peg to hold in place as the glue dries.


7. Making the curved arms is a bit of trial and error, but worth it!
Cut the corners off the tabs again, from about halfway along the card tabs (see below). This makes it much easier to feed them into the sides of the chair.
Feed the tabs in, and as you're doing that, push the top part of the doubled-over card down, so you get a sort of rounded effect. Keep pressing and squeezing until you're happy and the two sides look even.

8. Cut the back of the chair to your desired shape, straight across or rounded... we tried a few slightly different ways.

9. This is the quick chair, without the rounded arms and a straight back.

10. Of course you can paint them any colour you like, and we added little cardboard cushions - just drawn on some spare cereal box card with felt tips.
So next, it's time for a sofa!


