These sheep are the first project in 'Make Your Own Farm Animals' and they're really quick to do - a few egg boxes, cotton wool and a black felt tip, and you'll have your own flock before you know it!
You will need:
Egg carton
Pencil
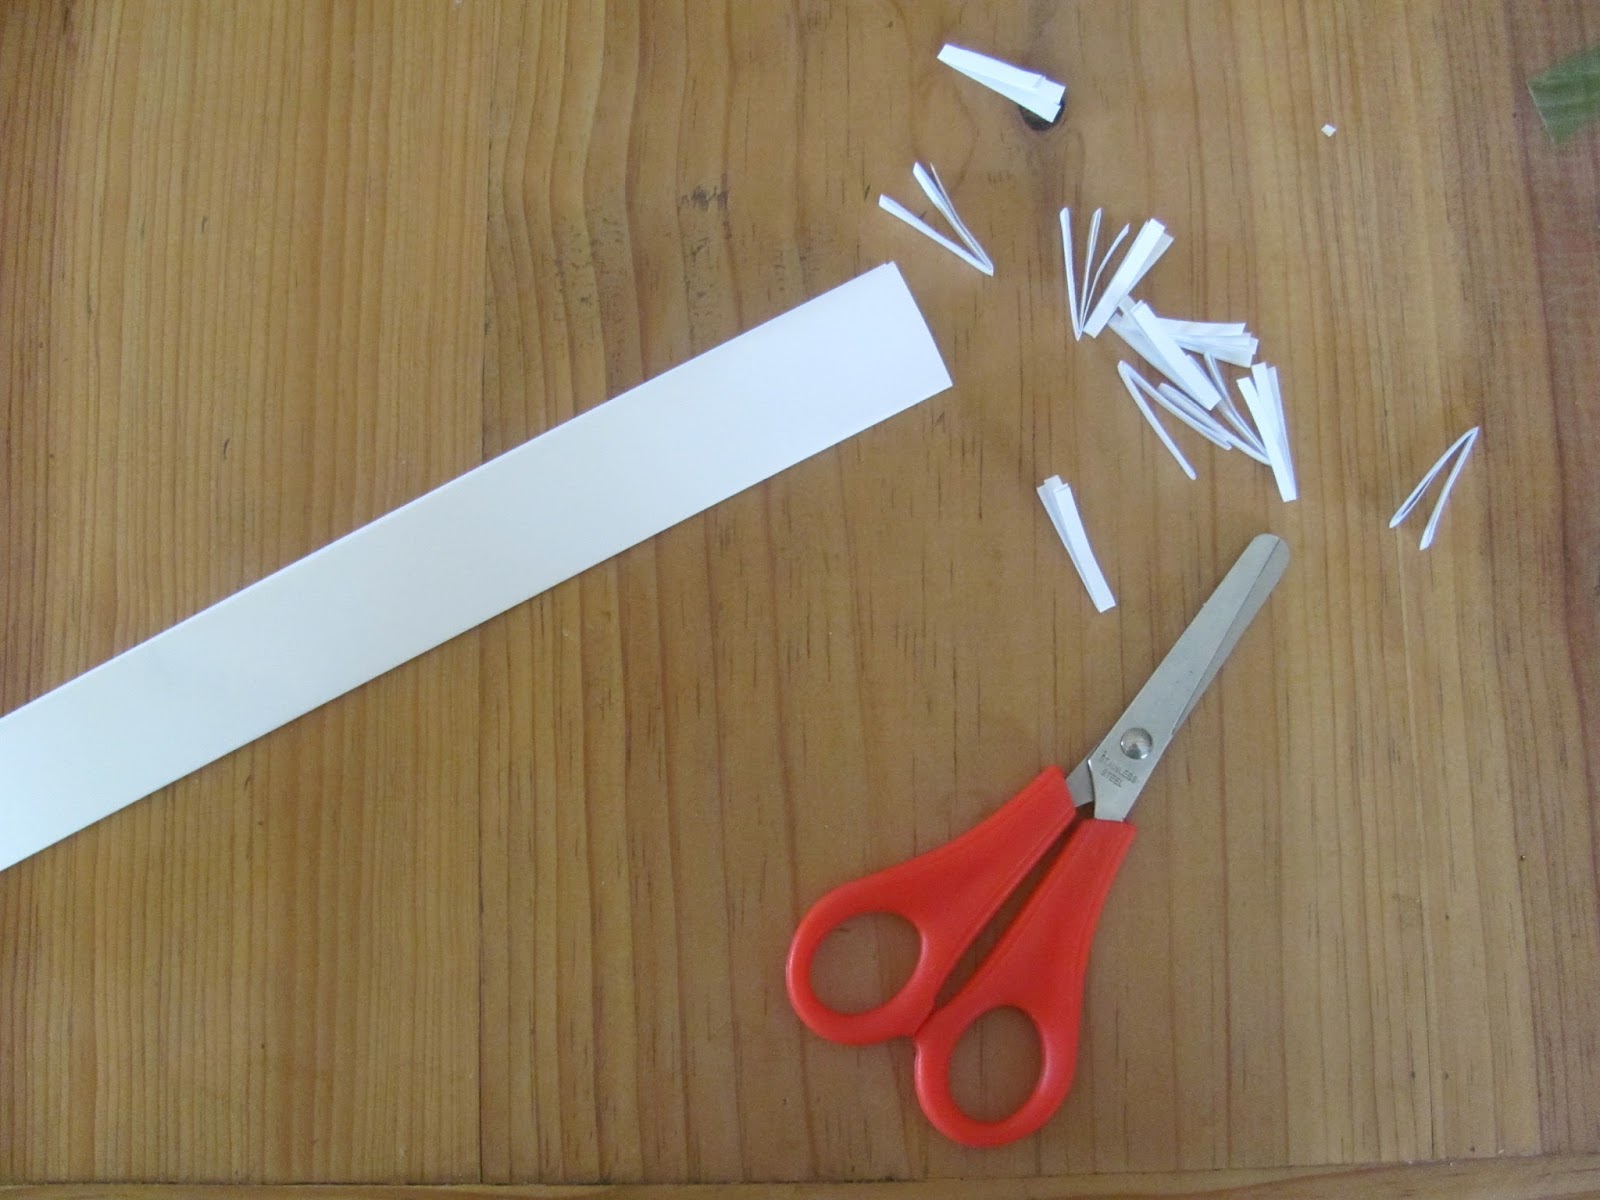
Scissors
Cotton wool
Glue
Black felt tip pen (or a Sharpie if you're happy to use a permanent pen)
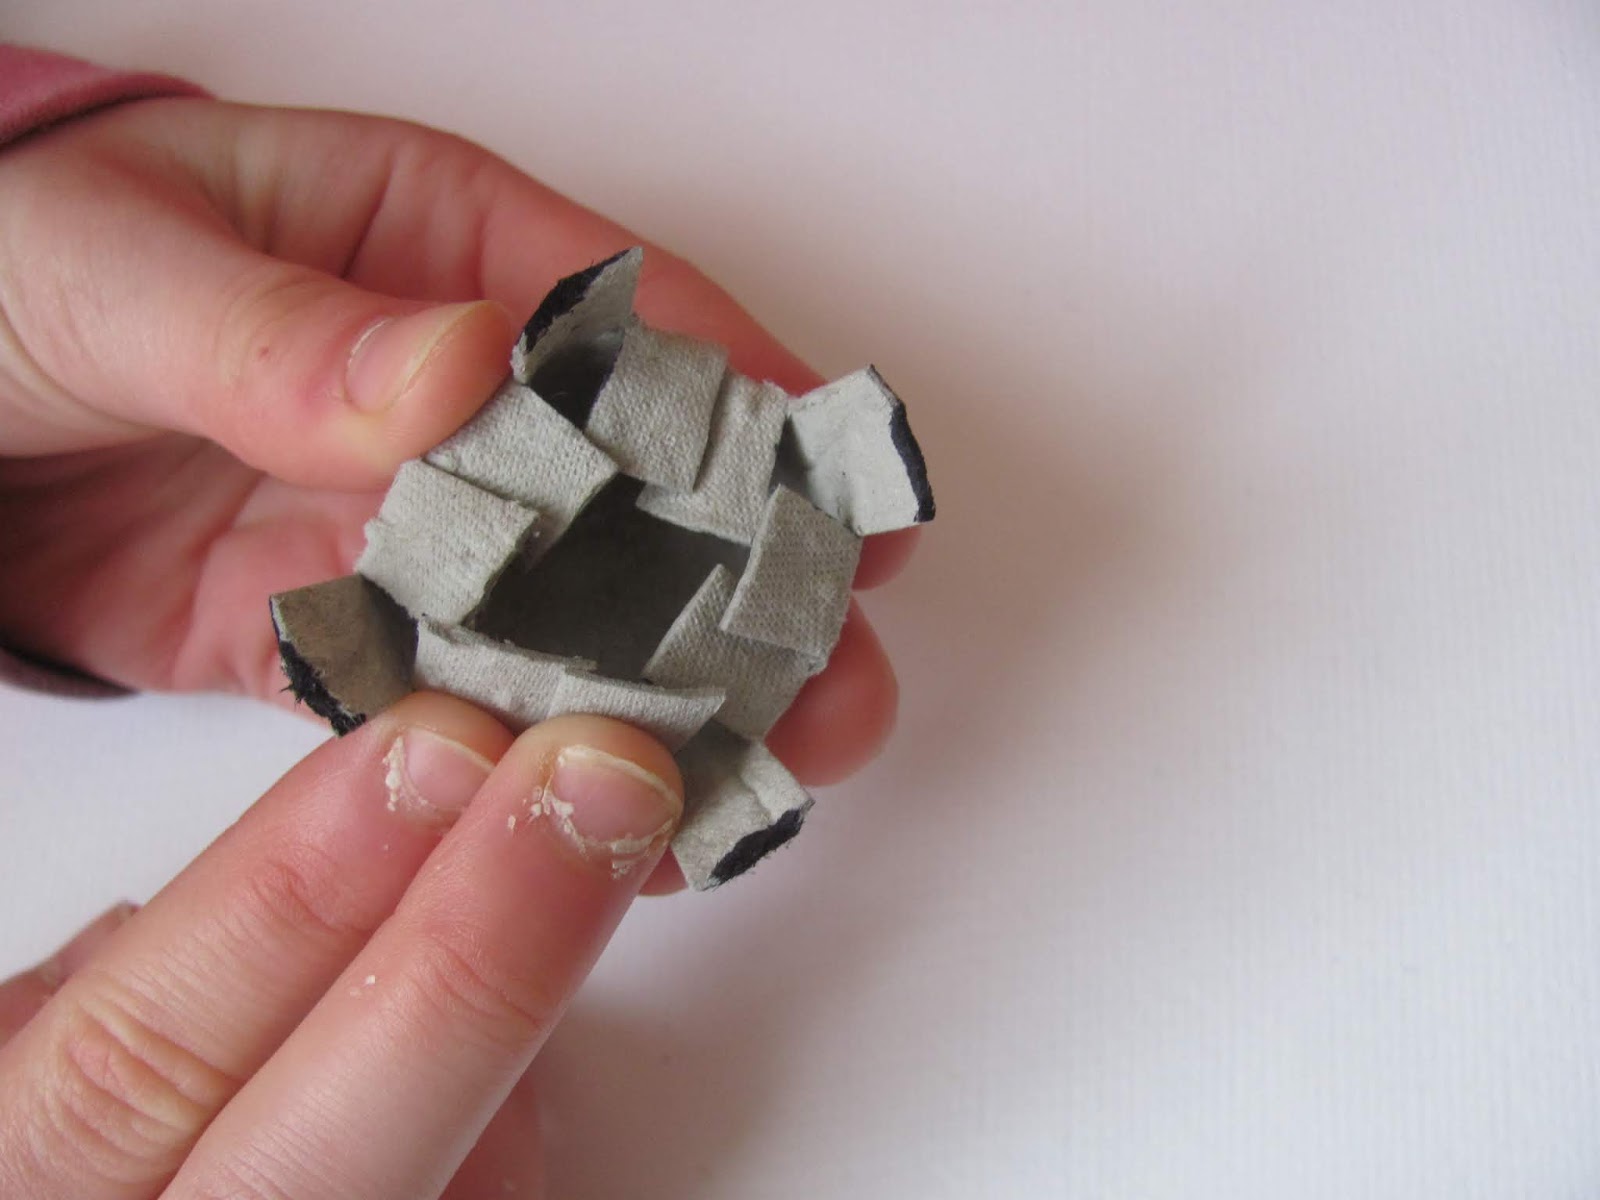
1. Cut out an egg cup, roughly first, then neaten up the edge. Turn it upside down and draw a cross on top with a pencil (see below), and continue the lines down the sides of your egg cup.
This should give you four well spaces legs.

2. Use a black felt tip pen or a Sharpie to colour in the bottom part of the legs, so they are more chunky.


3. With your scissors, snip up the sides of each leg (8 snips) - don't worry if you snip too far, you'll soon be covering the top part with cotton wool.

4. Snip the card HALFWAY BETWEEN each leg too (4 snips)

5. Push all the flaps of card, between the legs, under your sheep, leaving the four legs down.

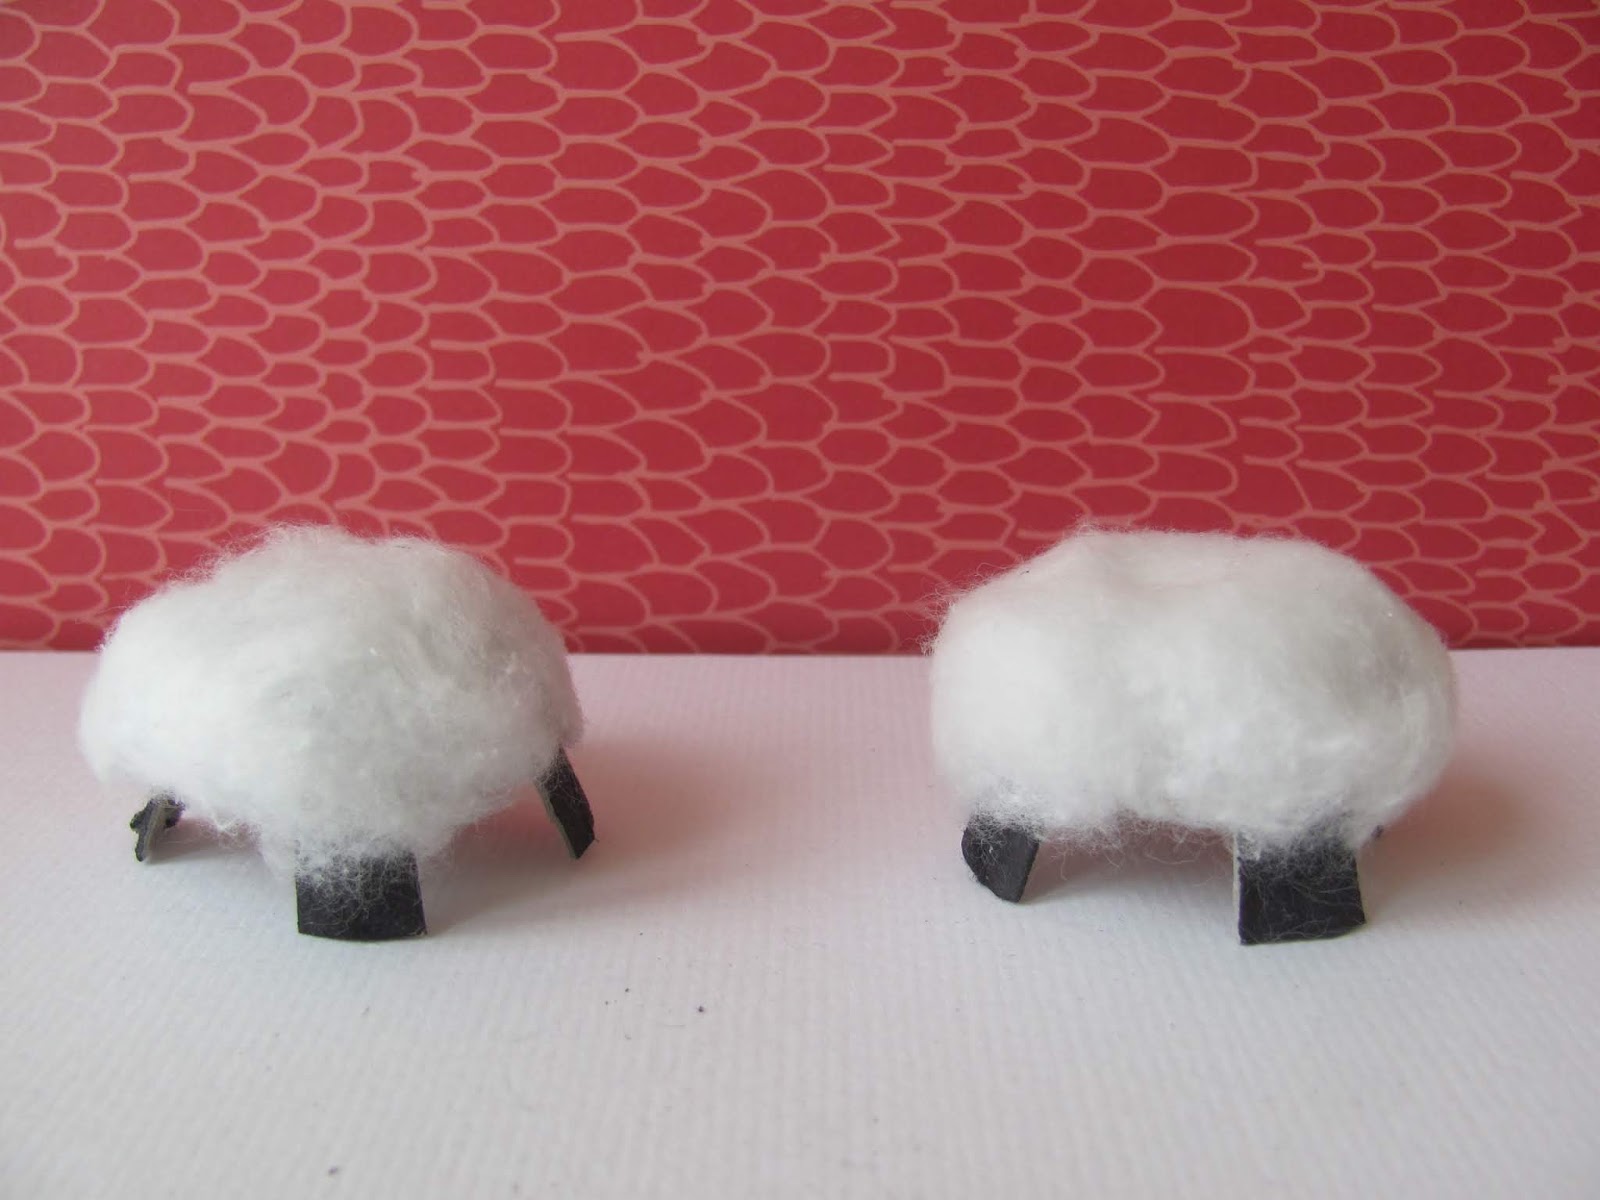
6. Cover the top of the egg cup with a thin layer of glue. Tease out a small piece of cotton wool with your fingers and stick it on top of your sheep. A small amount of cotton wool looks best.

7. Draw a head on either the egg carton lid or some spare cereal box card. Keep the shape simple so it's easier to cut out.

8. Use the black pen to draw two circles where you would like the eyes to go and colour-in around the circles. Add a black dot in the eye if you want. Glue in place.


9. For a lying down sheep, cut a shallower egg cup from your carton and cover the whole thing with cotton wool. Glue on the head.

TIP: A white correction pen (like Tipp-Ex) is handy for eyes if you want to add them after colouring-in the head, or you want to make a sleeping sheep with closed eyes.

Many more animal projects like this in my book, 'Make Your Own Farm Animals'