4.12.17

On the fourth day of Christmas...


..my true love gave to me, four calling birds,


three French hens,


two turtle doves,


and a partridge in a pear tree.


3.12.17

On the third day of Christmas...

... my true love gave to me, three French hens,


two turtle doves,

2 turtle doves

and a partridge in a pear tree


(instructions for the hens are also in Make Your Own Farm Animals)

2.12.17

On the second day of Christmas...

...my true love gave to me, two turtle doves 


 and a partridge in a pear tree.


Instructions for the little doves and the dovecote can be found in Make Your Own Farm Animals.


1.12.17

On the first day of Christmas.....

Partridge in a pear tree


...my true love gave to me, a partridge in a pear tree

(attempting to make all 12 days out of the recycling....though could be setting myself up for a fall, as have no idea how I'm going to do 'maids a milking' or 'lords a leaping'..

The partridge in a pear tree is based on the Bird In The Tree project.


9.11.17

Pop-up card that makes a scene... crafts for kids


Looks familiar?.... yep, it's a tubescape with a new identity.. I just thought a pop-up card (or decoration?) sounded a bit more user friendly.  In all honesty, I'm not completely sure what to call them, so, grateful for any ideas! Ones that don't include 'toilet paper roll', which doesn't always sound so good, when followed by the words 'card' or 'gift'...

Though, to be fair, that is exactly what they are, and they do make sweet (non-wobbly) decorations. This one was inspired by Blue Planet 2! It's a thank you card for a friend, with room on the back for a short message.

'We had a whale of a time!'

Corny or what?

You'll need:
Toilet paper tube
Pencil
Scissors
Paint
Craft glue or glue stick
Sticky tape
Sheet of plain paper
Black pen
Glitter (optional)

1. Flatten the tube with your hand and draw a wavy line (for the sea) across it, about a third of the way up.

2. Cut down the creases, either side, and along the wavy line. Keep the piece of card you've cut away.


3. Mix some blue and white paint for the sky and brush it on the exposed, inside part of the tube (make sure you go right down), and then do splodges of blue and white paint for the sea on the front part. Paint the spare piece of card dark grey for the whale. (We just added some black to our blue and white paint)


4. While that's drying, draw round a small circle (we used the lid of a vanilla essence bottle) on some yellow paper (or plain, and colour in with a yellow felt-tip pen) Add an orange felt-tip swirl if you want.

5. When the paint is dry, glue the sun onto the sky. Draw a whale on the spare painted card. To make the cutting out easier, we drew the body and the tail separately, and extended them at the bottom so there's extra to attach behind the sea.


6. Draw a spout of water on some plain paper, with a bit extra at the bottom so it's easier to attach, and cut out. Or, for a simpler option, cut thin strips of plain paper or tissue paper to glue behind the whale's hump. We added a bit of glitter to ours. Any excuse!


7. Glue the whale's body and tail behind the waves. Once they're in place, use a bit of sticky tape to keep them there... Then glue the water spout behind the hump and draw on an eye with a black pen.


8. Cut a rectangular shaped piece of plain paper, big enough to fit on the back of the tube. Write your message and use a glue stick to glue in place. Unfortunately we sent ours before I remembered I hadn't taken a picture of the message on the back! But sure, there'll be more - we have a few Christmas ideas...


30.10.17

Spooky bat leaf decorations


bat leaf


This is a very quick and easy Halloween craft idea that makes use of colourful autumn leaves. We collected leaves that were a sort off maple-leaf shape (field maple, acer, sycamore even ivy leaves)  - definitely not hard to find once you start looking!

1. Then just one cut - to snip off the middle pointy part of the leaf, like so. Curve the cut a little, for bat ears.


2. Keep the stalks on for instant ‘flying’ bats (like the first photo), and glue on paper eyes and fangs (see step 4).

3. The leaves will quickly start to curl once they’re inside, so if you want them to last longer, press for a few days after you've cut them.

If you don’t have a flower press, put the leaves between the pages of an old book and then place a pile of books on top.

Once they’re pressed they’ll be flat, but more brittle, so need to be handled with some care.

4. For the eyes and fangs, we cut small, long triangles from some plain paper. Rub glue stick carefully over the head part, where you want the eyes and fangs to go, then wet your finger to pick up the little triangles and stick them in place. Use a black pen to finish off the eyes.


To make them last a bit longer you could varnish the leaves with a clear, water-based varnish.


5. To make bat bunting, we glued our bats onto some flat gift-wrap ribbon. Stick them on near their heads, so they don’t tip forward. (I forgot to do this...)


bat bunting


You could make a Halloween collage with them too.


9.10.17

Stormtrooper - Star Wars crafts for kids

star wars craft


It's been a while.. unfortunately my good blog intentions went out the window when another book project came along. I optimistically thought I'd keep this ticking along too, but of course something had to give.

Anyway, most of the book is finished now and it's not a craft one this time, but a story book, which has been challenging and hugely rewarding too.

It's about Brian the Lion going to Space.. Brian was the first animal I ever created and blogged about, so he is rather special. I've made all the scenes for the book, all the animals, backdrops, scenery and other things... but one of the best bits was writing the story. A lovely change from writing instructions. Not that I mind writing them, just nice to do something else.

So there is a sort of Space link here, as this little Stormtrooper is the latest addition to our Star Wars craft project. Quite a gaggle of figures now! And a Millennium Falcon too, if you're interested..

You'll need:
Egg carton
Pencil
Ruler
Craft scissors
Nail scissors or similar (optional) Adult supervision required
White paint
Craft glue
Fine black felt-tip or gel pen
Black permanent marker pen
Straw

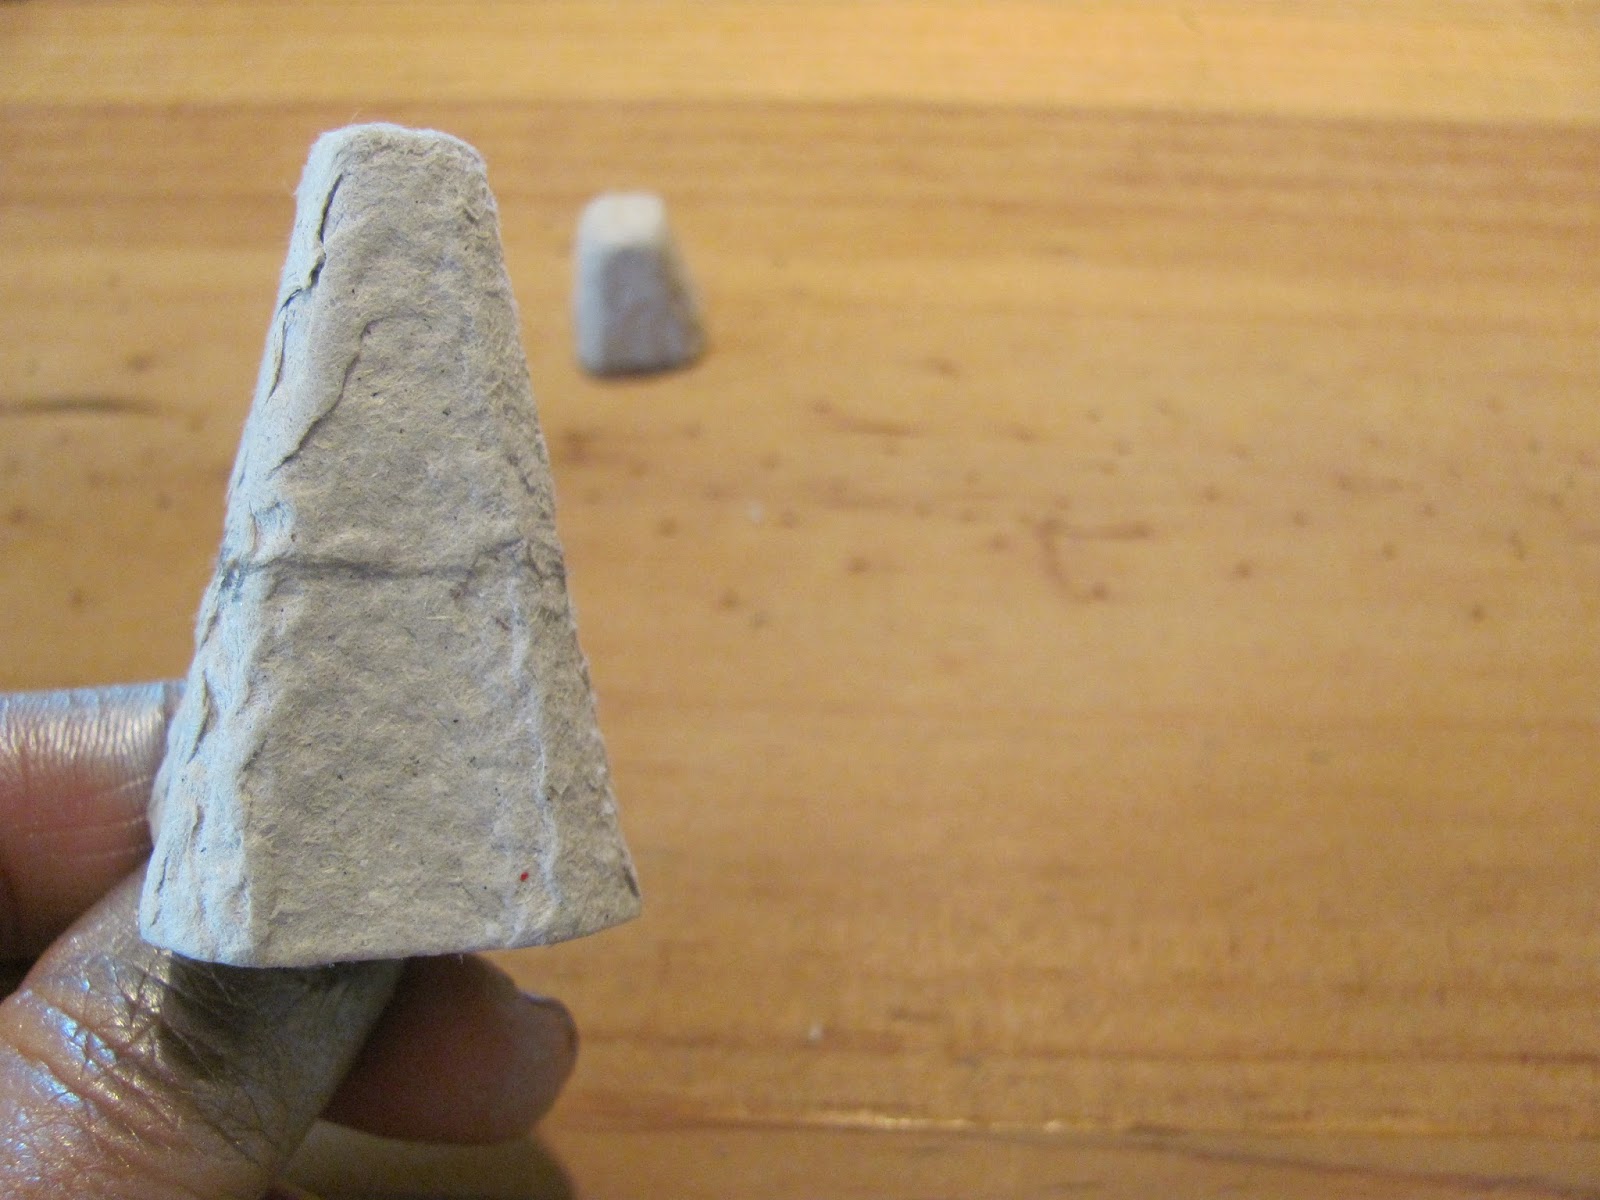
1. Roughly cut out two egg carton cones. On one, draw a pencil line around the cone, just above the bumpy joins at the bottom. Cut along the line. This will be the body.


2. The second cone is for the head, and you only need the very top part. Either estimate this, or use a pencil and ruler to mark about 1.5cm (1/2in.) from the top on all sides, join the marks and cut out. A handy way to do this is to cut up two adjacent corners to the pencil line, bend the card back and cut off the flap - it should be easier now to cut along the rest of the line.

(If your egg cones have holes in the top, brush glue inside the cone and push a small piece of newspaper up to fill the hole.)


3. On the body cone, lightly draw a pencil line around it, about half way up. Don't worry if the line is a little wobbly, it's just for guidance. 
Cut up the middle of one cone side to this pencil line, then wiggle and turn your scissors, and cut along the pencil line to the corner and just a little beyond.
Do the same on the other side so you've cut a 'T' shape.

Repeat this 'T' shape on the opposite side of the cone.


4. To form the legs, press the cut edges in the middle towards each other and squeeze each one into a more rounded shape. You should end up with what looks like an impressive pair of flares! Trim if you you'd like them a little less flary...


5. For the arms, cut a thin strip of card from the egg carton lid - about 5mm (1/4in.) wide and 5cm (2in.) long. Round it at the ends for the hands.


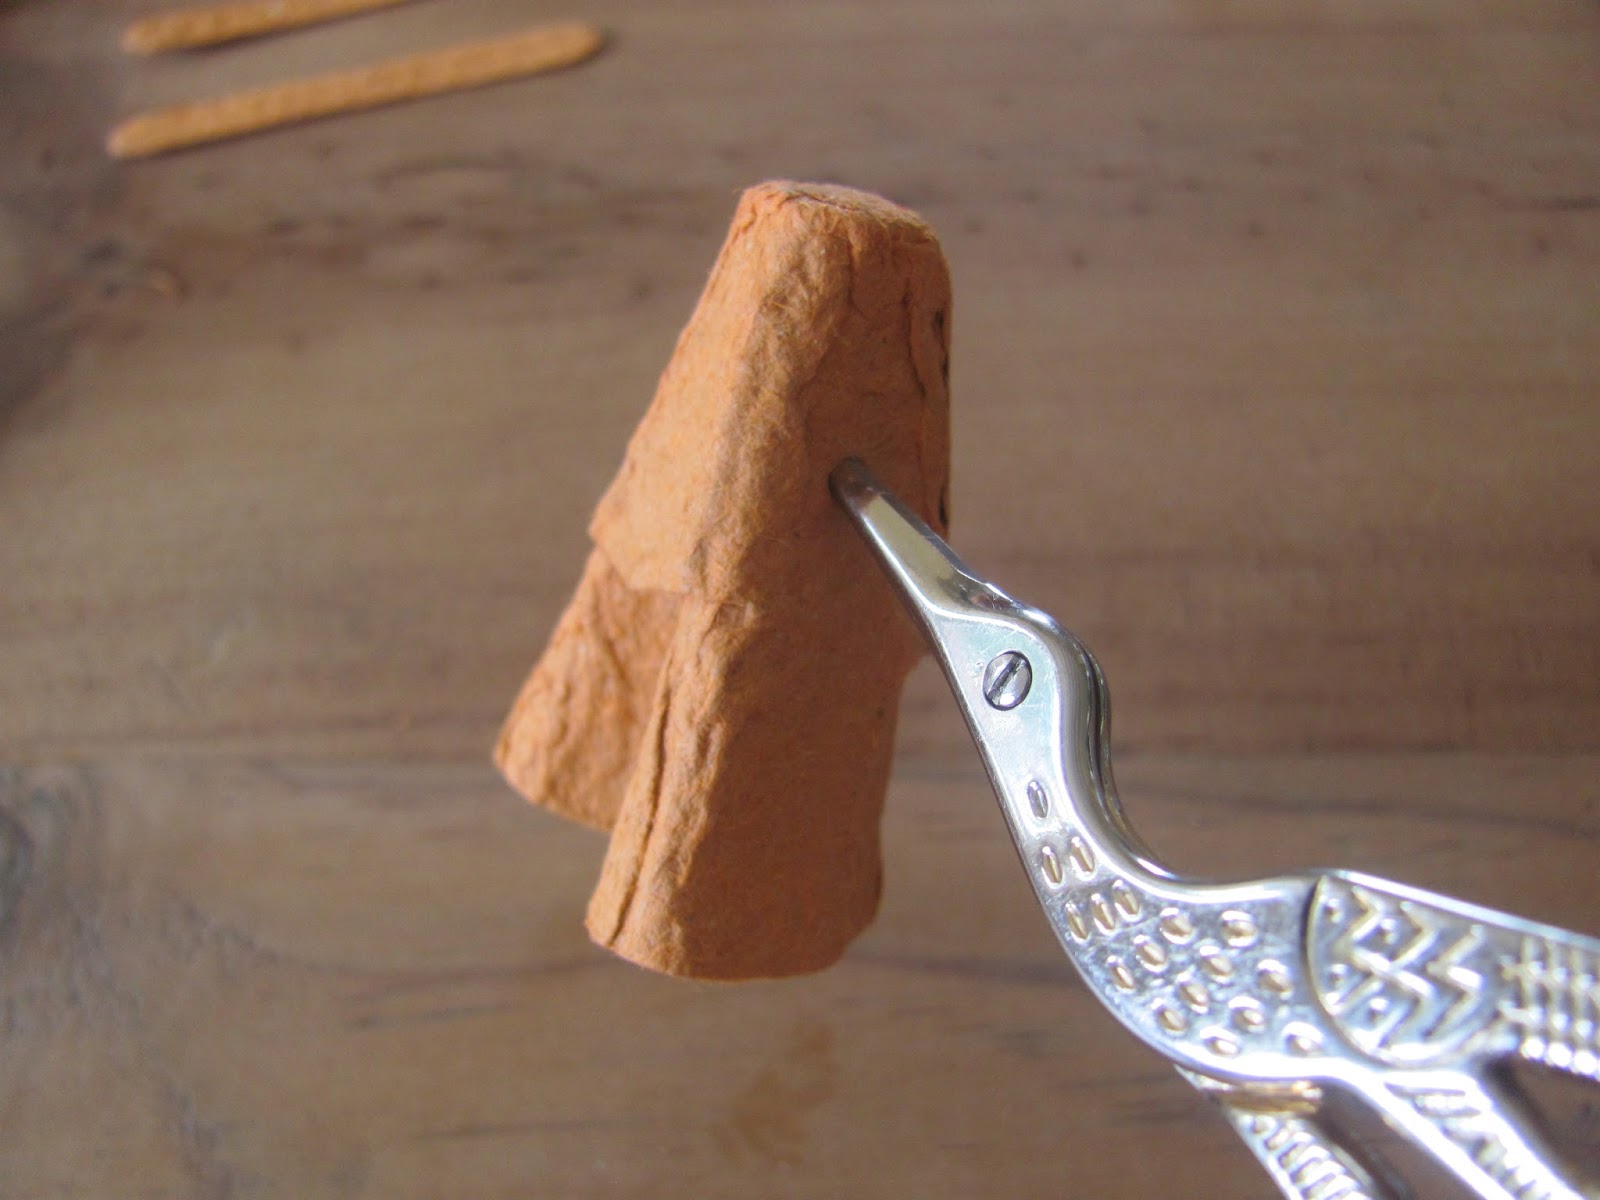
6. Either cut the arm strip in half and glue the pieces either side, or, with adult supervision, use the nail scissors to make a hole in the middle of one of the arm sides (keep the scissors closed, press down and twist from side to side.)


7. Once you've made the hole, snip up to the top of the cone and down the other side until the slot looks level. Cut an extra sliver out to widen the gap for the arms. Make sure the slot goes far enough down the body, so when you push the arm strip in, it sits below the top part of the cone, then glue the head on here. 


8. When that's set, paint the figure white. (Or if your egg carton is white, then move on to step 9.)  

9. Once the paint is dry, use a fine black pen to draw on your Stormtrooper's features.


10. For his weapon, colour the bottom few cm's of a straw with a black permanent pen (like a Sharpie). Cut off a small piece and snip slits in one end so you can slot it onto the Stormtrooper's hand. And he's ready for business!