14.10.19

Simple shape potato printing for Halloween!

potato printing


I'm LOVING potato printing! And there's so much you can do with simple shapes. Perfect for pictures, decorations and cards, and fun for all ages. The theme here is Halloween, but I'll definitely be trying out some other ideas in the run up to Christmas.

Triangles pop up a fair bit! For the witch, cut a potato in half.  Slice a sliver off the bottom of your potato half, so it sits flat and is easier to work with.


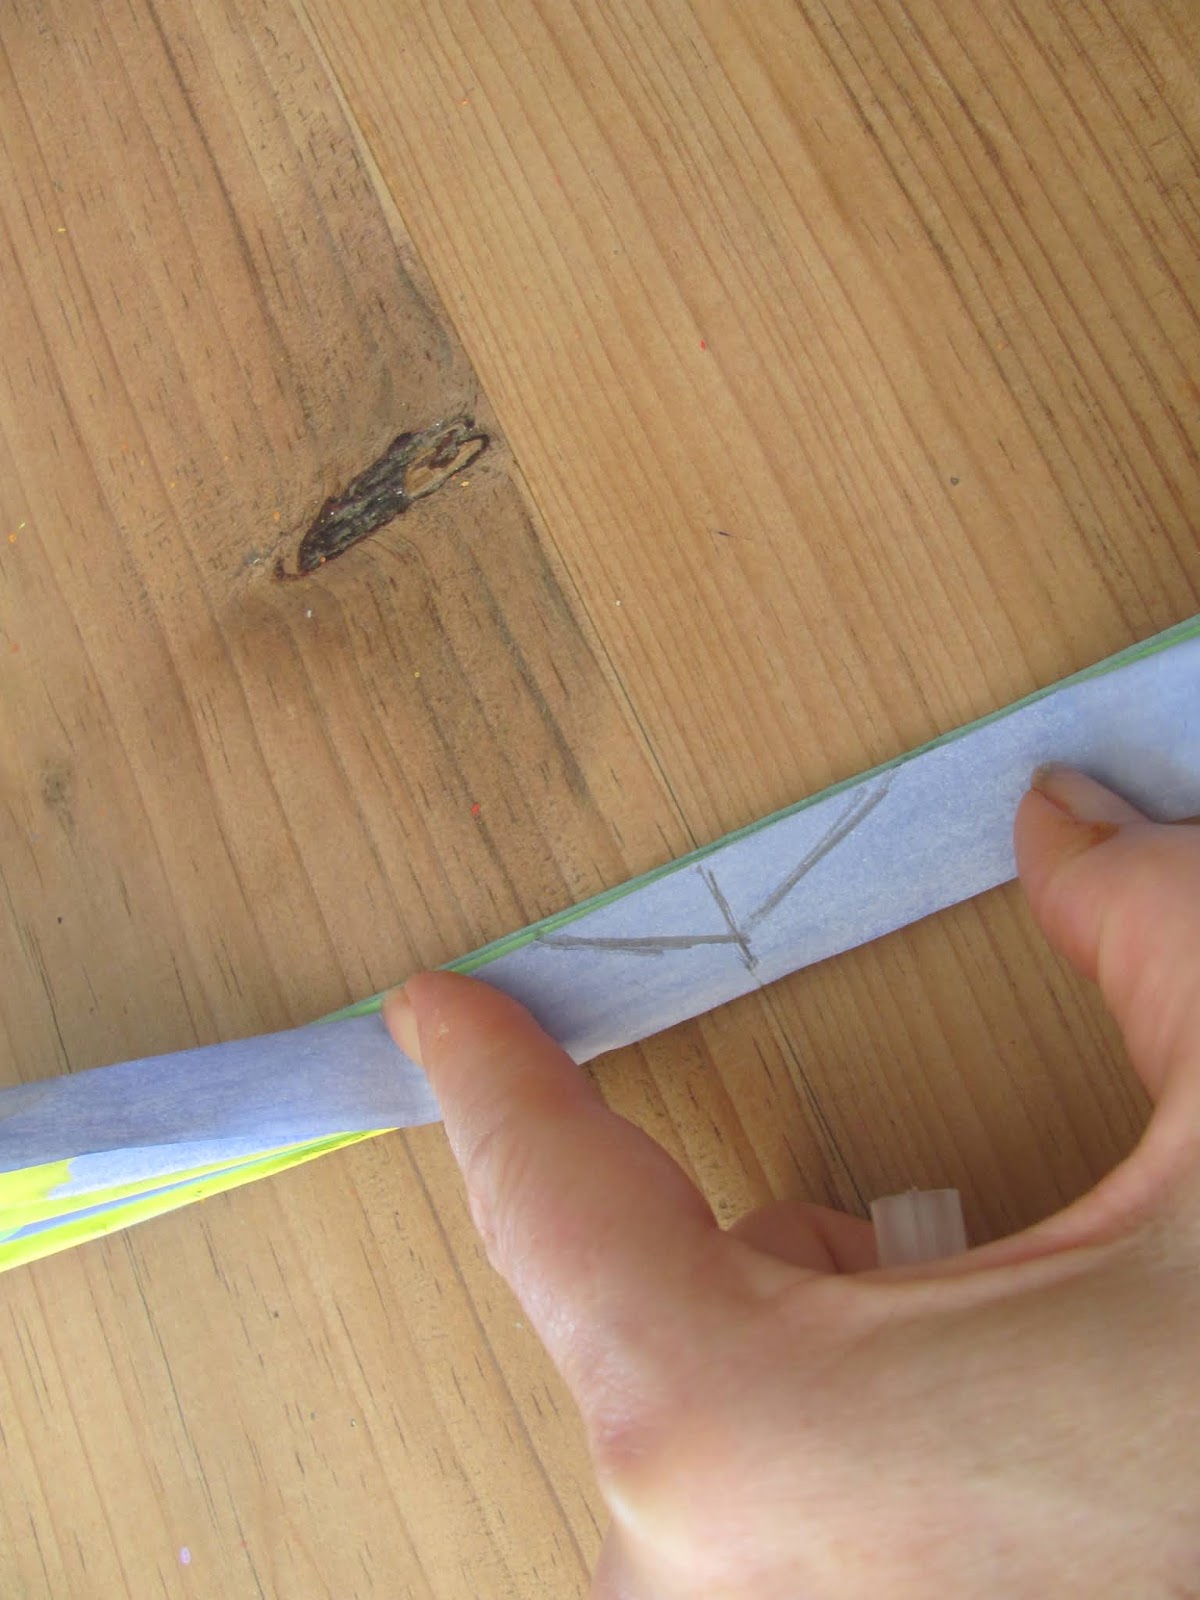
Either use a ruler and pen and draw on a triangle, and then score using the ruler and a sharp pencil, or score straightaway. 


Start with the base line of the triangle and take it right to the edges. Roughly mark the midpoint of the base line at the top of the potato, and score lines up to this mark. 


Use a piece of kitchen roll to wipe away potato bits and moisture. 

For the witch's face, score a line across the triangle, a few cms from the tip and another just below it.


We found the easiest thing to do next was to cut the triangle out on the score lines. 


TIP: (To be done by an adult) Cut two wedges away, either side, at back, leaving a ridge of potato to hold onto. A sort of potato handle! Easier for little hands.


For this print we brushed on the paint so we could make her face green. Don't use too much paint or it will squidge around the edges.


When the paint is dry use a black pen to add a wicked witchy face, hair and a brim for her hat.

We used the side of a piece of coffee stirrer and a mix of yellow and orange paint to print on a broomstick.

The ghost also starts off as a triangle too. Draw and score as before. This time I used a sharp knife to cut away slivers up to the score line, to define the triangle (to be done by an adult) - though you could completely cut away the sides again, like we did with the witch.

Once the triangle is defined, draw and score a line to round off the top of the triangle, then slice up to the score line. Draw and score a zigzag along the bottom and slice across the potato, up to the score line again.


As it's one colour printing, you could make your own stamp pad. 

Soak a piece of thin, damp kitchen sponge in some white paint. We put ours in a small recycled clear plastic pot, (think it had been a humous pot!) then you can pop the lid back on to stop the paint drying out too fast. But when you've finished printing, let the sponge air dry (it could eventually get mouldy if it stays wet) and just wet with water and add more paint when you want to use again.

Or you could brush on a layer of paint.

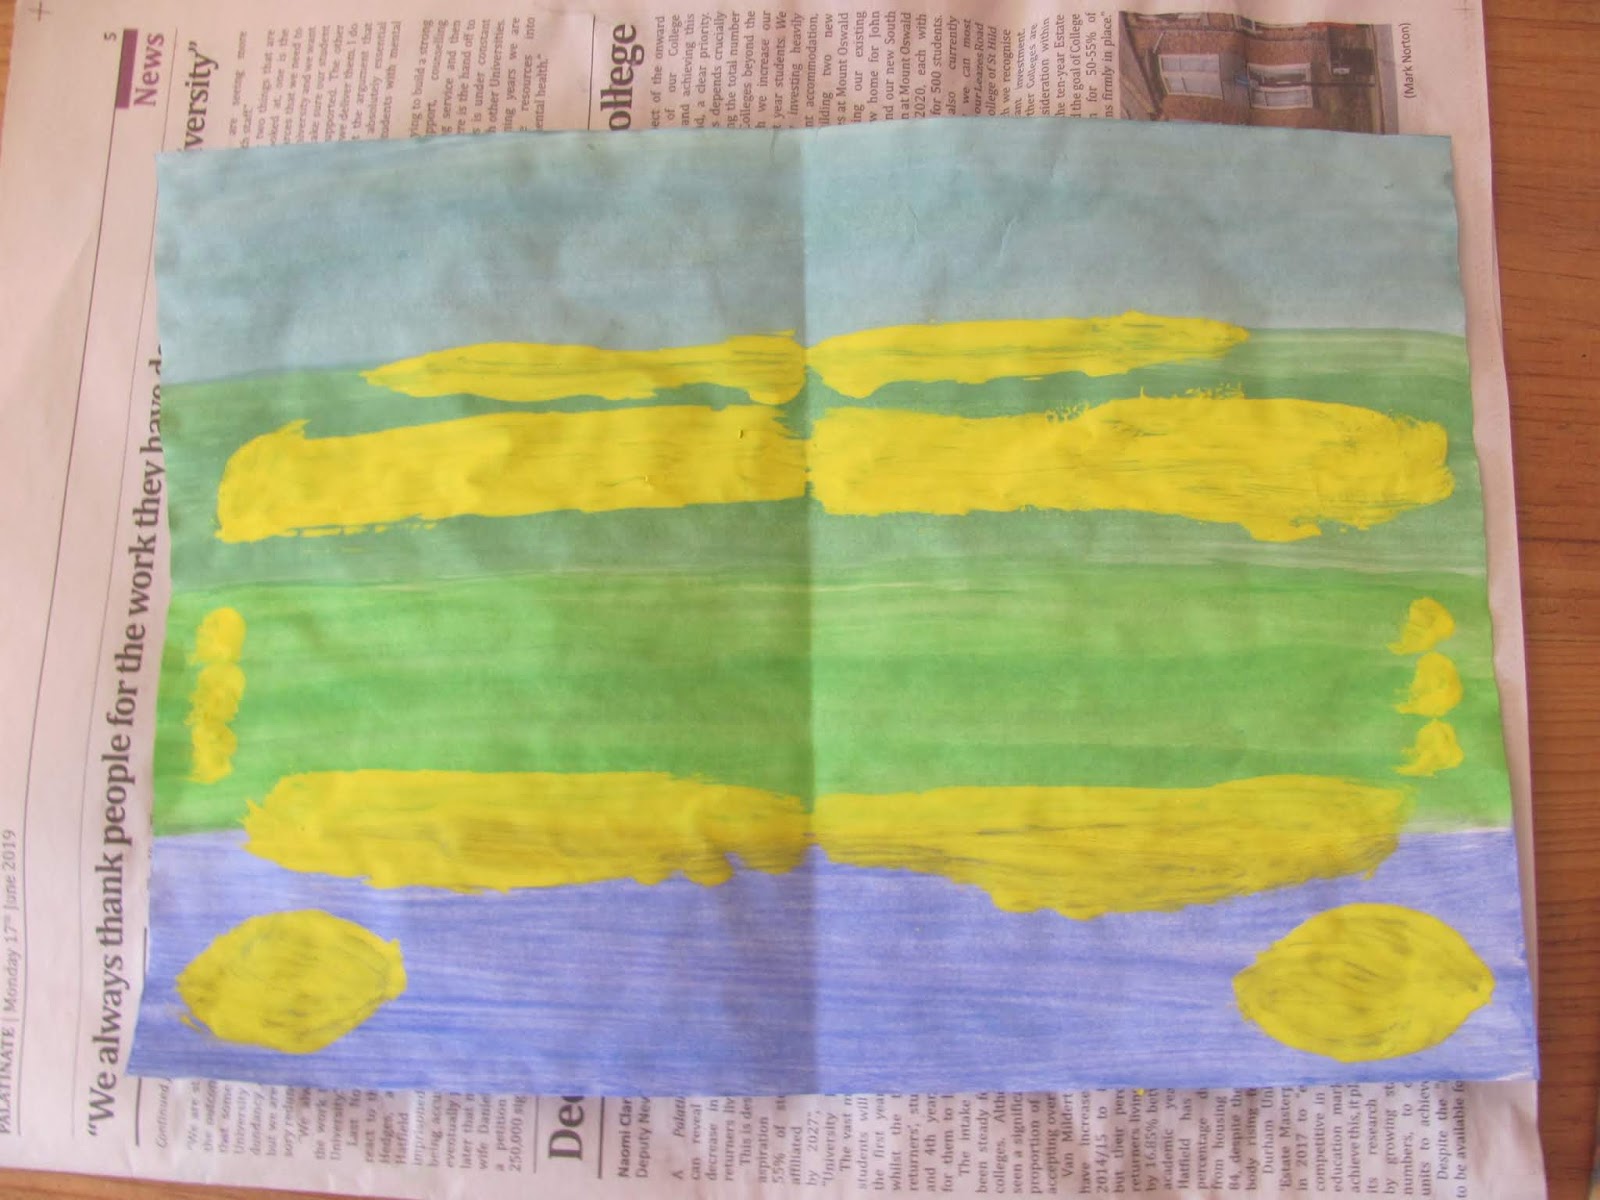
Print on coloured paper or paint a black background first, and let it dry.


When your ghosts are dry, use a black pen to draw on a hauntingly spooky face.


For the pumpkin, the shape is there already! You can either carve a face or simply print the round shape and add a face when the paint is dry.

We cut out small triangles for eyes and a nose, and a semi circle for the mouth.


The bat is made from two small triangle shapes. First, draw and score a thin triangle, curve the base inwards to define the bat's ears, and slice slivers away around the sides, or cut out completely, like the witch.


The second triangle should be a similar size, but wider - use the curved edge of your potato for one of the sides.


Print the narrow triangle first, tip pointing down, this is your bat's body.

Use the other triangle for the wings - print two either side, overlapping them and make sure the curved edge is at the top.


Dot on some yellow paint for eyes and when dry, add a black centre with the pen.


Happy Halloween!


29.8.19

A snail called Mel that hides in his shell


Sometimes I know how I'd like a project to look at the end, but am not quite sure how to get there... This was one of those! 
We had a few interesting attempts at getting Mel the snail back into his egg carton shell, and this, I think, is the best one. 


You will need:
Egg carton
Paint
Sticky tape
Kebab skewer or cocktail stick
Cereal box card (optional)
Green paper (optional)
Glue (optional)


1. The thing about egg carton cups is that on the whole, it's impossible to cut them out neatly with  a nice even edge. Usually there will be two big gaps, where the cup joins onto the middle cone (yes, I spend way too much time looking at egg cartons!) 

On the LHS you'll see how most egg cups look when you've roughly cut them out, and on the RHS, a nice neat round one, the way you'd like them to look, but they aren't always so easy to find...and that's okay!


2. ...because I'm going to use the one on the left and make the most of its weird, gappy shape.

So, neaten around the top edge and simply cut out the messy joins, right down to the base of the cup. 


3. Then paint your shell whatever colour or colours you like. 

If you're using a kebab stick, cut or break it in half, snip off the pointy end and paint one end the colour of your snail shell.


4. For the snail's body, cut a strip of plain or coloured paper about 12cm long and roughly 1cm wide. Fold it in half, then place your stick in the crease, with about 1cm of the painted end sticking out. 

Get your little crafter to hold the stick steady while you cover the strip of paper with a piece of sticky tape (a bit longer than the paper strip). Start in the middle, so you get it nice and tight around the stick.


5. Snip the sticky tape either side of the stick/skewer, and on both sides of the paper strip (try not to cut through the paper), and carefully fold the sticky tape under the strip.


6. Cut off any extra bits of sticky tape at the ends and then make the tentacles by cutting down the strip (about 3cm), close to the edges on either side - fold the middle part back and snip it off.

The shiny sticky tape gives it a slippery, slidey look, which is perfect for a snail!


7. Now, fold the body in half, and tightly roll it around the stick a few times. When you let go it will unfurl a little.


8. Make a hole in the middle of your egg cup shell (use something like nails scissors - keep them closed to pierce the hole - place some modelling clay under the bottom of the cup, so you have something to push against).

Use a black pen to draw a shell swirl, starting from the hole.

9. Unfurl your snail body, feed it into the grooves, so the head and tentacles are pointing up, and push the end of the skewer stick into the hole.

The tail end needs to be snipped now, as it will be too long. When you're happy with the length, take the body out of the shell again and round off the end of the tail.


10. Make sure both ends are through the gaps, the stick is pushed in as far as it will go, and then twist the stick slowly, either way, and the snail will go back into his shell. 

You can simply hold the bottom part of the cup to do this, or blue tack the base of your snail to a table or other hard surface. You will need to take the stick out every time he's gone back into his shell, and thread the body through again, to repeat the action, but this is simple enough to do.

Occasionally wrap the body tightly around the stick again (step 7)

Optional:

11. We made a little cardboard scene for our snail out of a piece of cereal box card.

We painted the top part blue, with splodges of white for the sky. When dry, get some green paper and cut long, spiky zigzags for grass. No need to cut the paper to size at this stage, just make sure you've cut enough grass! Rub glue stick or brush a thin layer of glue on the bottom half of the card.


Line the bottom of the grass up with the bottom of the blue and smooth the rest of the green paper over the sticky card. When it's dry, cut away the excess paper.


Fold the card at the grass base, glue the egg carton shell in front of the strands of grass, and when the glue is dry, stick another skewer through the hole in the shell, keeping it level with the base, and mark where it hits card. Make a small hole here. (Place a piece of modelling clay behind the card while you make the hole, so there's something to push against)


Now the scene is set! We added a few paper flowers, but do add whatever you like.

Either hold the scene in one hand while turning the stick, or blue tack it to a table. You will need to take the stick out to reset your snail. Bend the card back, remove the stick from the shell, unfurl, feed through the gaps, push the stick back in the hole, and you're ready to go again.


3.8.19

Eric Carle inspired Butterfly! (and cocoon)


This project was inspired by an Eric Carle Instagram craft challenge - they're so great for coming up with new ideas! It's a very simple project - younger makers will need some help with the folding and cutting. I've laid out a simplified pattern for Eric Carle's butterfly, but feel free to design your own butterfly!


You will need:
A4 sheet of plain paper
Paints
Two pipe cleaners

Small plastic bottle and cut up pieces of newspaper for the Cocoon

1. First, fold your piece of paper in half lengthways, then fold each half into the middle, open up and you should have four evenly spaced creases.


2. For our Eric Carle inspired butterfly, we used the creases as a guide to paint a purple, then green, then greeny-blue, followed by a blue stripe. We used poster paints and watered them down so they were more of a wash, and went on quickly with a big brush. (I often use a pastry brush, great for painting bigger areas quickly)

We painted the back the same way too, but this really is optional.


3. Once dry, fold the piece of paper in half the other way, so you can clearly see the middle of your butterfly.

We then used thick yellow poster paint to splodge on two round shapes at either end of the purple stripe, and yellow lines between the purple and green, the blue and greeny-blue stripe, and a thick one across the middle of the greeny-blue stripe. Then three dots on either edge of the green stripe.


4. We added a few dots at the top of the blue stripe, then mixed a little red into the yellow for some orange dots on either edge of the greeny-blue stripe.


5. Next, red circles in the corners and small dots in the middle of the orange ones. A red line and a dot on half of the bottom yellow line, and another dot above it on the greeny-blue stripe. Add a dab of orange to the top red circles.


6. Then thick purple lines in the middle of the green and the blue stripes, plus purple dots in the bottom circles. Last but not least a short green line in the middle of the purple stripe and some green dots at either end of the top purple line.


7. When dry, start folding or pleating your piece of painted paper longways, as if you're making a fan. If you're crafting with little ones, maybe make the pleats bigger, so they can be more involved with the folding.


8. In order for the pipe cleaner to be wrapped around the centre of your butterfly more easily, you need to cut a triangle from the middle of your fan - making sure you don't cut all the way through! Aim for a small triangle that's at least half the width of your folds. Make sure you cut it on the non-decorated side too.

Cutting through the paper fan can be hard, so best done by an adult.


9. Pipe cleaner time! We made some antennae with a piece of black pipe cleaner and then used a whole yellow one and made a hook shape at one end (the length we wanted our butterfly's body to be).


10. Hook it over the antennae, then hook the whole thing over the centre of your butterfly wings.


11. Start wrapping the rest of the pipe cleaner tightly around the body, and then over and around the wings to secure them. Wrap the remaining part of the pipe cleaner around the head part, so the antennae are secure too.


12. We wrapped a small piece of red pipe cleaner around the top part to keep our butterfly looking as EC as possible, but this is totally up to you. Dot on eyes with a black marker pen.


13. For the cocoon, you need a small plastic bottle that's at least as tall as the length of one of the butterfly wings.


Cut up some newspaper, water down some PVA (craft) glue, soak the paper pieces in the watery glue and cover the bottle in papier mache. Messy but fun! It really doesn't need to be neat.


14. Once dry, paint it brown, orange and yellow stripes. Have the colours on one plate and let them mix together a bit, so you get a mix of colours in the stripes, and they meld into each other.