Showing posts with label easy kids craft. Show all posts

30.10.13

Mini Halloween figures - Part 2

What to do with a bucketful of pumpkin pieces?
Not so keen on pumpkin pie; soup is fine (especially good with apple), but this year I was thinking something sweet like muffins, and then as if by spooky magic, Emma's recipe for spiced pumpkin muffins popped up on my blog list, so we'll be having a go at that later.


Back to the cardboard pumpkin, (ghost and bat are here) and you'll need to cut two egg cups from your box. Keep them shallow and as even as possible, so you can stick them together. But before getting the glue out, use your fingers and thumbs to press the egg cup bottoms, making them more dome shaped.


Splosh on some orange paint and when dry, use a felt tip for the face. Make a hole in the top, roll a small piece of green paper as tightly as you can for the stalk and push it in.


A little more work for the witch, but hopefully worth it.

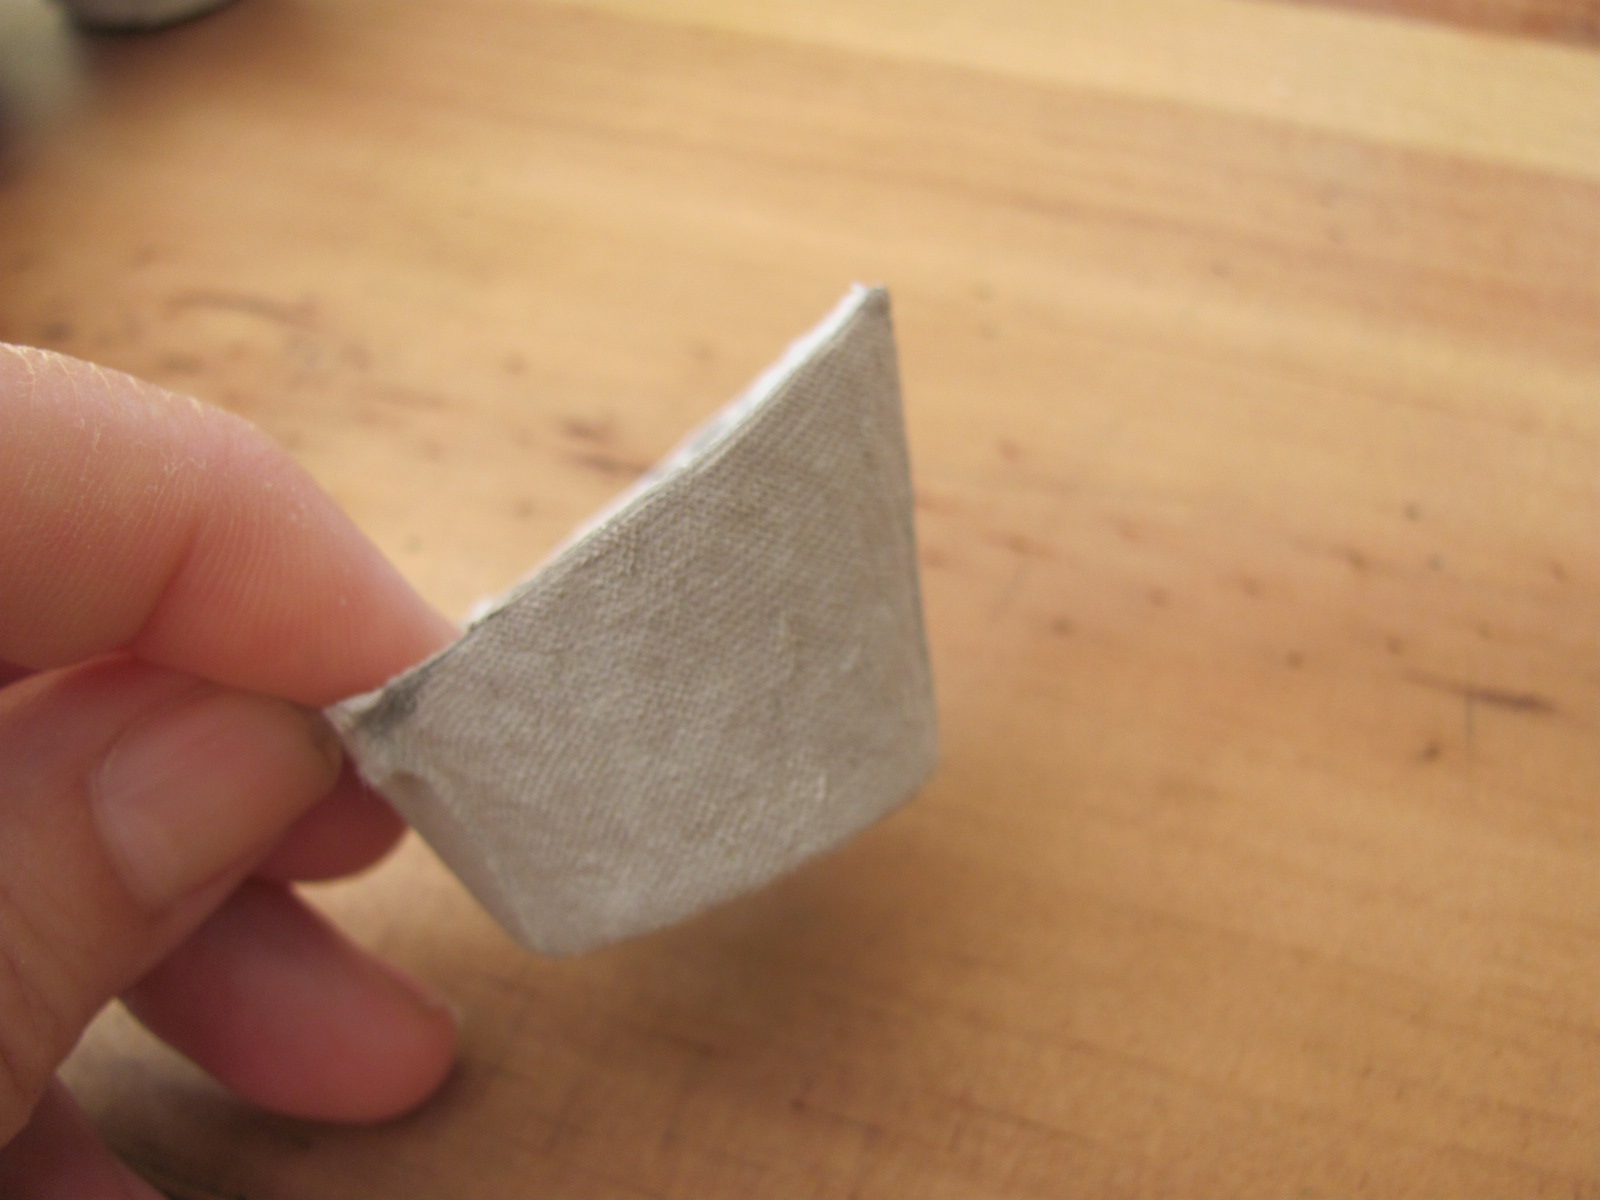
You'll need a small cone from the middle of the box. Paint it black, leaving a space for the face.
Having a green egg box was a bonus, but if yours is another colour, just paint the face when the black's dry.


Cut a small triangle from spare egg box card for the witch's nose. Fold this little bit of card in half, make a hole with nail scissors (keep them closed, press down and twist from side to side) in the middle of the face and wedge the pointy nose in.


We stuck on some brown wool for hair, but coloured tissue paper would work well too.
Draw a witchy mouth and eyes with a felt-tip.

The hat is made from two small circles. We had no black paper so just coloured some in.


The smaller circle sits on her head, cut the the larger one in half. Twist and glue it into a cone shape. Use plenty of glue to stick the cone to the bottom of the hat.

Make her broomstick by wrapping and gluing a rectangle of tissue paper (or ordinary paper) around the end of cocktail stick. Snip the paper to make it more broom-like.


Make holes in the witch's body (with the nail scissors) - higher at the front than the back, so her broomstick sits at an angle.


Cut a strip for arms from your black paper, making it wider at both ends for the flared sleeves. then glue in place.


The plan was to come up with a game using these mini figures, but that's going to have to wait..


Happy Halloween!

Linking up with Kids Get Crafty

25.5.13

Easy Elephant

...the latest arrival at our homemade zoo... and very similar to the giraffe and the zebra I made with my daughter last time.


You'll need two toilet paper tubes, cereal box card, an egg box, black and white paint, a black felt tip and some tacky glue. (Make tacky glue by leaving about a cm of PVA/craft glue in a clean yogurt pot or jar with no lid for at least a day. The longer you leave it the tackier it gets)

First, start with the head so you know it fits into the body. Cut a whole egg cup from the end of the box. The end is best as there's more card here. Draw a line around the cup that curves up at this side. With the longer side on top, push the cup into one end of a toilet paper tube and tilt it forward.


If the head piece doesn't fit, try a different sized tube (a kitchen paper roll might work), or, if it's too big, keep cutting carefully around the edge of the egg cup, following the curved shape until it fits snuggly into place. Take the head out and put aside while you make the legs.

As before, cut the other toilet paper tube in half lengthways, and cut one of these pieces in half again. These two strips should be about 4cm wide. Fold them in half lengthways. (Hold onto the leftover card if you're making a rhino or hippo)


Cut a cm or so off the tube body, so it's about 8cm long. Then mark slots for the legs. Hold a ruler along the length of the tube and draw two, 3cm lines about a cm in from each tube end. Move the ruler on about 3cm and repeat, so the slots line up with each other.

With a pair of straight nail scissors or embroidery scissors make a hole on a line (keep them closed, press down and twist from side to side until they pierce through the card). Then cut along the slot - do the same with the other three.

Wiggle the scissors or the end of a spoon in and out of the holes, so it's easier to thread the legs through. When you're happy each side is level, bend the legs inwards, so it stands up. Shorten the legs and trim so it doesn't wobble.


Ok, so now I'm going to sound like a bit of a loo roll craft anorak, but I've a LOT of cardboard middles, and they're all kinds of sizes - the smaller/narrower ones work best for this - you want a cut-out egg cup piece to fit snuggly into the end of the tube.

Put some glue around an inside edge, push the egg box bit in, and angle it down slightly.


Next, get painting - make sure you also paint a piece of cereal box card for the ears, trunk and tail.


When dry, draw a trunk on the painted card - for guidance, the top of the trunk should be almost the width of the end of the egg cup head, and remember to add a cm or so for a tab. (see photo). Draw a large flappy ear, cut it out and use as a template to draw around for the other one.


Put the head back into the body and mark a slot down the centre for the trunk. Take it out again and pierce a hole with the small scissors (keep closed, press down and twist from side to side) Cut along the slot and wiggle the scissors in and out so it's easier to push the trunk through.
Bend the ears slightly so they're curved like the tube body, before sticking in place with tacky glue. Add a small tail at the back (glue inside the tube and bend when dry). Draw on eyes with a black felt tip pen.


Linking With Red Ted Art's Kids Get Crafty

17.5.13

A giraffe and a zebra roll up to the Zoo

I'm back on the cardboard animal trail - this time my mini maker asked for a zebra and a giraffe to add to the lions we've already made for our zoo. The challenge really was to come with suitable animal legs, that wouldn't drop out or fall off.. and I think I've cracked it...


All you'll need is:
3 toilet paper tubes
cereal box card
newspaper
paint
a black felt tip pen
PVA craft glue
ruler
general purpose scissors
straight-edged nail scissors or similar
(adult help/supervision with cutting)

Cut one of the tubes in half lengthways then use the ruler to measure and cut 4 long strips, each about 3cm/1" wide. Fold them in half lengthways to make the legs.


Shorten the other tubes by a few cms, so they're about 8cm/3" long.

Hold the ruler along the length of one of the tubes and use a pencil to mark two, 2cm/0.75" lines about 1cm/0.5" in from each end of the tube. Repeat this 3cm/1" further on round the tube so the leg slots line up.


With the nail scissors, make a hole on a pencil line (keep them closed, press down and twist from side to side until the tip pierces through), then carefully snip along the slot, making sure it's wide enough for a leg strip. Do the same for the other slots. Wiggle the end of a spoon or fork in and out of opposite slots to make it easier to thread the leg piece through.


Once the legs are level, fold them inwards and snip until the body stands steady and you're happy with the leg length (keep the giraffe's legs nice and long).


Paint the giraffe body yellow and the other one white. Paint a piece of cereal box card yellow and another piece white too, for the heads and tails.

If you want both sides of your zebra or giraffe's head painted, either rub a piece of sandpaper over the shiny side of the cereal box card to remove the sheen, so the paint goes on better, or us a glue stick to stick a piece of plain paper over the shiny side and leave it under something heavy like a pile of books until it dries, then paint.

TIP: once the paint has soaked in a little on the bodies, leave them to dry upside down or on their sides in an egg box lid - rather than leaving them upright when the legs can end up drying in the splits position! This helps make the animals more sturdy.


When dry, draw a head shape for your zebra/giraffe on the painted cereal box card and remember to include a mane.

Add a tab a few cms long at the bottom of the neck (see picture) - this extra bit will slot into the tube body.


Use a pencil to draw outlines for stripes, manes and spots, then paint or colour in.

Use a black felt tip pen for eyes and nostrils.


Once dry, snip carefully along the mane with small scissors.


About a cm/0.25" in from one end of the body, cut a slot for the head (same technique as for the legs) and wiggle the scissors in and out a bit to make it easier to push the head tab through.


Scrunch up two small pieces of newspaper and push them in, either side of the head tab to hold it steady. Push another scrunched up piece in the other end to help your animal balance.


Cut a thin strip from the painted card for a tail (cut it a little longer than you need). Colour the tip black and stick the extra part just under the top of the tube at the back. Bend into place when dry.


So our zoo so far....and we've added a rare white Bengal tiger, made like the lion, to pull in the crowds..
Next on the list, an elephant.


All these animals and more can be found in my book, 'Make Your Own Zoo'