

This Millennium Falcon is made from paper plates and can be decorated any way you like.
You'll need:
4 to 5 paper plates (ours were 23cm/9in. diameter)
Egg carton
Craft glue
Black and red fine tipped marker pens (like Sharpies)
Ruler
Pencil
Craft scissors
Small scissors (straight-edged nail scissors - adult supervision required)
Ball of plasticine (modelling clay)
Straw
Tin foil
Metallic silver marker pen
Newspaper
Cereal box card
Paper clips
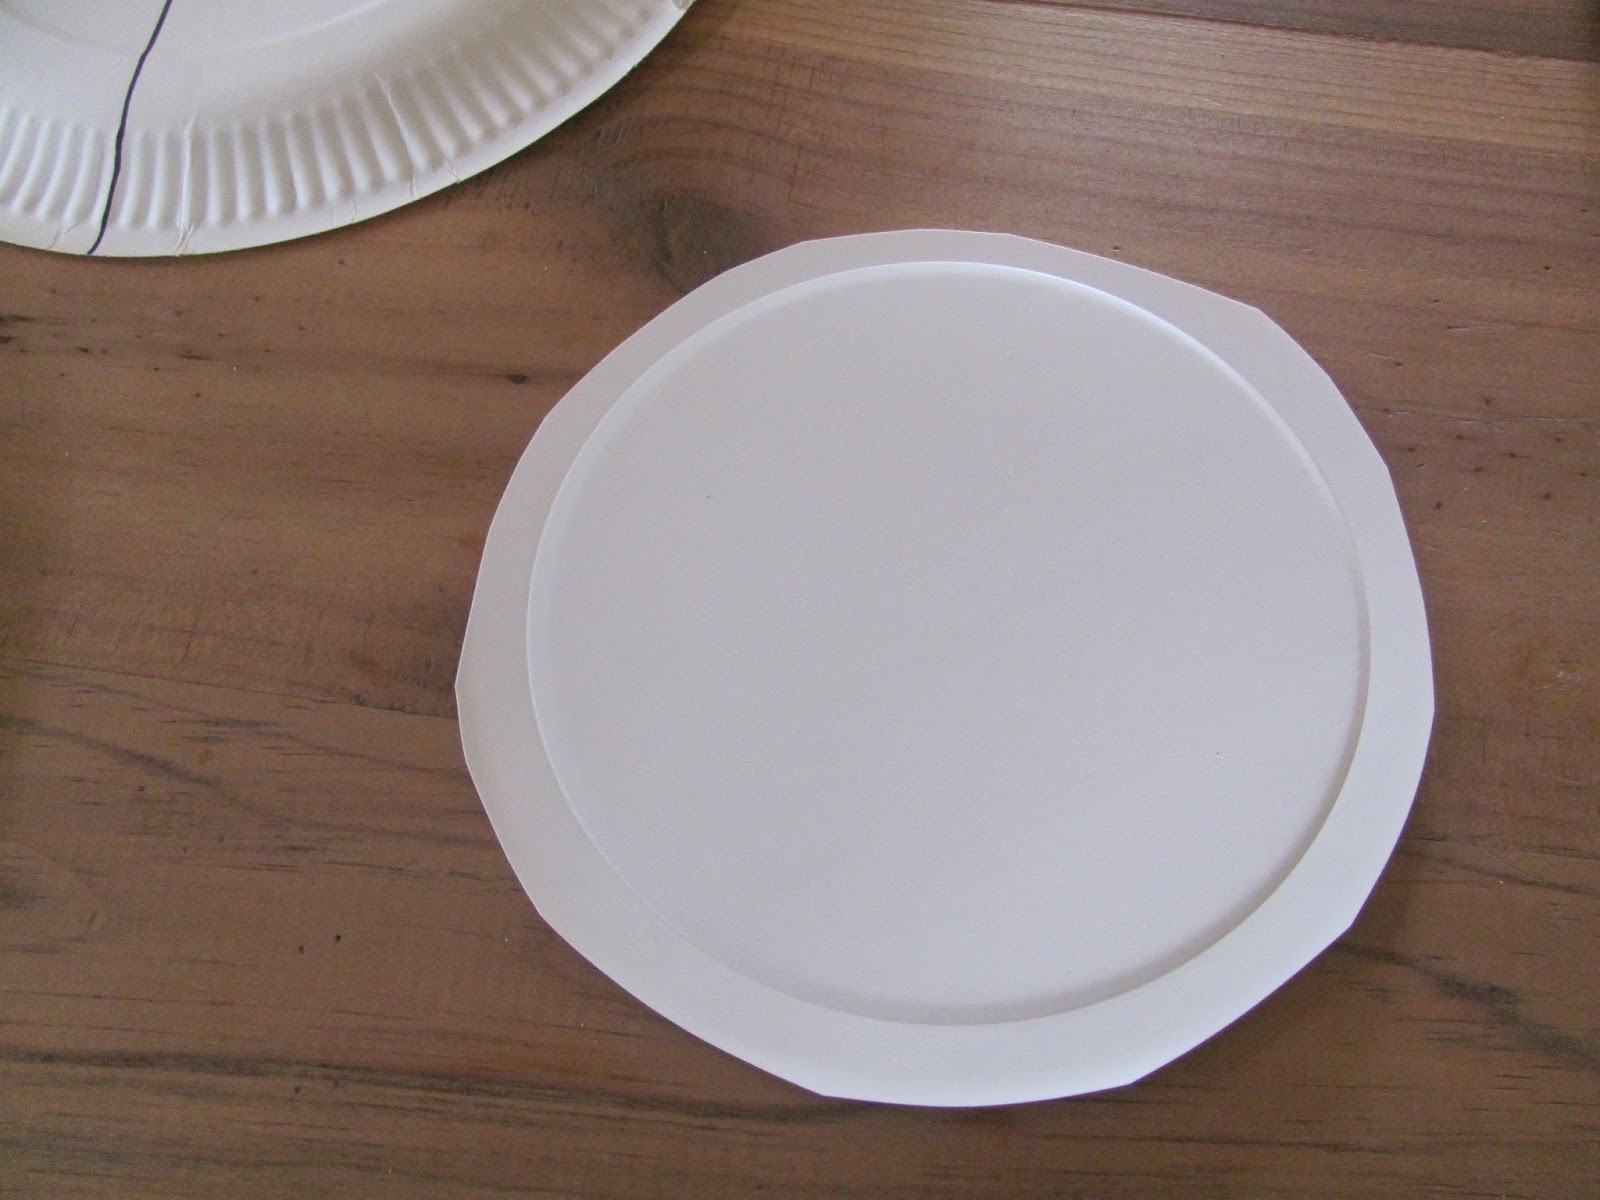
1. On the back of a paper plate, flatten it down a bit, and use the ruler and marker pen to draw a line across the middle of the plate, and then another across that, to divide the plate roughly into equal quarters. Try to get the lines to cross as close to the centre of the circle as possible, but it really doesn't need to be perfect.

2. Take another plate and cut out two similar-sized long, thin triangle segments, cutting up as far as the centre of the plate. Glue these on the top of your spaceship - in the middle of two, opposite sections. Cut small pieces from the spare plate's bumpy rim, to stick on the triangles, to add a bit of detail.


3. For the front part of your Millennium Falcon, take another paper plate and cut the rim off carefully, so you're left with a flattish circle.

Fold it in half and cut a little off the bottom to make a straight edge. I've drawn a pencil line where the cut needs to be.

4. Then cut a piece off the side at an angle - don't make the angle too sharp (see the picture).
Open up the circle and slip it under the top of your spaceship (between the sections with triangles), until the sides roughly line up with the black lines, and part of it is still sticking out.


Either side of the fold, draw a pencil line up to the plate and cut this piece out. Glue the front section to the rim.


5. Cut a strip of card from a spare plate ( like the one you used to cut the triangles from). Make it roughly as long as half the width of the plate. Glue it from near where the black lines cross, down the middle of the front section of your spaceship, so it just hangs over the edge of the plate.
Again, add a few small pieces of the rim for some detail.
6. Cover the messy joins in the middle with a circle cut out of any spare card. Use the bottom of a small spice jar or something similar to draw around. Glue in place.

7. For the cockpit that sticks out at the side, we found the easiest way to get the right shape was to draw a rectangle that's 4cm by 15cm (11/2in.x6in.) on some spare paper plate card (make the rectangle shorter if you're using a smaller plate).
NOTE: We've used extra paper plates for all the extra bits to keep our Millennium Falcon looking the same colour, but if you don't want to use so many plates, cereal box card would be absolutely fine too.

8. Mark 3cm (1in.) from the bottom of the rectangle and draw lines sloping in on either side. Use the ruler to draw a line from the top right-hand corner to the bottom lefthand one, just above the end of the cockpit (see pic).

9. Cut along the sloping lines and make sure to leave an extra section of card on the right-hand side, so it's easier to glue the cockpit inside your starship.

10. Either simply colour in the bottom of the cockpit with a silver metallic pen if you've got one, or for a more 3D effect, draw around the bottom part only on some spare card, cut out this matching piece, and colour in.
Make a cut in the middle of each piece, about half way down, and snip out an extra sliver to widen the slot if you need to. Check they fit together but don't attach yet. Glue the whole cockpit piece under the rim of the top part of your spaceship.


11. Time to decorate, and we didn't add too much detail to our Millennium Falcon, but it's absolutely up to you! Have a look at some pictures online, or come up with your own design. Stick on more pieces of the plate rim if you want - drawing in the grooves looks pretty good I think.

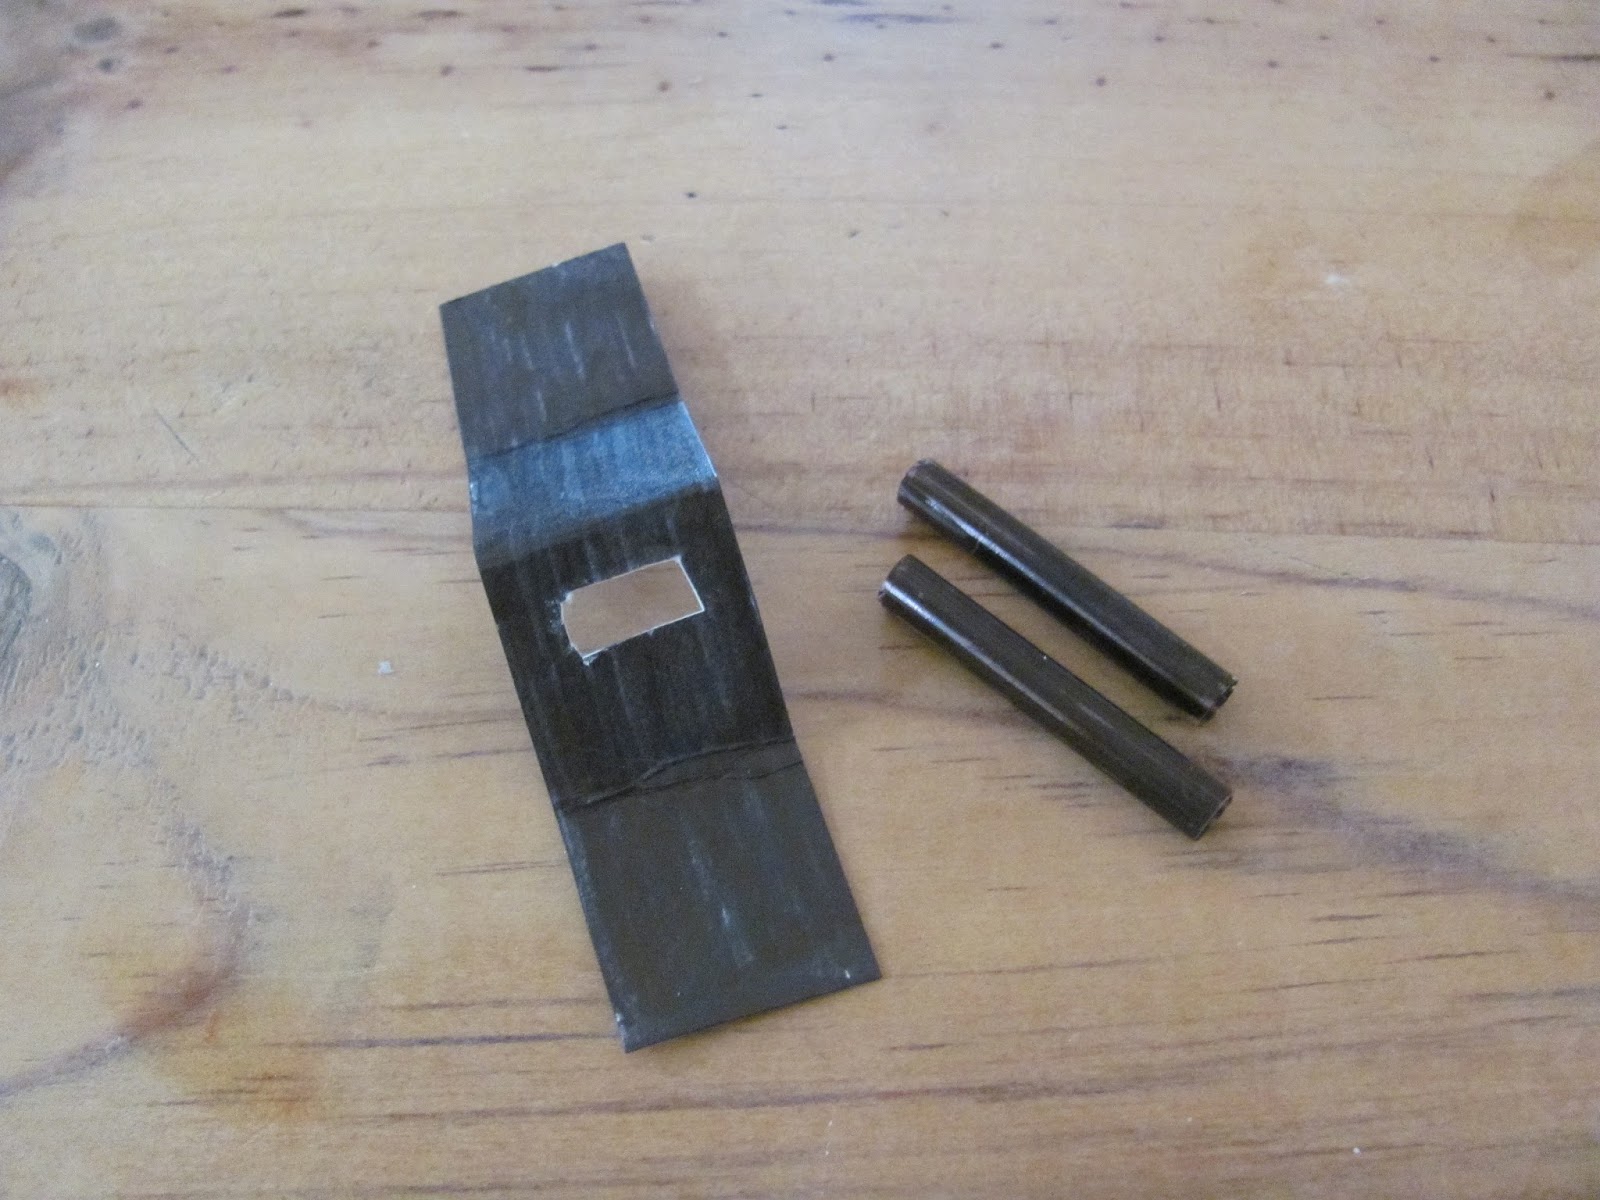
12. If you'd like to make guns to put on top, cut out a strip of card, 8cmx2cm (3in.x3/4in.). Colour one side of it with the black marker pen and also colour in a length of straw (with the marker pen), so you can cut two 3cm (1in.) pieces from it.

13. Fold the strip in half, then in half again. Open it up and make a hole with nail scissors in a section above the middle fold. Put a ball of plasticine behind the card, keep the nail scissors closed, press down and twist from side to side. When the scissors pierce through, cut out a wide slot that's big enough to fit both straw pieces, side by side. Check they fit then take them out.

14. Brush glue on one end of the strip and fold and glue it to the other end, to make a triangle shape like this one. Use a paper clip to hold it together while drying if you need to. Glue the straw guns in place.


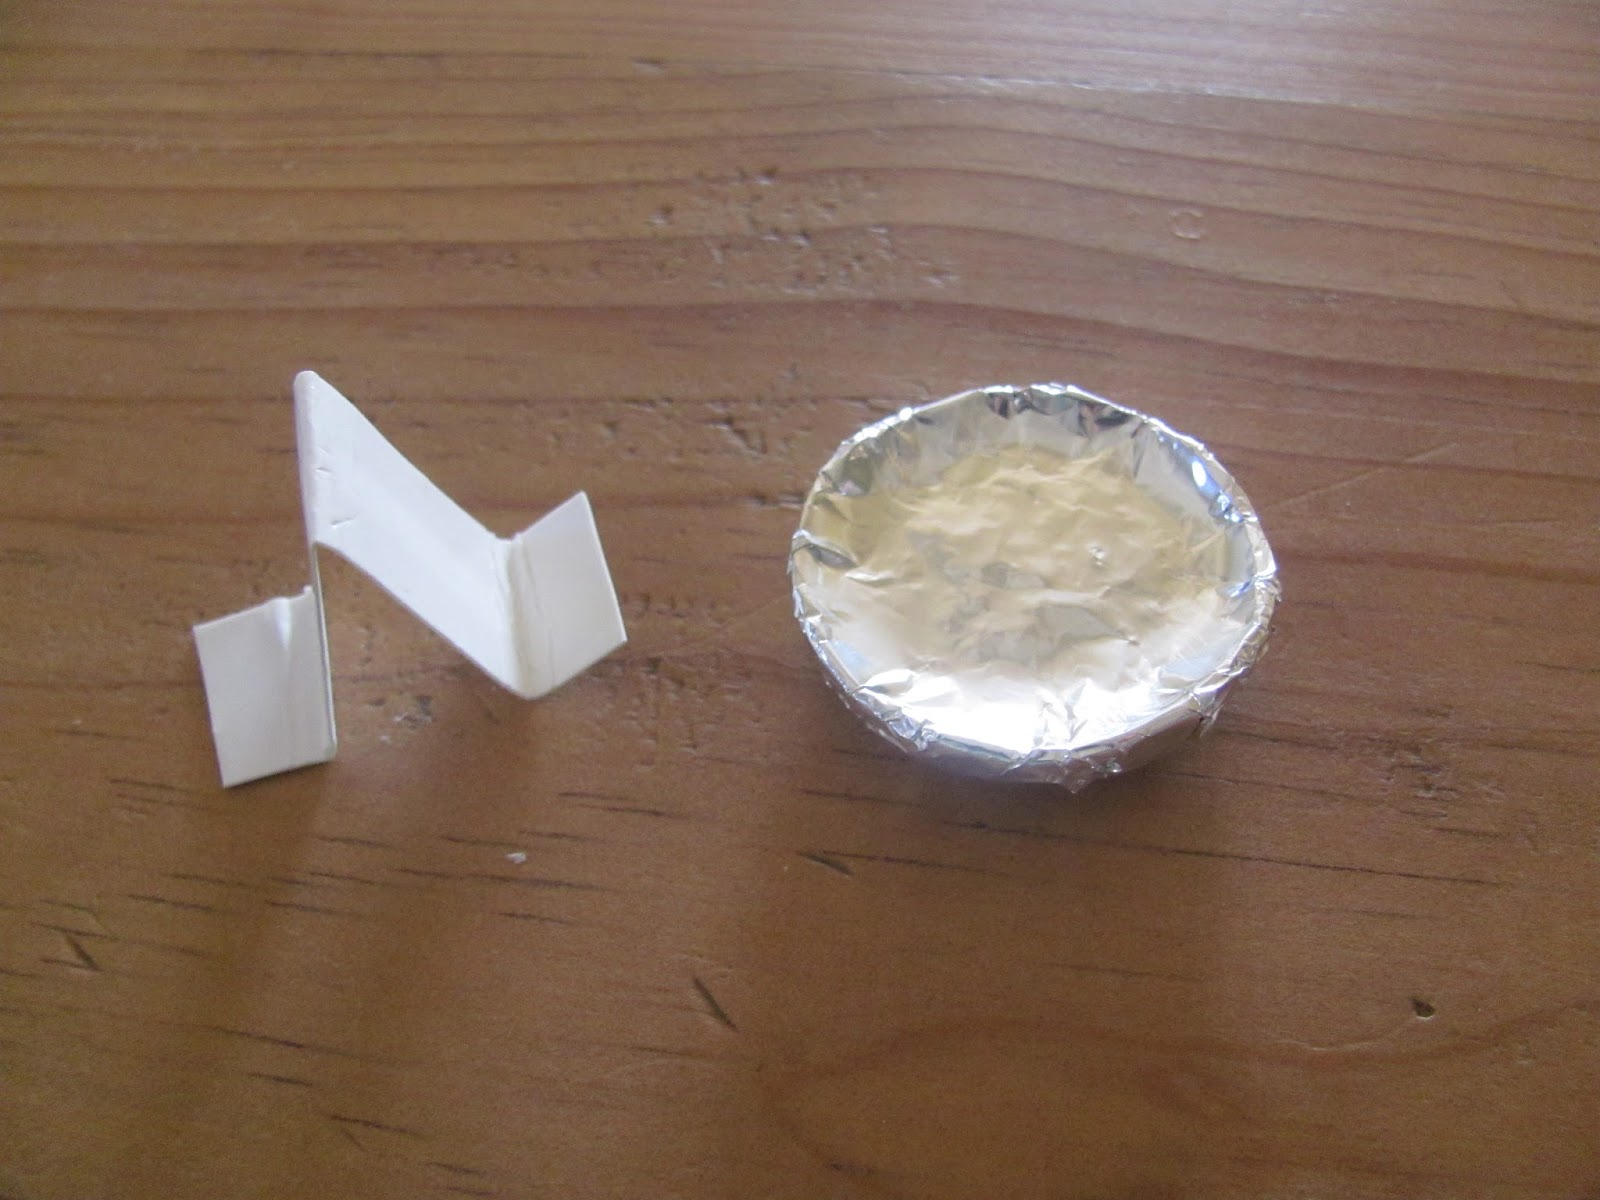
15 For the sensor dish (again, optional) - take an egg carton and cut the bottom out of an egg cup. Make it as shallow as you can and cover with a piece of tin foil. Cut another strip from some spare card (about 1cmx6cm - 1/2in.x21/2in.), fold it in half, then fold the bottom ends. Glue the middle part together to make an upside down 'T' shape. Glue the dish to this support and glue the bottom tabs of the support to your ship, along with the guns.
If you've made one, glue the extra part of the cockpit on too.


16. While that's drying, you could add a bit of card to hold onto, to the bottom part of your Millennium Falcon. This is optional.
Cut out a strip of cereal box card that's a good width to hold onto and is about 20cm (8in.) long. Take another paper plate and make a slot in the middle (using the nail scissors again). Make it wide enough for the cardboard strip, slot this in and glue the top part to the plate. You could put something heavy on top of it, like a book, to hold it in place while the glue dries.


17. Scrunch up small pieces of newspaper and put them in the middle of the plate. This should help stop the ship losing its shape when it's stuck together, but don't over fill it!

18. Brush glue along the edge of the bottom plate, and glue the top part on. Use paper clips to hold together while it dries.

