Obviously it won't last, so I'm enjoying the moment...
I'm not going to pretend the costume's quick to make, but it is straightforward, so if you're not in a rush and would like to have a go, here's a little run through.
You'll need an old sheet, a balloon, glue and lots of newspaper.
Cut a head-sized hole in the middle of the sheet and slip it on.
Get them to hold up their arms and cut to fit. You'll end up with a sort of circle. It doesn't matter if it looks a bit rough - all adds to the feathery effect!
I pinned and machined a row of stitches down each side, to give the wings more definition, but the costume would work just fine without this.
Zig-zag the wing edges, then make a paper template for the feathers, and cut plenty out of the remains of the sheet, plus any other fabric scraps you like. Quite time-consuming this part, but it makes a big difference I think. Once you've got a decent pile, start sticking them on the wings. We used ordinary PVA craft glue.
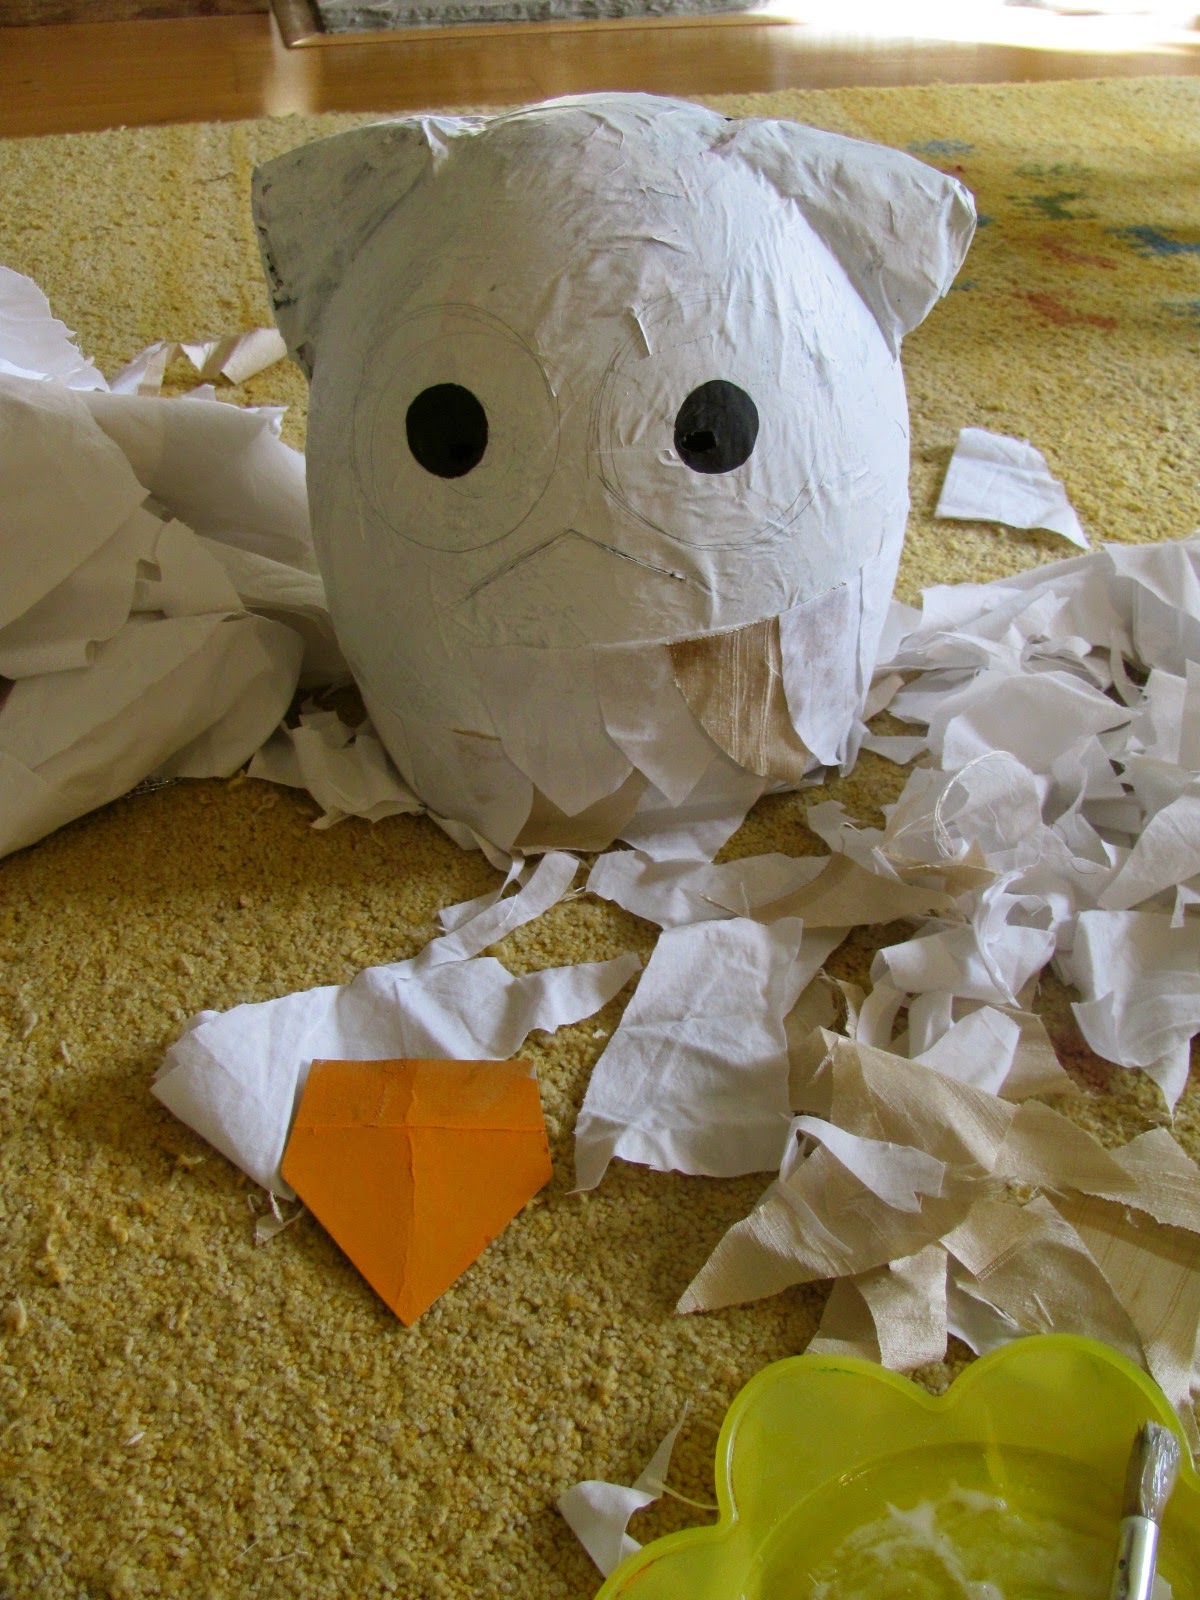
The head can take a while too, though this is the most fun part - certainly for the kids. Good old papier mache! Make sure the balloon is as big as possible and that you've torn up lots of newspaper, then get sticking with some runny glue (watered down PVA).
Use a brush to spread the glue all over the top of the newspaper pieces too, so they're nice and smooth. Check you've covered the whole balloon. The ears are scrunched up bits of newspaper, covered in more gluey paper.
For a sturdy head, best to let it dry between layers - this is when you need a bit of patience.
We did three layers altogether.
Paint it white, pop the balloon and cut the paper carefully at the bottom until it fits (a slit at the back helps)
Work out where the eye holes should be, then draw big owl eyes. Make a beak out of cereal box card, bend to give it a ridge down the middle - then, below the eyes, cut an upside down v, the same width as the beak. Feed it through the v, keeping it angled down. Sellotape in place inside. Make a mouth hole under the beak if you want.
Cut out smaller feather shaped pieces from the sheet and snip them in half. It looks good if the first row hangs over the edge a little, then just keep going round.
We cut a few little bits to go round the eyes, but it's totally up to you how much you decorate the mask.
Finally, tie some string through holes in an envelope addressed to Harry Potter.
I was kind of hoping to take another picture, but the snowy owl I picked up this afternoon was muddy and quite dishevelled with a few tomato ketchup splodges down the front….still, no matter, because Hedwig won a prize! Hallelujah!
She was so excited as we walked to the car.
'I'm not going to wear this again Mummy - next time I'm going to be something EVEN BETTER!'
Yeah....I know...


