...the latest arrival at our
homemade zoo... and very similar to the
giraffe and the zebra I made with my daughter last time.
You'll need two toilet paper tubes, cereal box card, an egg box, black and white paint, a black felt tip and some tacky glue. (Make tacky glue by leaving about a cm of PVA/craft glue in a clean yogurt pot or jar with no lid for at least a day. The longer you leave it the tackier it gets)
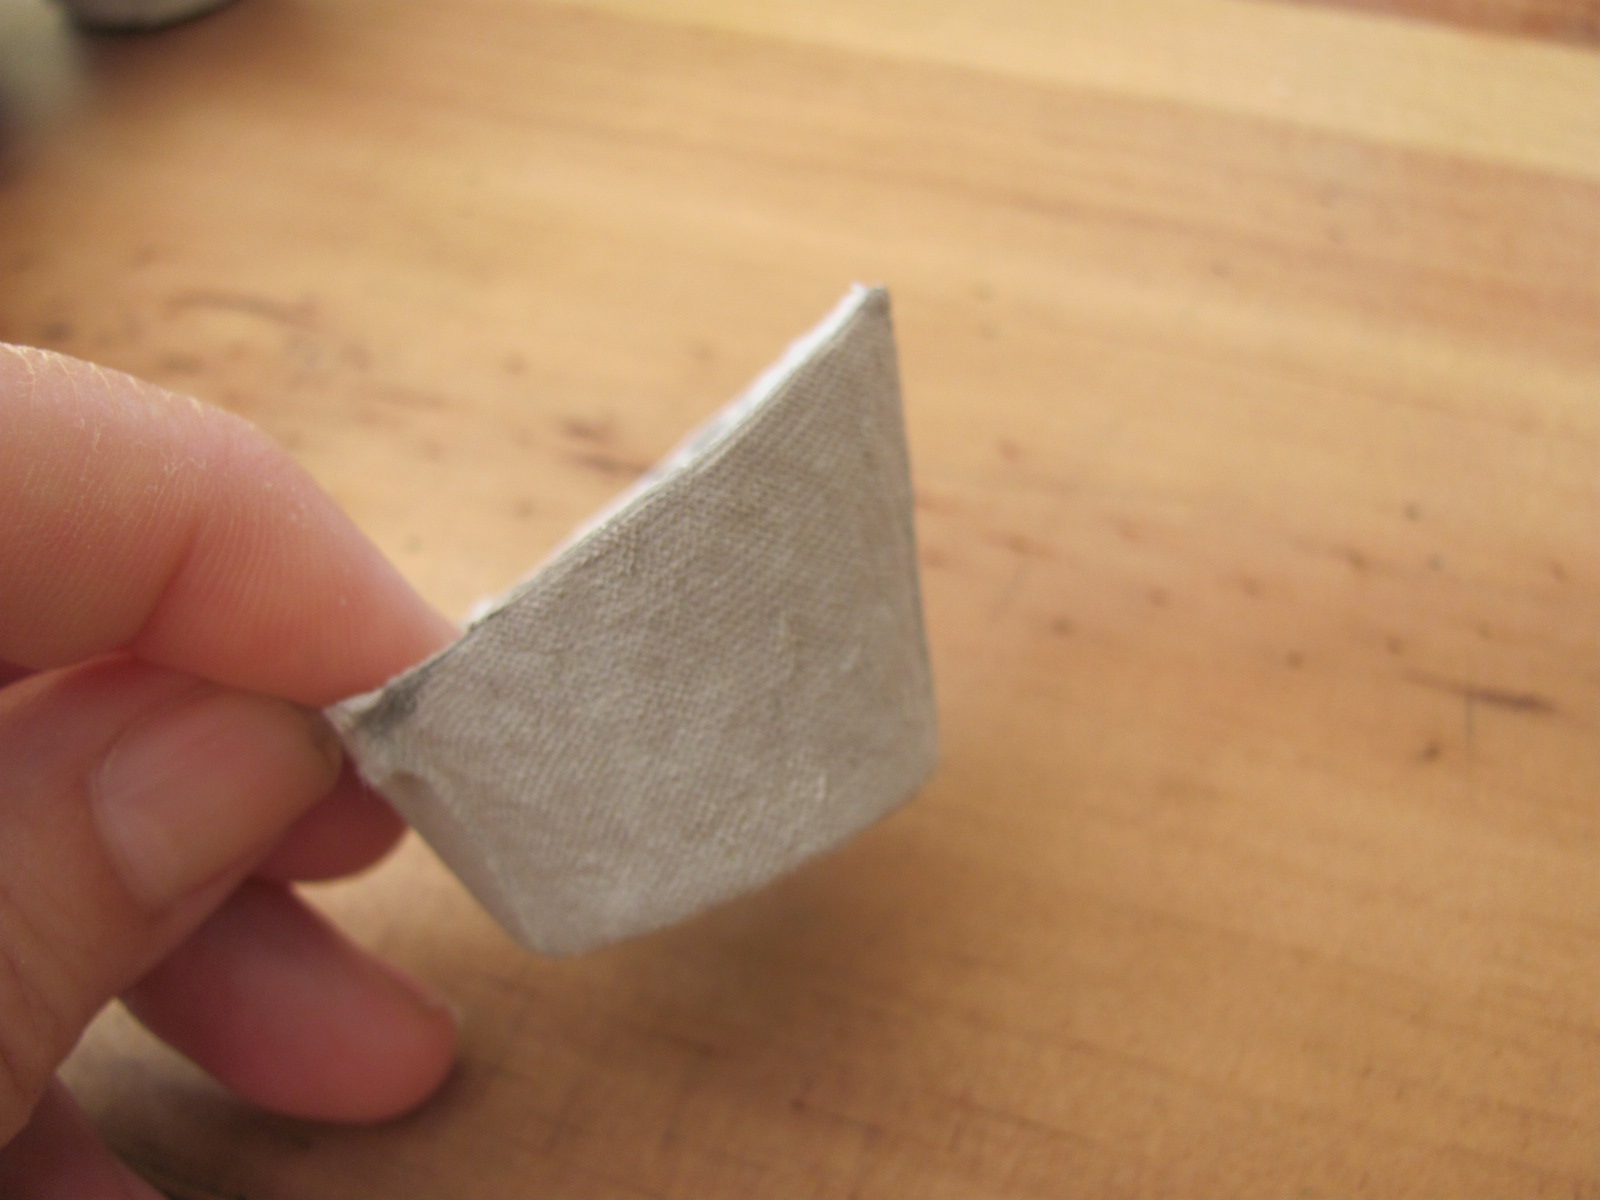
First, start with the head so you know it fits into the body. Cut a whole egg cup from the end of the box. The end is best as there's more card here. Draw a line around the cup that curves up at this side. With the longer side on top, push the cup into one end of a toilet paper tube and tilt it forward.
If the head piece doesn't fit, try a different sized tube (a kitchen paper roll might work), or, if it's too big, keep cutting carefully around the edge of the egg cup, following the curved shape until it fits snuggly into place. Take the head out and put aside while you make the legs.
As before, cut the other toilet paper tube in half lengthways, and cut one of these pieces in half again. These two strips should be about 4cm wide. Fold them in half lengthways. (Hold onto the leftover card if you're making a
rhino or hippo)
Cut a cm or so off the tube body, so it's about 8cm long. Then mark slots for the legs. Hold a ruler along the length of the tube and draw two, 3cm lines about a cm in from each tube end. Move the ruler on about 3cm and repeat, so the slots line up with each other.
With a pair of straight nail scissors or embroidery scissors make a hole on a line (keep them closed, press down and twist from side to side until they pierce through the card). Then cut along the slot - do the same with the other three.
Wiggle the scissors or the end of a spoon in and out of the holes, so it's easier to thread the legs through. When you're happy each side is level, bend the legs inwards, so it stands up. Shorten the legs and trim so it doesn't wobble.
Ok, so now I'm going to sound like a bit of a loo roll craft anorak, but I've a LOT of cardboard middles, and they're all kinds of sizes - the smaller/narrower ones work best for this - you want a cut-out egg cup piece to fit snuggly into the end of the tube.
Put some glue around an inside edge, push the egg box bit in, and angle it down slightly.
Next, get painting - make sure you also paint a piece of cereal box card for the ears, trunk and tail.
When dry, draw a trunk on the painted card - for guidance, the top of the trunk should be almost the width of the end of the egg cup head, and remember to add a cm or so for a tab.
(see photo). Draw a large flappy ear, cut it out and use as a template to draw around for the other one.
Put the head back into the body and mark a slot down the centre for the trunk. Take it out again and pierce a hole with the small scissors (keep closed, press down and twist from side to side) Cut along the slot and wiggle the scissors in and out so it's easier to push the trunk through.
Bend the ears slightly so they're curved like the tube body, before sticking in place with tacky glue. Add a small tail at the back (glue inside the tube and bend when dry). Draw on eyes with a black felt tip pen.