It's taken a while...but now the shoebox kitchen has been updated, it's time to move onto the sitting room, and a fireplace seemed a good place to start. This one is made from a stock cube box
- it's a good size for an average sized shoebox, but look out for other small boxes in the recycling that might do the job. The same method would apply whatever you're using.
The other things you'll need are:
Pencil
Ruler
Scissors
Sheet of plain paper
Craft glue/glue stick
Paint
Tissue paper (red, orange, yellow. All or what you have, for the fire)
Small garden twigs
Small piece of cereal box card
Fine black pen (felt or gel)
Nail scissors or similar (to be used by an adult)
1. First, draw around the box, lining up a long edge with the edge of the paper. Make sure you give yourself enough of a margin either side, to cover the sides and wrap around to the back of the box.
Draw an arch for the fire opening in the middle of the rectangle you've drawn. Either do this freehand, or make a template (fold some paper or thin card, draw half an arch on the fold, and open up)
Cut out the arch shape. See picture below.
2. Place the paper on top of the box, lining up the sides, and draw around the arch on the card so it's easy to see. Pierce through the card with nail scissors or something similar (to be done by an adult) and cut around the OUTSIDE of the arch - you want this arch to be bigger than the paper one, so it isn't visible when the box is covered. This means it doesn't matter if the card cutting is a bit rough, because you won't see it.
Paint the inside of the box black and then glue on the paper front, lining up the edges, smoothing as you go, wrapping around the sides and the back. Either use a very thin layer of craft glue or rub glue stick over the box. It's good to use a glue stick when sticking on paper with little ones - it's less messy and easier to get a smoother, less rumply finish.
For the mantlepiece, just cut a piece of paper the length of the fireplace and about twice the width. Fold it in half lengthways and shorten one of the sides by about a half, cutting straight across. This will be the shorter overhang. Glue the wider side on top of the fireplace.
3. Glue some small twigs together to make the base of the fire and use tissue paper for the flames. We've cut the tissue paper different sizes, then twisted it at the bottom before gluing to the twigs, but simply scrunching small pieces of tissue paper together works really well too. It's nice to have all three colours, but if you don't that's fine.


4. For the base of the fireplace, the hearth, cut a rectangular piece of cereal box card that's at least as long as the fireplace and about 3cm/1in. wider.
Paint it grey, or maybe try a marble effect? Load your brush with white paint then dab it into a tiny bit of black, you're looking for a dappled, swirly mix of white, grey and (not too much) black.

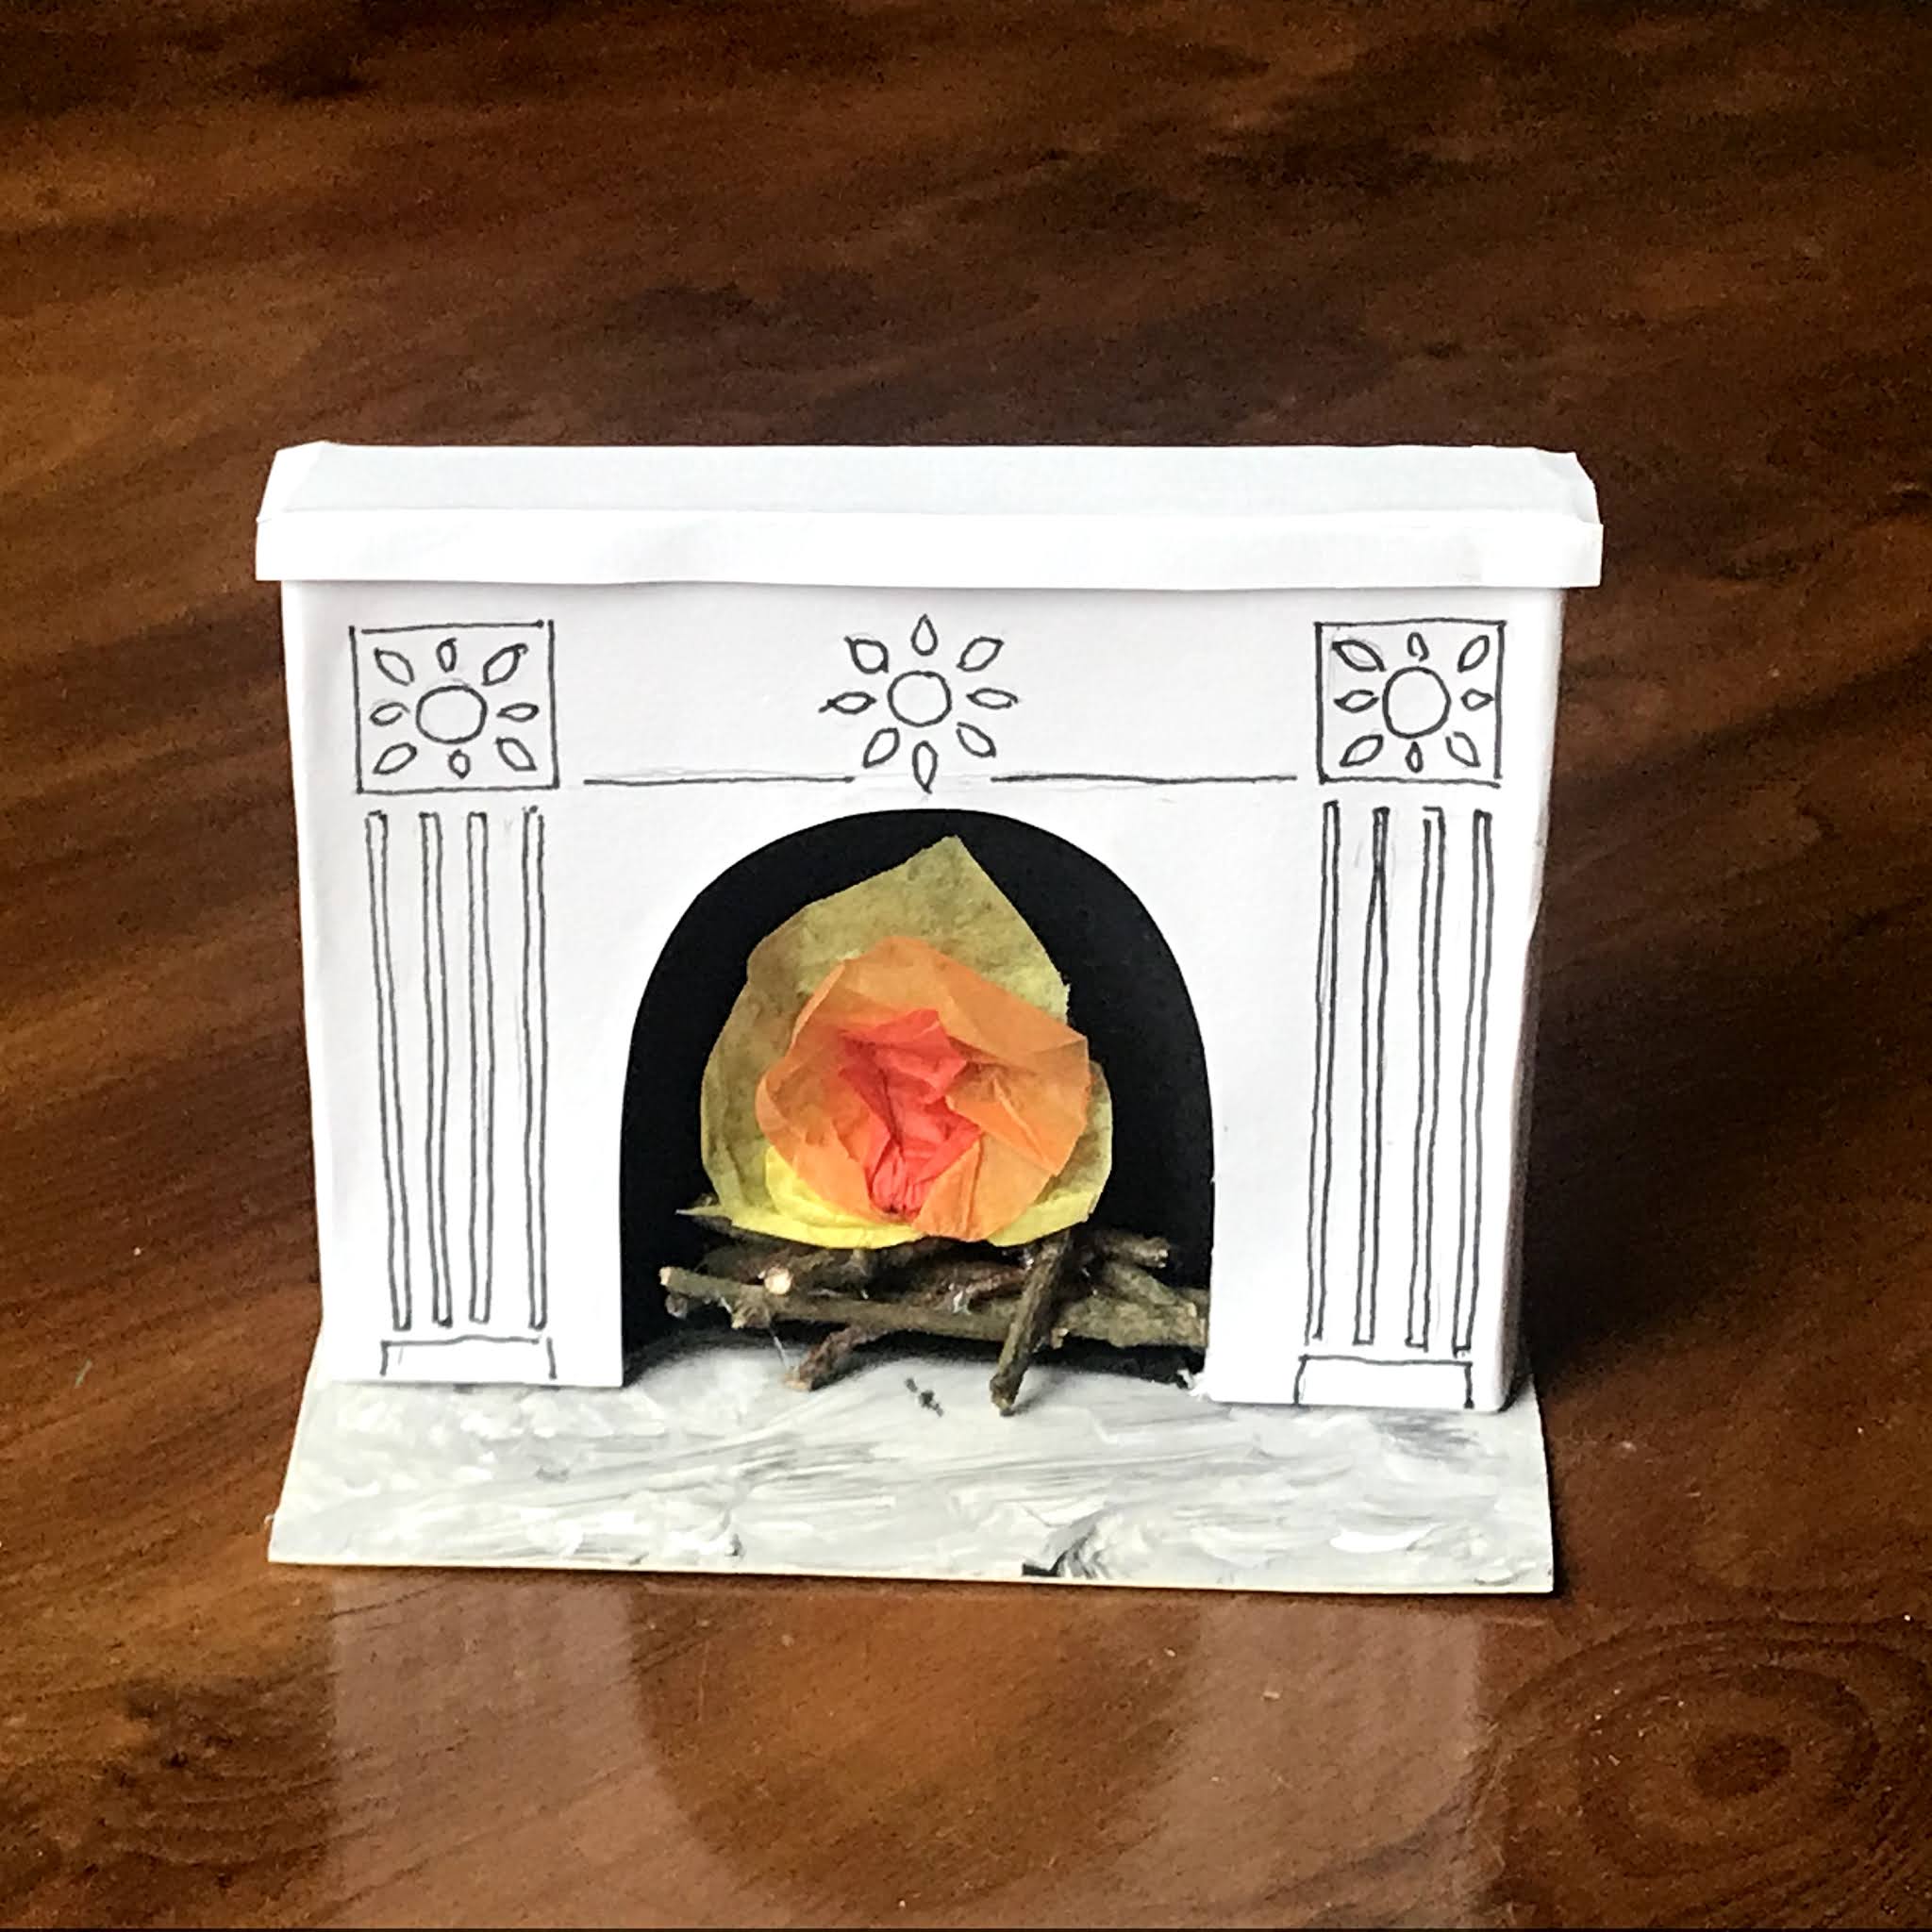
5. Leave the fireplace as it is, or paint it any colour you like. We made two, to see how they'd look in the sitting room. We tried a marble effect on one and I drew a simple design with a black pen on the other.
6. We went for this one in the end.
More furniture on the way!